


Smoke Detector with Arduino & MQ2 Sensor


Smoke Detector with Arduino & MQ2 Sensor
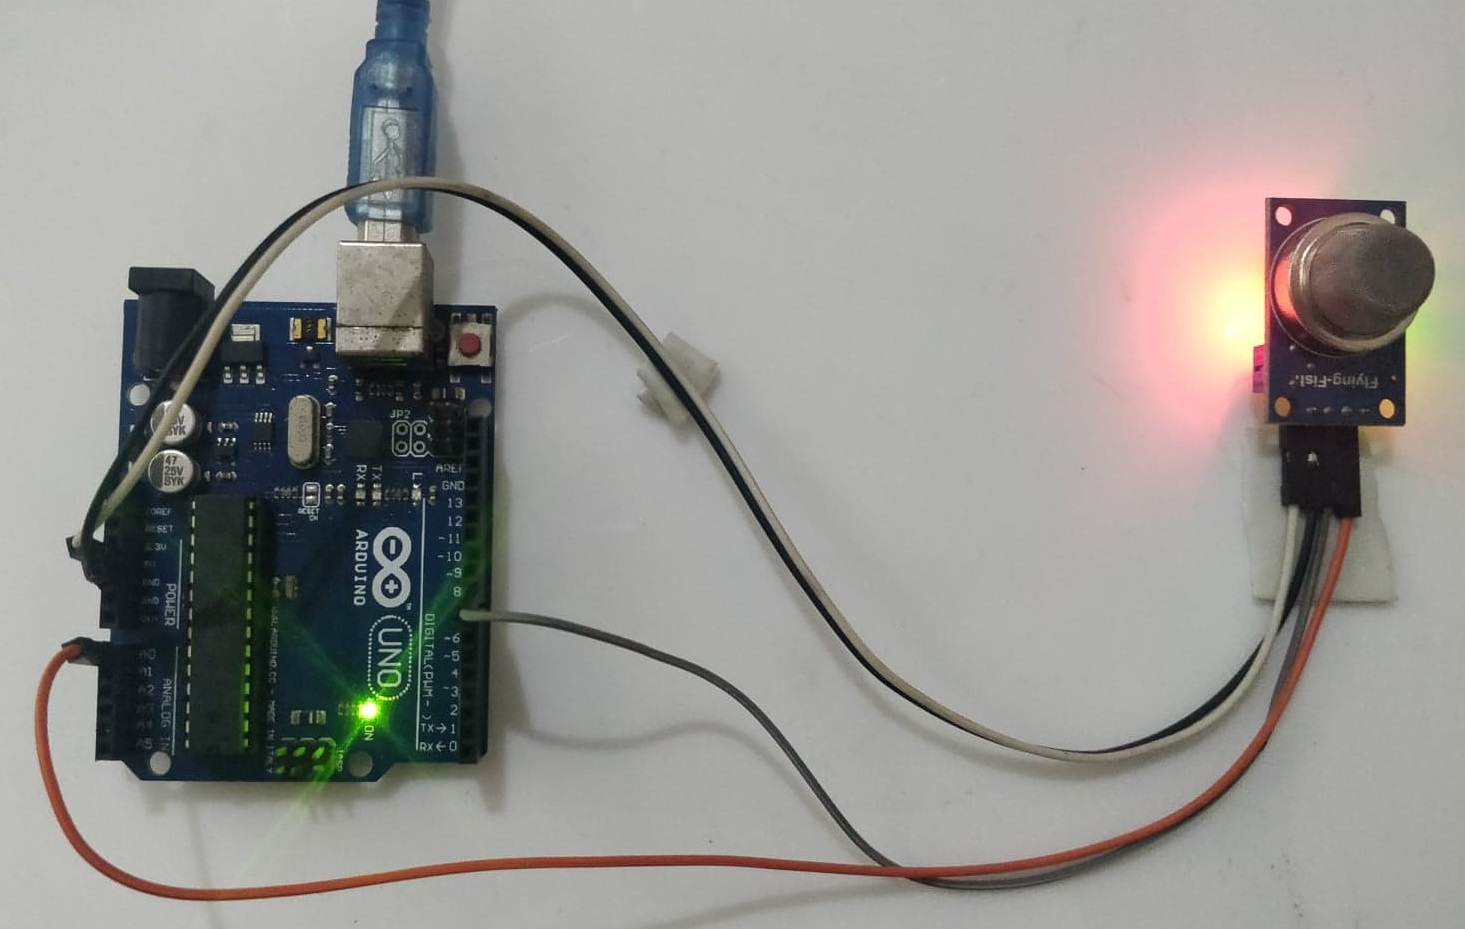
- First of all, we need to connect some jumper wires between Arduino and MQ2 smoke sensor shield.
- Here's the image of our Gas sensor and you can see, it has four pins in total.
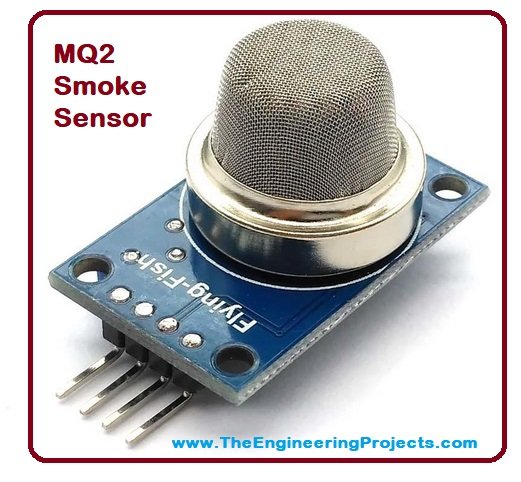
- This gas sensor has four pins in total, which are:
- Vcc: We need to provide +5V.
- GND: We need to ground it.
- D0: Digital Output.
- A0: Analog Output.
- So now you will need four male to female jumper wires and connect them as shown in below figure:
- Sensor's pins are labelled on the back side and I have connected these four pins as follows:
- White Wire: Vcc of Sensor connected with +5V of Arduino.
- Black Wire: GND of Sensor connected with GND of Arduino.
- Grey Wire: D0 of Sensor connected with Pin # 8 of Arduino.
- Orange Wire: A0 of Sensor connected with A0 of Arduino.
- So, now let's design our code in Arduino software in which we will detect whether there's smoke around or not.
- I'm gonna use the analog output of our sensor and will first display the analog value in my Serial Monitor.
- I have used the below code, so copy it and upload in your Arduino board:
int Input = A0;
int SensorVal = 0;

void setup() {
  Serial.begin(9600);
  pinMode(Input, INPUT);
  Serial.println("Interfacing of Smoke Sensor with Arduino");
  Serial. println("Design by www.TheEngineeringProjects.com");
  Serial.println();
}

void loop() {

  SensorVal = analogRead(Input);
  Serial.println(SensorVal);
  delay(500);
}
- Now open the Serial Monitor of Arduino to check the analog values coming from our sensor.
- If everything goes fine then you will get something like this in your Serial Monitor:
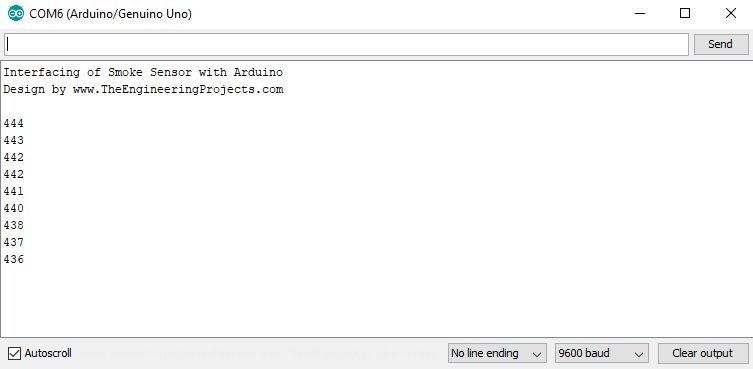
- You can see we are getting the values in range of 420 to 450.
- You should read How to do Arduino Serial Communication, if you don't know how to get data serially.
- Now let's place a burning cigarette near it for smoke. (Cigarettes are injurious to health :P )
- When the sensor will sense smoke in its surroundings then its value will start to increase and in my case it reached to around 650.
- So, let's place a check in our Arduino coding to detect whether there's smoke or not.
- So add below code in your Arduino software and upload it to your Arduino board.
int Input = A0;
int SensorVal = 0;

int Check = 0;

void setup() {
  Serial.begin(9600);
  pinMode(Input, INPUT);
  Serial.println("Interfacing of Smoke Sensor with Arduino");
  Serial. println("Design by www.TheEngineeringProjects.com");
  Serial.println();
}

void loop() {

  SensorVal = analogRead(Input);
  if((SensorVal > 500) && (Check == 1))
  {
    Serial.println("Smoke Detected . . .");
    Check = 0;
  }

  if((SensorVal < 500) && (Check == 0))
  {
    Serial.println("All Clear . . .");
    Check = 1;
  }
  //Serial.println(SensorVal);
  delay(500);
}
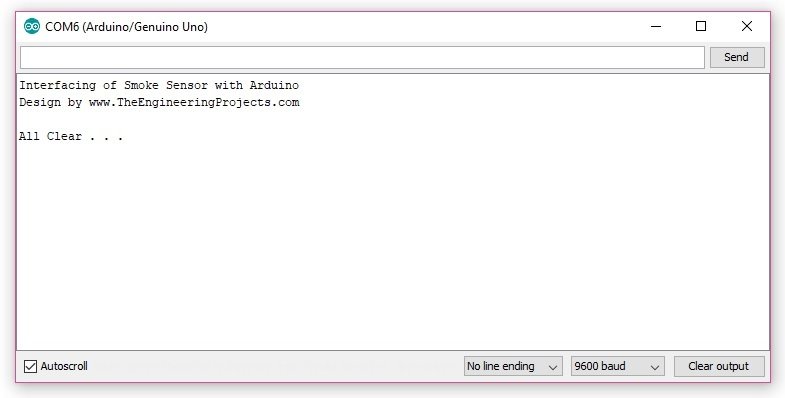
- After uploading the code to Arduino, open your Serial Monitor.
- If everything goes fine then you will get something as shown in below figure:
- Now let me bring the cigarette close to get some smoke. (Cigarettes are injurious to health :P )
- You will get the warning as soon as it will detect smoke as shown in below figure:
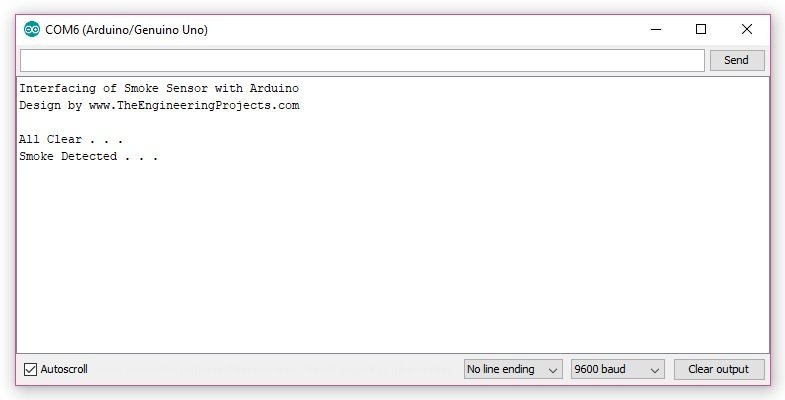
- We got the detection of smoke in our Serial Terminal.

No mention of calibrating the MQ2 sensor/breakout PCB, because not all MQ2 sensors are the same.
The analogue output level can vary enormously in clean air, and setting a value of 500 for the alarm level is pointless if your MQ2 analogue output is already at 500 in clean air.
Also, no mention of leaving the MQ2 powered up to stabilise (see MQ2 data sheet).
According to the MQ2 data sheet, it depends up on how long the MQ2 has been in storage and or unused for as to how long the MQ2 has to be left powered up to stabilise, this can be anything from a few minutes if the MQ2 has only been in storage a very short period of time to a few days if the MQ2 has been in storage for a few months. Even if it has only been powered off for a few minutes, the MQ2 requires a warm-up period.
All this can be found in the MQ2 data sheet.
So beware, setting a value of 500 for an alarm might be a good starting point, but this value is completely dependant upon the MQ2 that you have.
For example, I have three MQ2 sensors on breakout PCBs in front of me, they have been left powered from 5v for 7 days. One has an analogue output value of only 20 in clean air, the next MQ2 has an analogue output value of 400 in clean air, the third MQ2 has had to have the load resistor value changed from 1k on the breakout PCB to 500 ohms in order to get the analogue output value down to under 400 in clean air.
The MQ2 with an analogue output of only 20 needs the load resistor value increased somewhat.
NOT ALL MQ2 SENSORS ARE THE SAME, even when purchased at the same time from the same dealer!
Regards,
Kay.
Comments
2