tis tutorial is quite basic and is for the newcomers, who wants to start working on the Arduino software, if you have already run some codes on your Arduino then its not for you. You can skip it. Anyways, It's quite easy and it won't take much time. So let's get started with it.
Installation of Arduino driver in Windows
- First of all, download the Arduino software from Arduino official website. Download the most reent version of Arduino software, which is 1.6.3 while writing this post.
- After downloading the software, now plug your Arduino USB into computer.
- You will hear a small beep and Windows will try to intall the driver itself, but finally a yellow box will appear on the taskbar saying driver can't be installed.
- If you haven't bought your Arduino UNO yet, then you can buy it from this reliable source:
- So, now right click on your My Computer, open properties, then click on Device Manager and you will get a Window as shown in below figure:
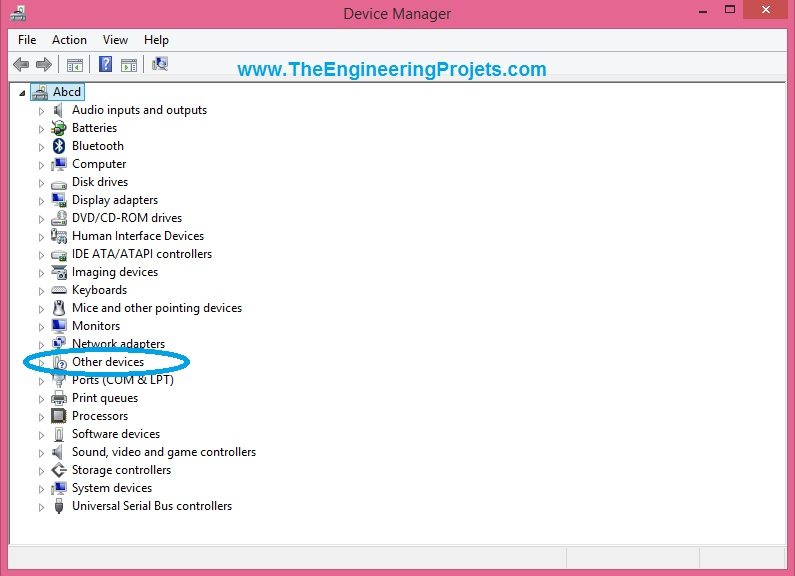
- Now click on Other devices which is encircled in the above figure and you will get a new element named as Unknown device. This Unknown device is actually our Arduino UNO on which we are going to install the driver.
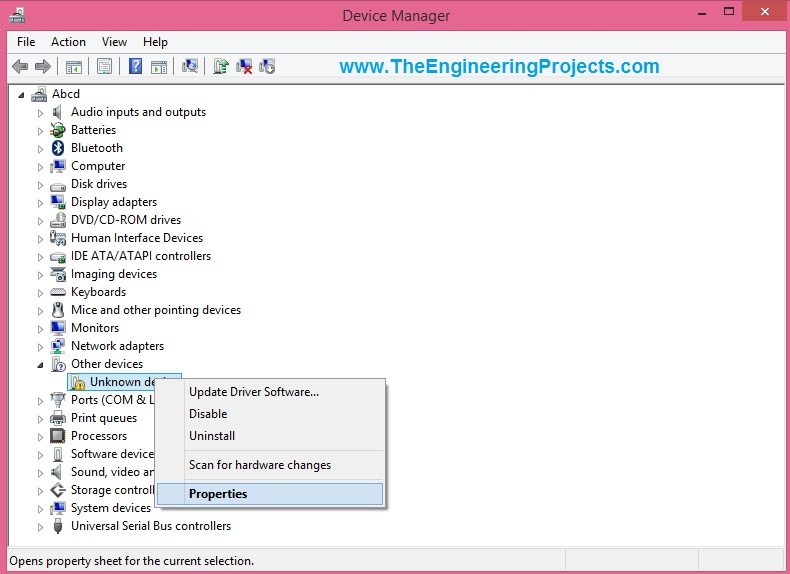
- Right click this Unknown device and then click on the Update Driver Software.
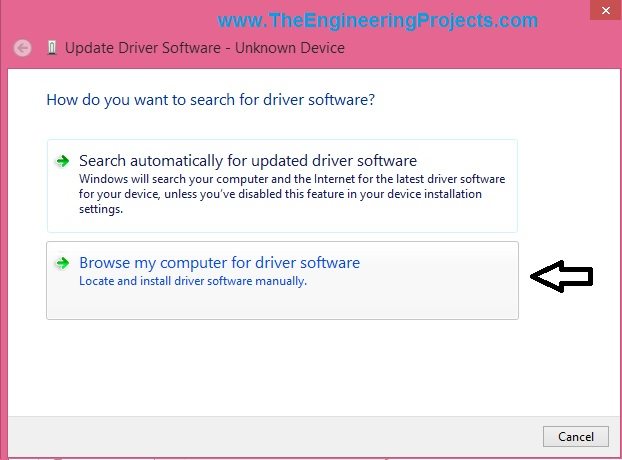
- As you click on it, it will give you two options so click on the below one which says Browse My Computer For Driver Software.
- On clicking it, you will get a Browse option, so now Browse in the Arduino software folder which you downloaded from the Arduino website and then open the drivers folder as shownin below figure and then hit NEXT button.
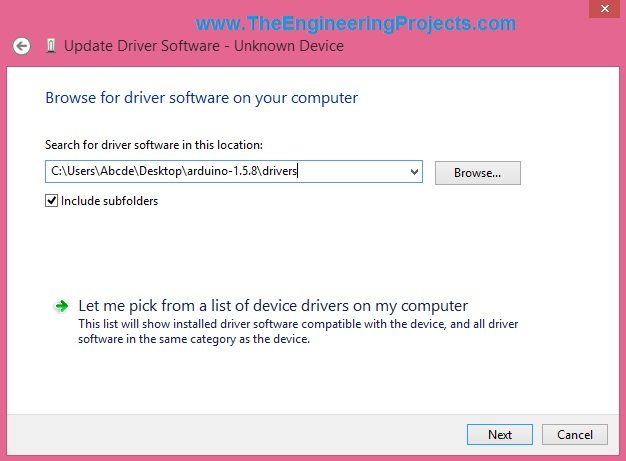
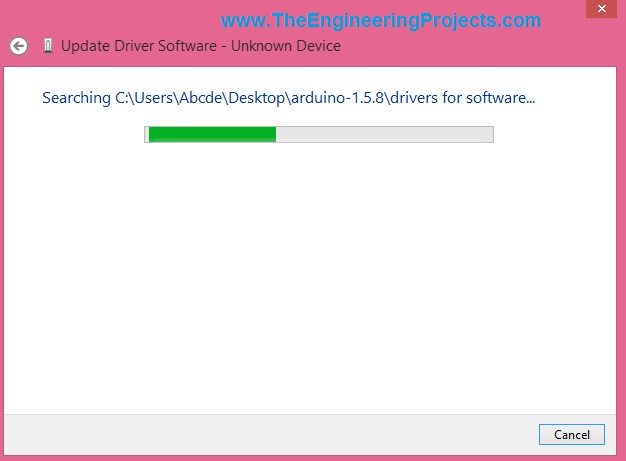
- After clicking the Next button, it will start installing the driver as shown in below figure:

- After the successful installation, it will show a window as shown below:
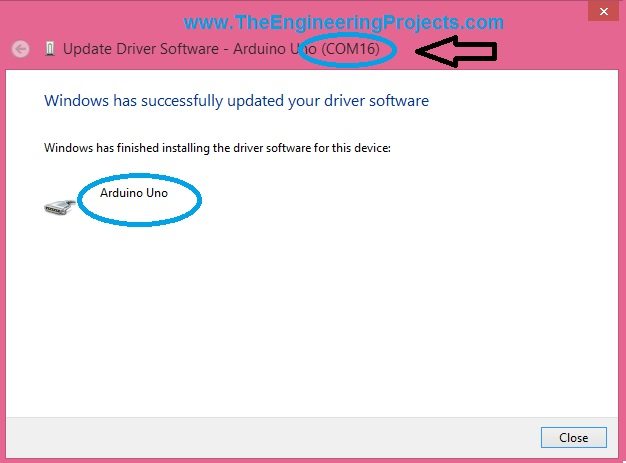
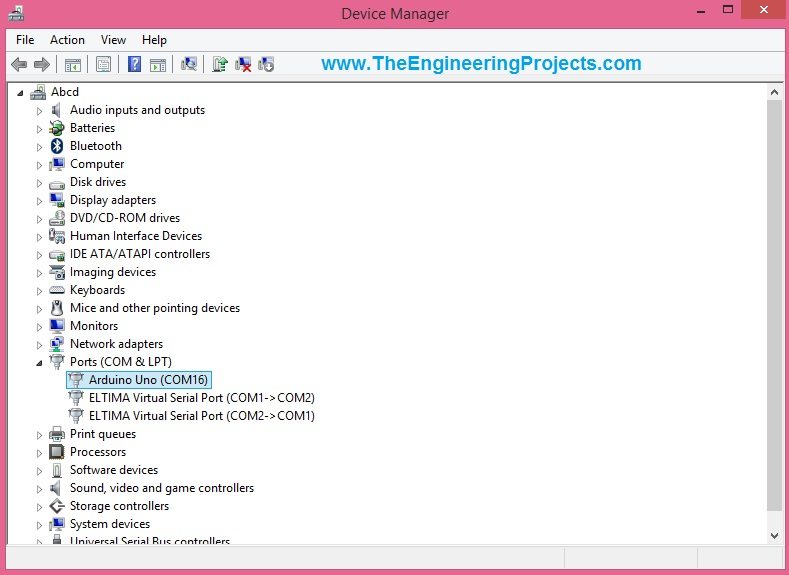
- So, now we have succesfully installed the Arduino driver for Windows and if you check it has also assigned the Com Port to Arduino, which is COM16 in my case, as shown in above figure.
- It will also be updated in the Device Manager as shown in below figure:
- That's it, Arduino driver in Windows is succesfully installed and now you can use it and can upload the programming code in it, which we will see in the next post.


