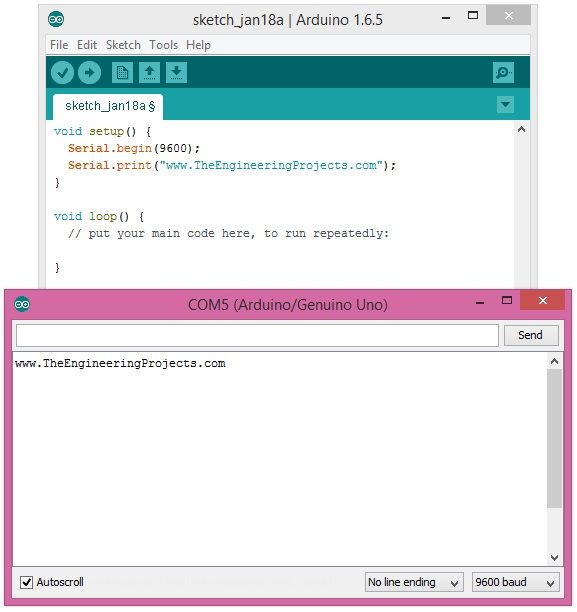
Moreover, I hope that's going to be my last lecture on Arduino Serial Port because I have covered it in full detail. Although I am going to summarize all the Arduino Serial Post Commands in a single Post. You should also have a look at How to do Arduino Serial communication because, in that tutorial, I have combined all Arduino Serial Projects. Anyways, let's get started with How to use Arduino Serial Flush:
| Where To Buy? | ||||
|---|---|---|---|---|
| No. | Components | Distributor | Link To Buy | |
| 1 | Arduino Uno | Amazon | Buy Now | |
How to use Arduino Serial Flush?
- Arduino Serial Flush is used to flush the data sent through Arduino Serial Port.
- When we send data on a serial port through Arduino then we use the command Serial.print() or Serial. write().
- So when the data is sent it is sent using interrupt and when we use Arduino Serial Flush command then it makes sure that all the data is sent through serial port and nothing's left in the stream.
- In simple words, it clears the serial data stream and kind of refreshes it and also makes you ready to send the next data.
- Here's the syntax to use the Arduino Serial Flush command:
Serial.flush();
- It doesn't return anything that's why we haven't assigned any variable to it.
- It's just a simple function that clears the data on the transmitting pin of Arduino.
- Now, if you want to remove that on receiving pin of Arduino, then you just need to write this command:
while(Serial.available());
- But you make sure while using the above command because if you are receiving the data continuously then your code will remain stuck and won't move forward unless you got the complete data.
- So, here's the small code which I have also used in the Arduino Serial Write tutorial but now I am using the Arduino Serial Flush command too.
- So, here's the code:
#include

// initialize the library with the numbers of the interface pins
LiquidCrystal lcd(13, 12, 11, 10, 9, 8);

void setup() {
  // set up the LCD's number of columns and rows:
  lcd.begin(20, 4);
  // Print a message to the LCD.
  lcd.setCursor(1,0);
  lcd.print("www.TheEngineering");
  lcd.setCursor(4,1);
  lcd.print("Projects.com");
  lcd.setCursor(1,0);
  Serial.begin(9600);
 // lcd.clear();

  Serial.write("www.TheEngineeringProjects.com");
  Serial.flush();
}

void loop()
{
}
- In the above code, I have simply added the Arduino Serial Flush code and now it will take a little more time to complete because now it will make sure that all the data has been sent.


