Welcome to the next tutorial of our raspberry pi four programming course. Before, we saw how to connect a Raspberry Pi 4 to a relay with four independent channels. To complement the relay circuit, we programmed a python script to turn on and off a single bulb. However, in this tutorial, we'll show you how to connect a GPS module to a Raspberry Pi 4.
Raspberry Pi 4, one of the most popular embedded platforms, has made it simple for developers to obtain location data via a GPS module, allowing them to create devices with a greater reliance on precise positioning. Because of the Raspberry Pi's i ...
Hello friends, I hope you all are doing well. Today, I am going to share the 8th tutorial of Section-III in our Raspberry Pi Programming Series. In the previous tutorial, we interfaced the temperature sensor DS18B20 with Raspberry Pi 4. In today's guide, we'll discover another temperature sensor BMP180 and will interface it with Raspberry Pi 4.So, let's get started:
Project DescriptionIn today's tutorial, we will interface the BMP180 sensor with Raspberry Pi 4 and will display the values of temperature, barometric pressure and altitude in the Raspberry Pi Console Window.
Components Required
...
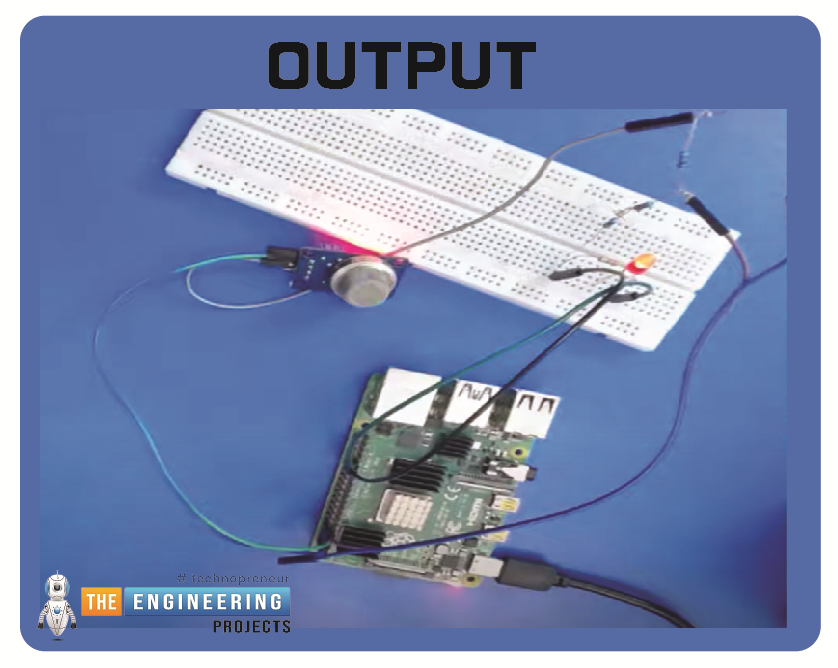
Hello friends, I hope you all are having fun. Today, I am going to share the 9th tutorial of Section-III in our Raspberry Pi 4 Programming Course. In the previous tutorial, we interfaced an air pressure sensor BMP180 with Raspberry Pi 4. In this tutorial, you'll learn how to interface an MQ-2 gas sensor with a Raspberry Pi 4. Many apartments, residences, and workplaces rely heavily on these gas sensors to detect smoke or gas and alert the appropriate personnel in an emergency. In addition to gas and smoke, this sensor is sensitive to various odorous gases.
Project DescriptionToday, we will in ...
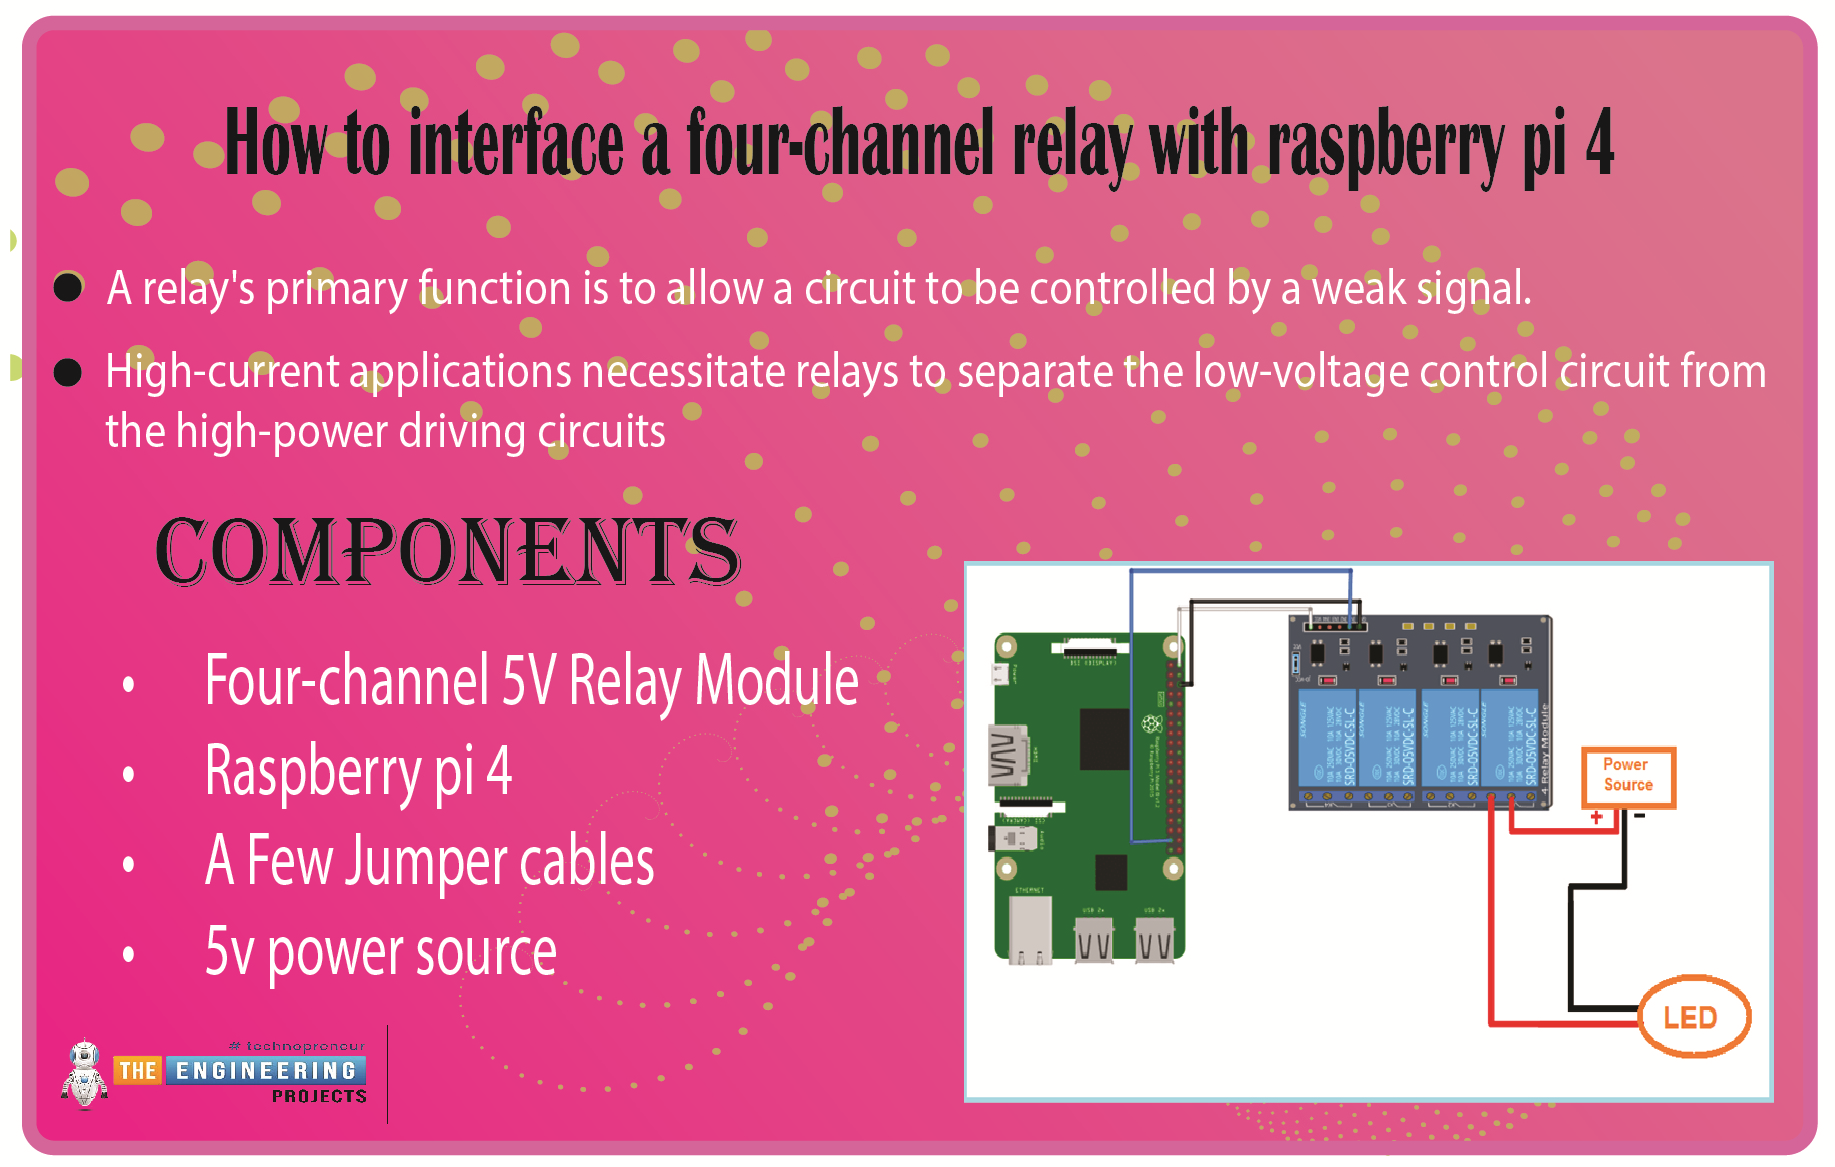
We learned in the previous tutorial how to connect a joystick to a Raspberry Pi 4 using an mcp3008 and an op-amp IC, the LM324A. For each of the interface methods we studied, we created a python script allowing us to interact with the circuit. This tutorial will show you how to connect a 4-channel relay module with a Raspberry Pi to carry out switching.
A relay's primary function is to allow a circuit to be controlled by a weak signal. High-current applications necessitate relays to separate the low-voltage control circuit from the high-power driving circuits. Because of this, understanding i ...
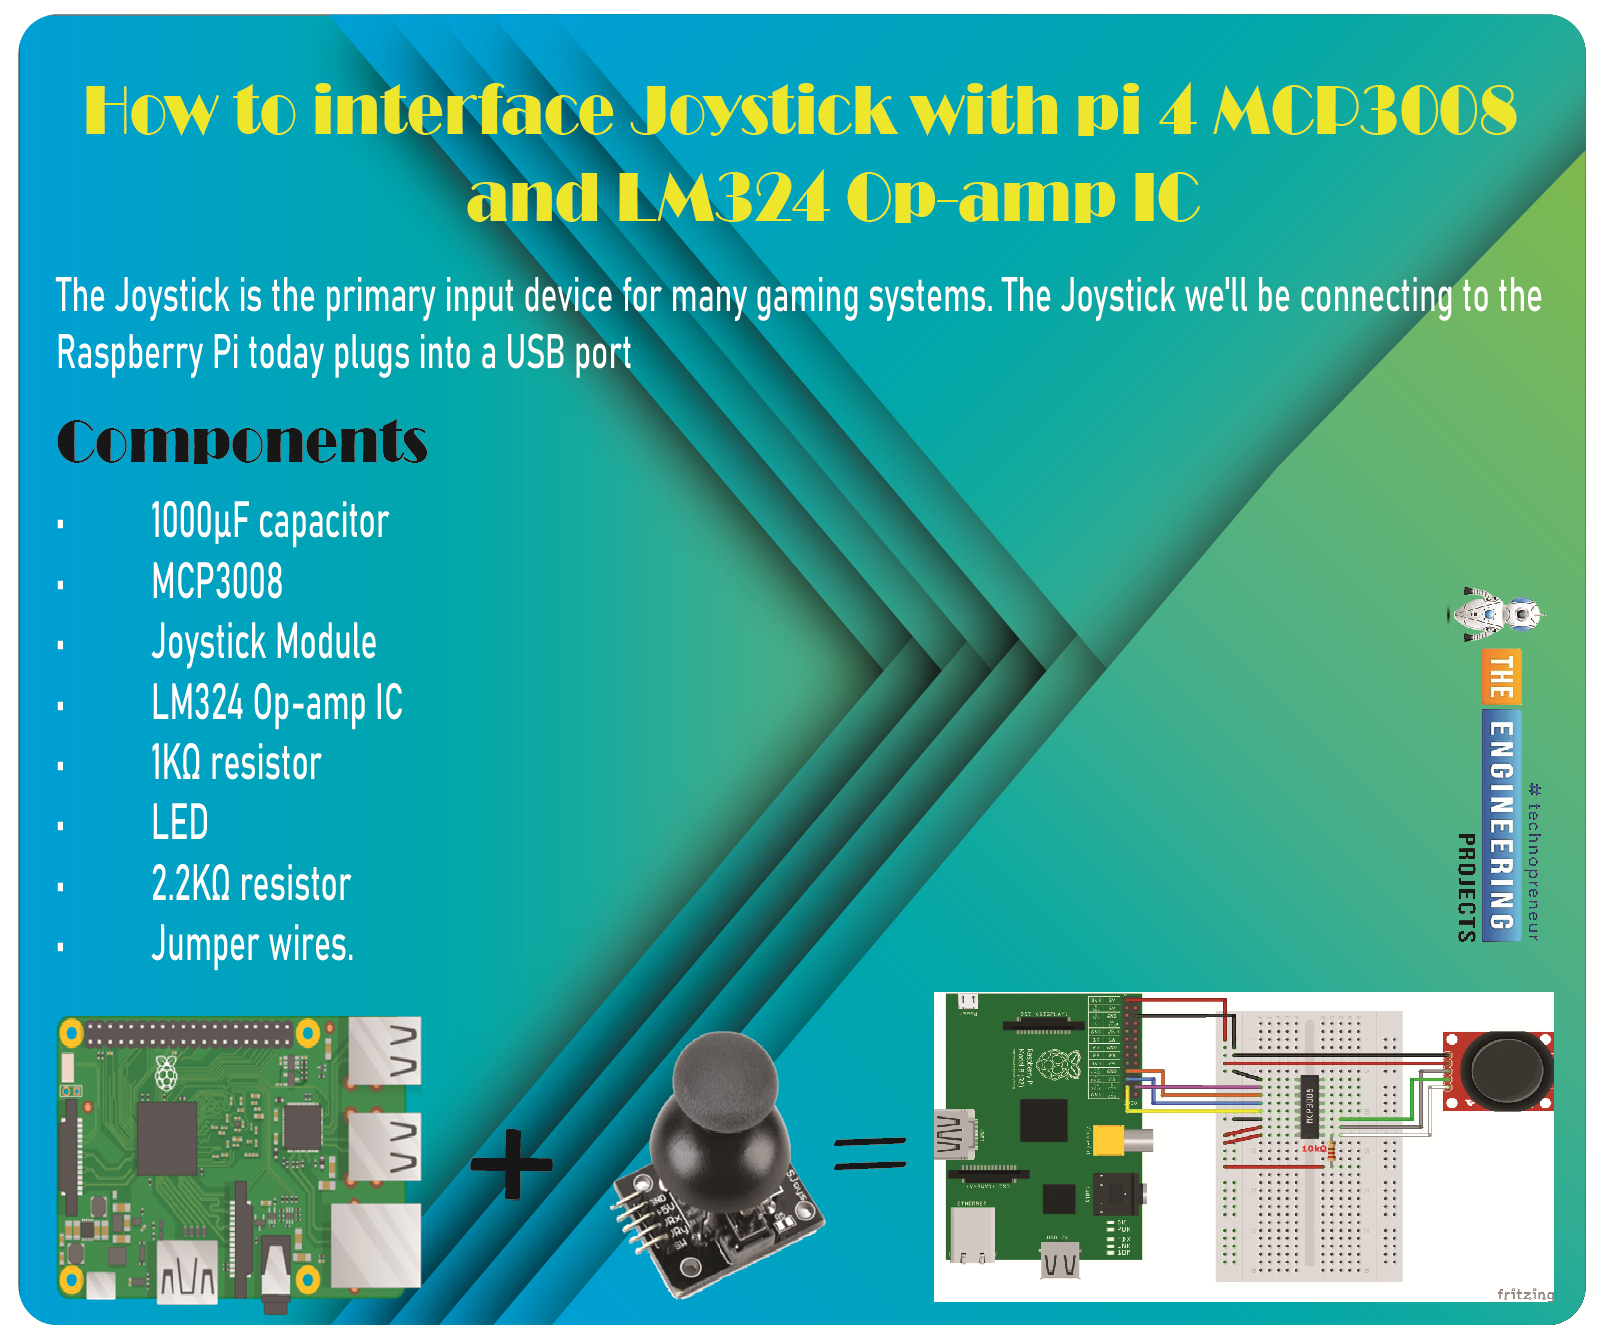
Greetings, and welcome to the next tutorial in our series on programming for the Raspberry Pi 4. The previous tutorial showed us how to connect a 4x4 keypad to a Raspberry Pi 4. In the previous tutorial, we examined the inner workings of the 4-by-4 keyboard; in this one, we'll use the MCP3008 and the LM324 Op-amp IC to connect a joystick to the Raspberry Pi 4. The Joystick is the primary input device for many gaming systems. The Joystick we'll be connecting to the Raspberry Pi today plugs into a USB port, but there are plenty of situations when having access to the Pi's GPIO pins would be us ...
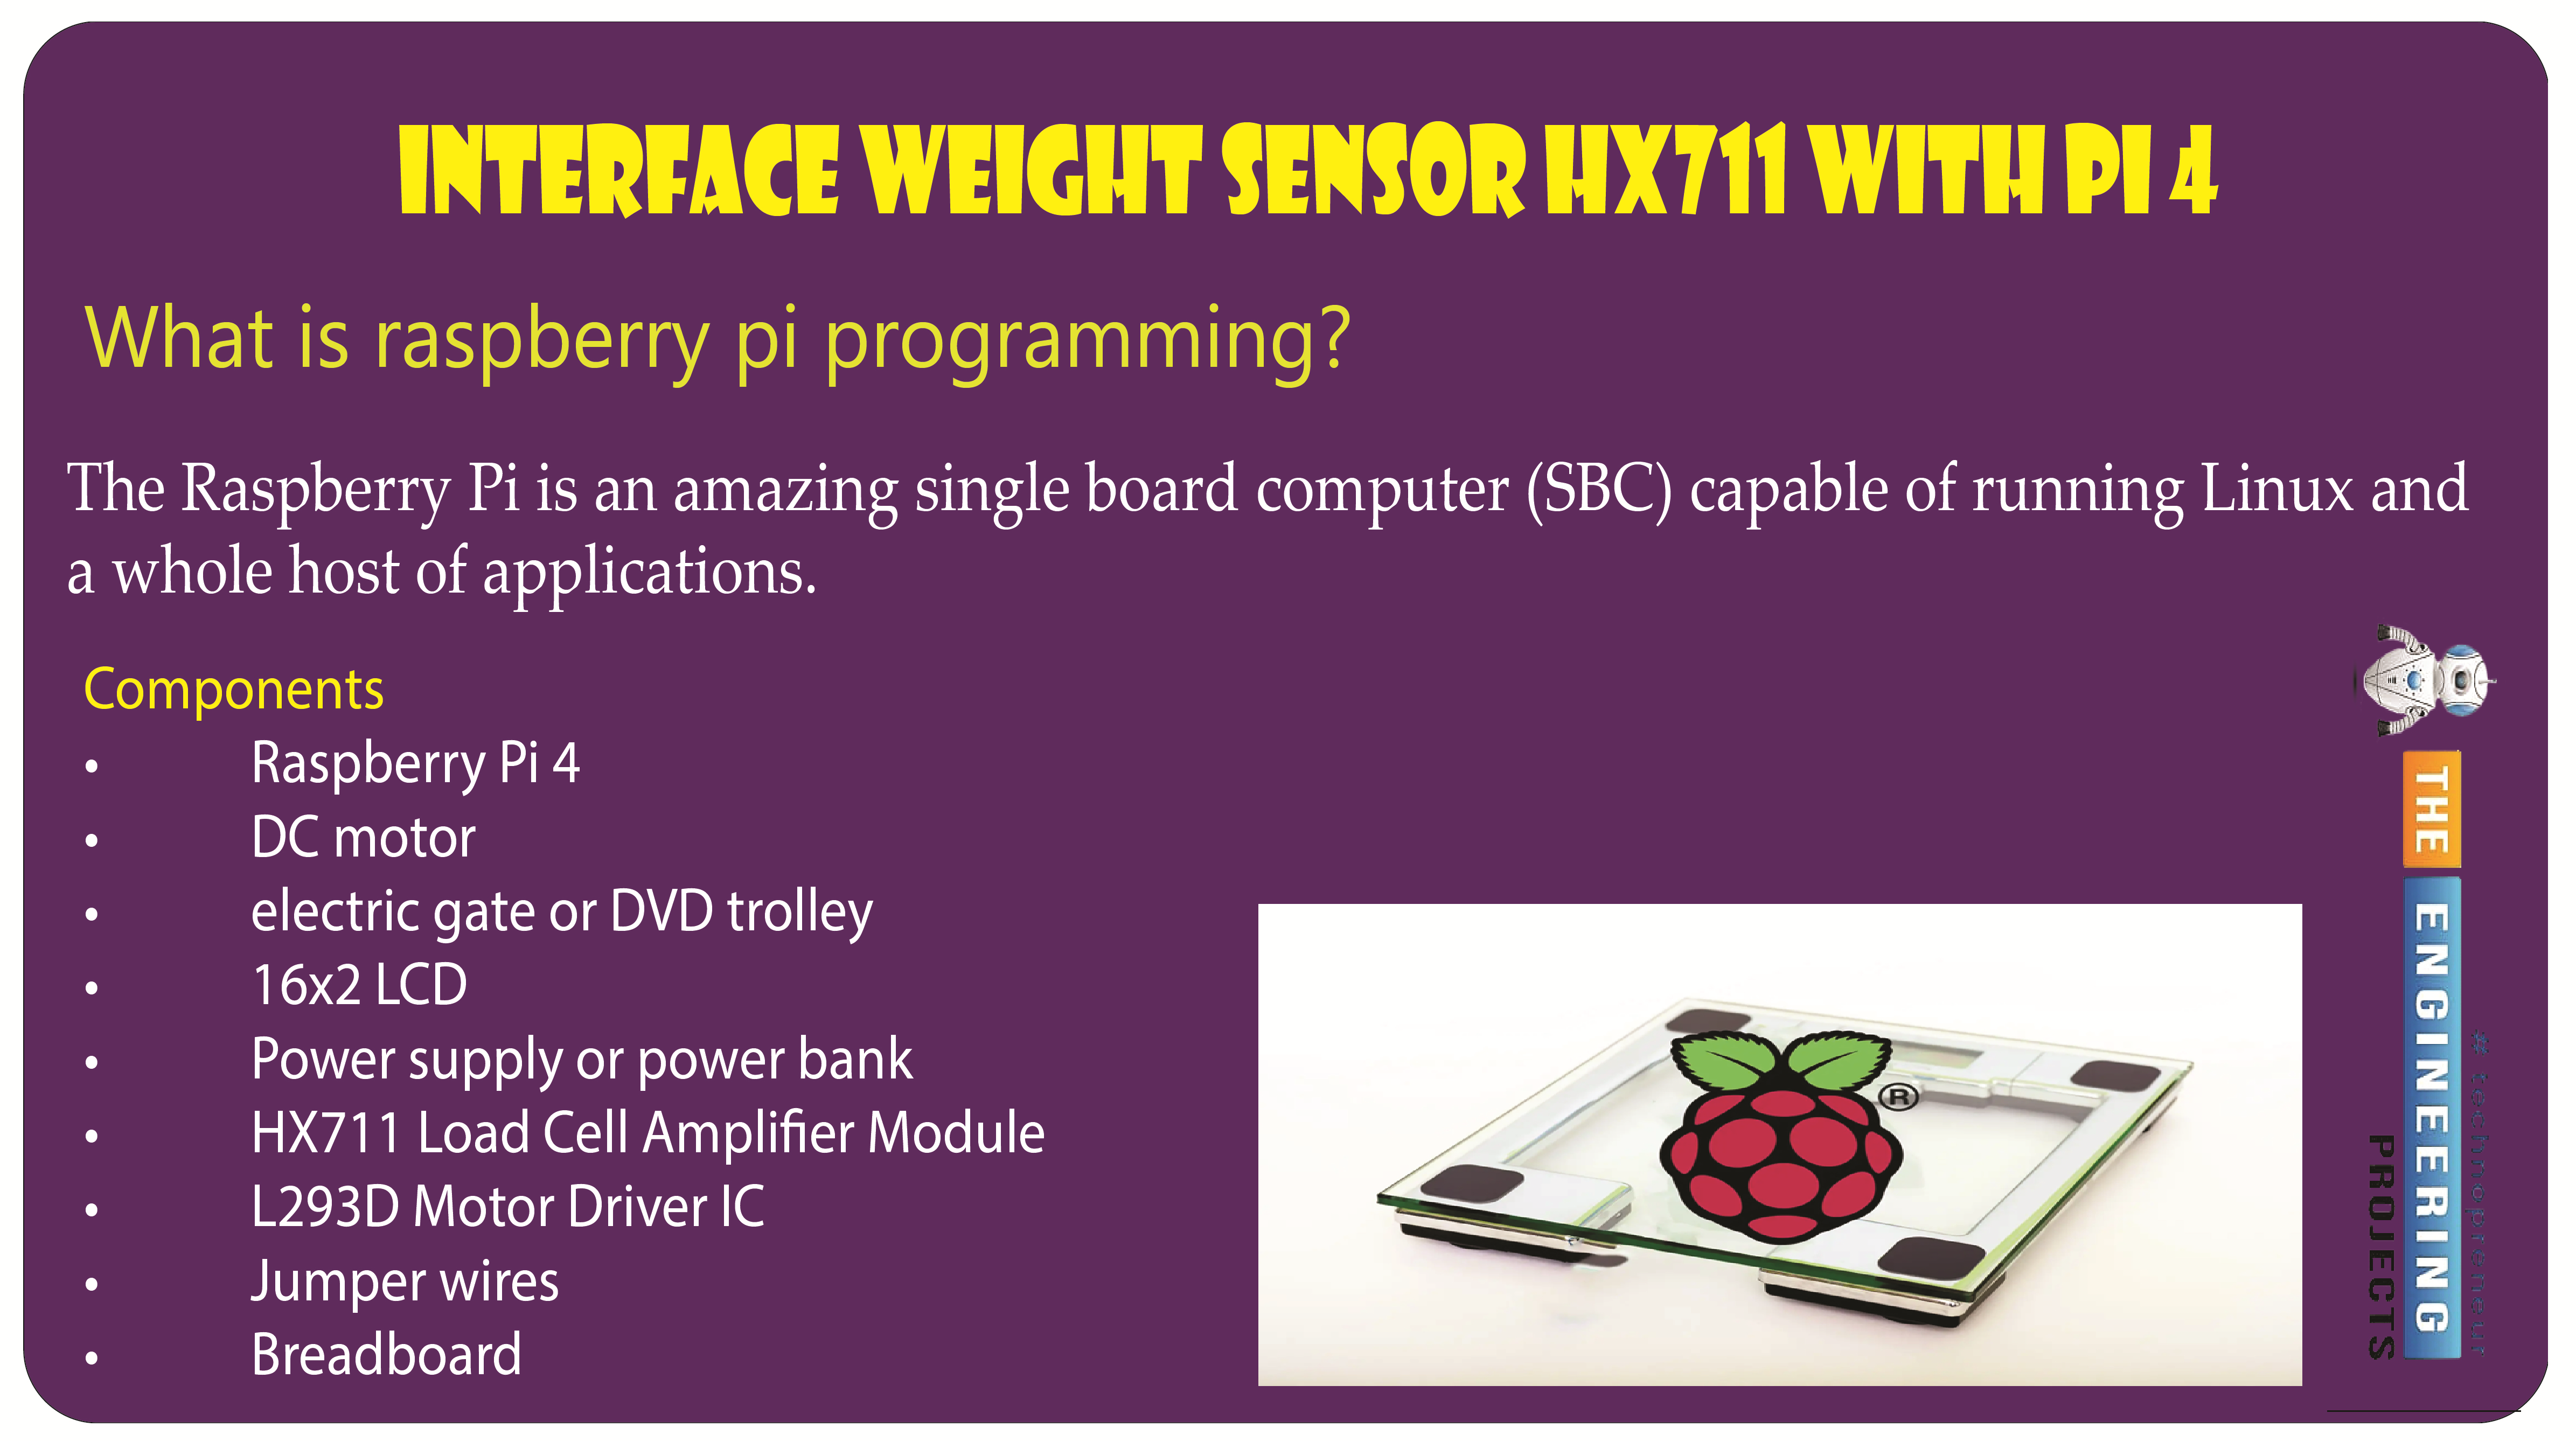
Welcome to the next tutorial of our raspberry pi programming tutorial. The previous tutorial showed us how to set up a weather station using the Internet of Things (IoT) on a Raspberry Pi 4. First, we studied how a weather station works on a fundamental level. Then we developed a Python script to collect data from the station. In contrast, we'll construct an automatic gate using a Raspberry Pi, a load cell, and an HX711 weight sensor.
These pressure-sensitive gates are common in shopping centers and showrooms; they open when someone is in the immediate vicinity and close again when the person ...


 Getting Started Guide
 Help Center
 Contact us
 Doist Blog
 Privacy
 Security
 Terms of Service
 What's new: Channel Descriptions


 1 user


 2
2


 20K
20K 900
900 900
900 20K
20K


