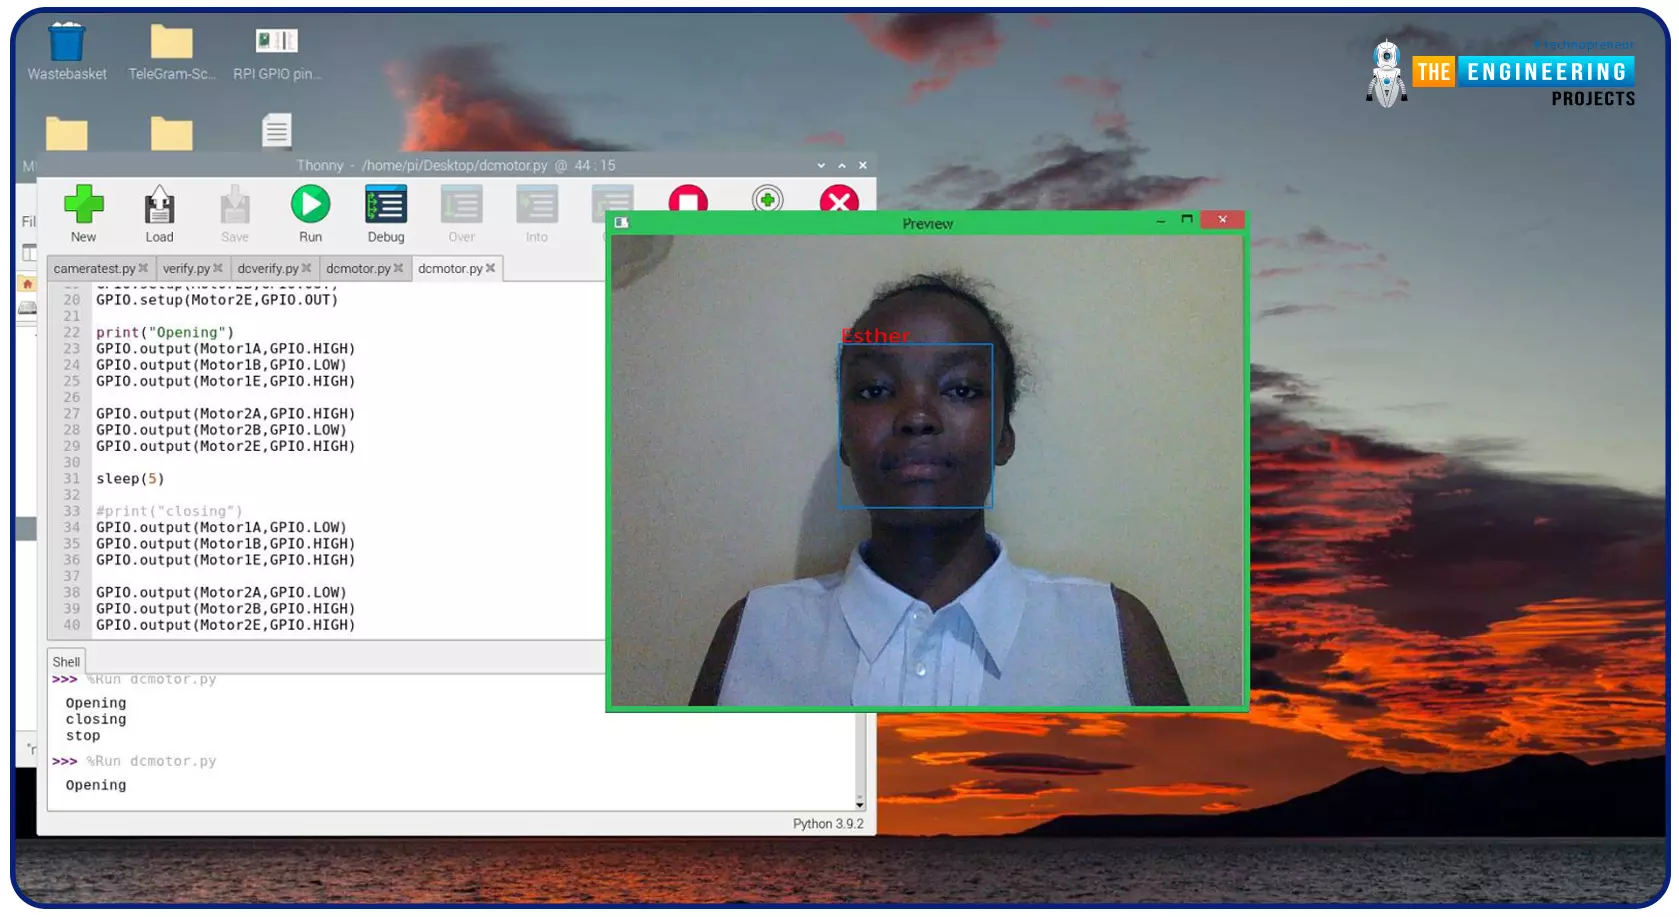
Greeting, and welcome to the next tutorial of our raspberry programming tutorial. In the previous tutorial, we learned how to build a smart attendance system using an RFID card reader, which we used to sign in students in attendance in a class. When it comes to building a face-recognition program on a Raspberry Pi, this tutorial will show you how. Two Python programs will be used in the lesson, one of which is a Training program that analyzes a collection of photographs of a certain individual and generates a dataset. (YML File). The Recognizer application uses the YML script to detect a face ...
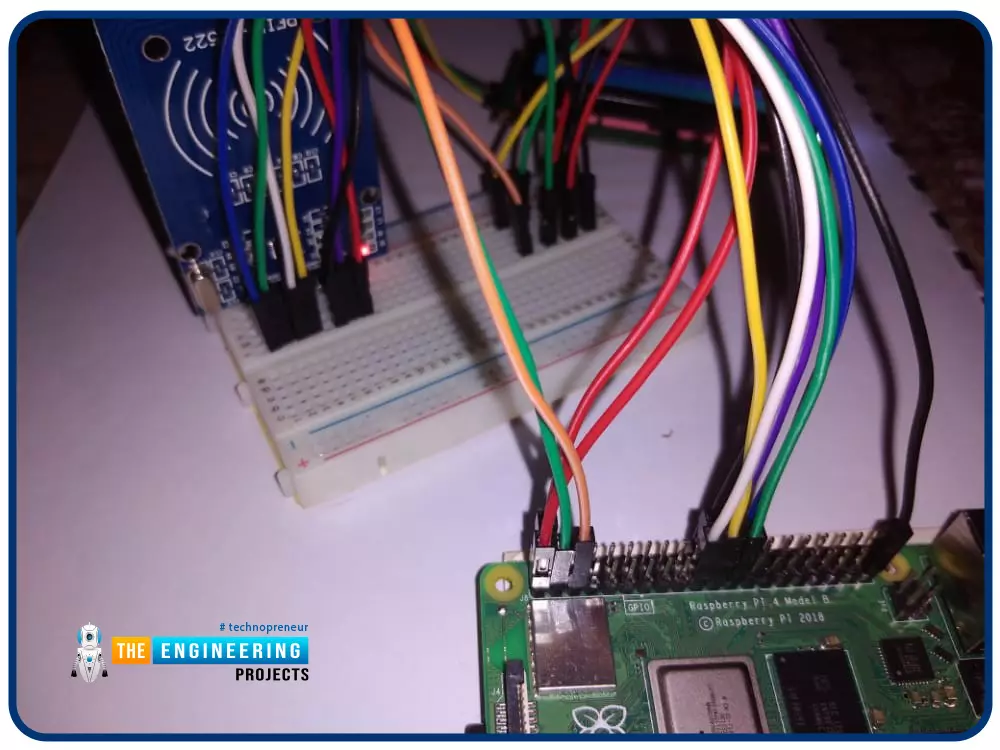
Greetings! This is the complete project of our Raspberry Pi 4 tutorials. In our previous tutorial, we learned to set up our raspberry pi as a virtual private network server. In this tutorial, we will design a smart attendance system using an RFID card reader, which we will use to sign in students in attendance in a class.
First, we will design a database for our website, then we will design the RFID circuit for scanning the student cards and displaying present students on the webpage, and finally, we will design the website that we will use to display the attendees of a class.
Components
...
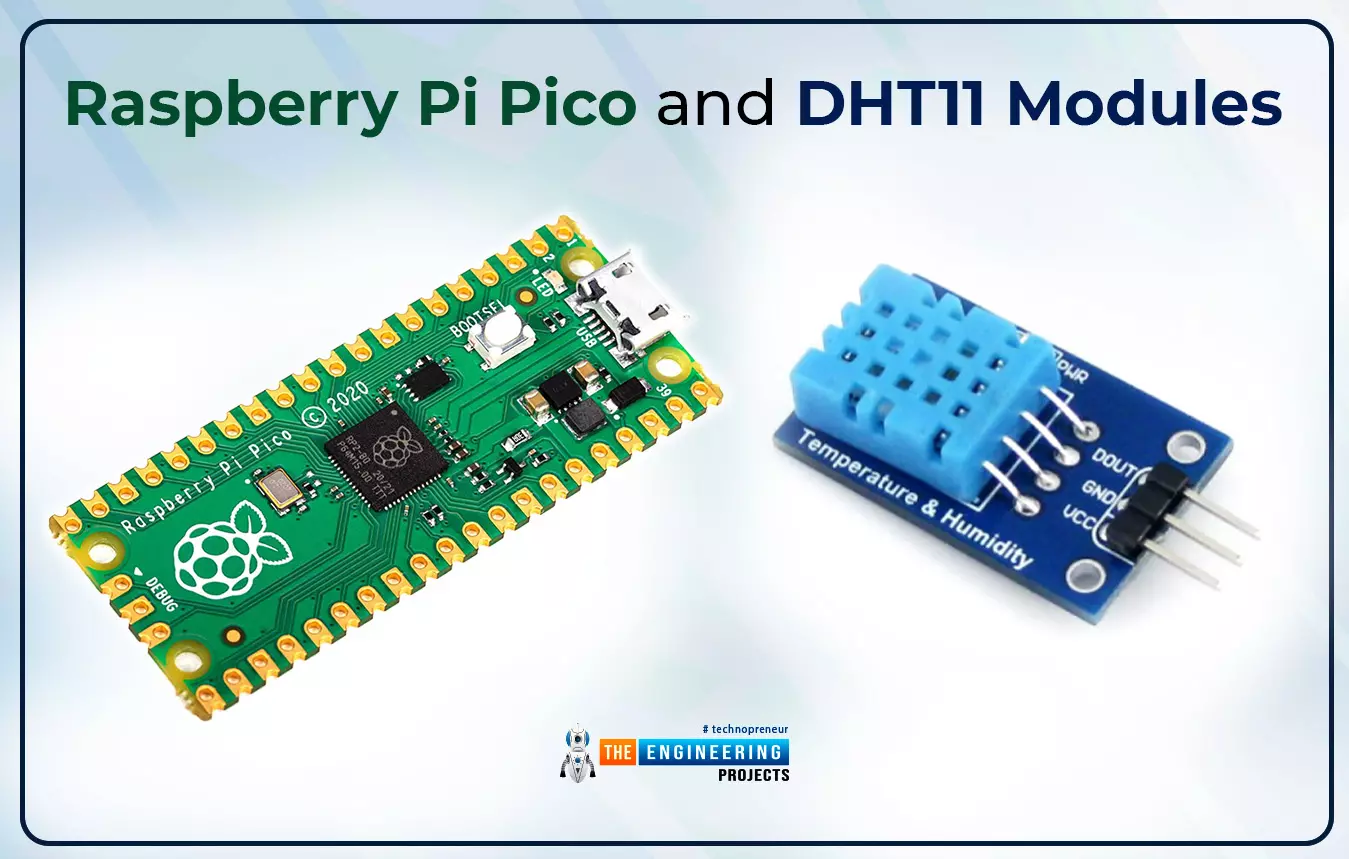
Hello readers, I hope you all are enjoying our Raspberry Pi Pico programming series. In our previous tutorials, we learned how to access Raspberry Pi Pico’s GPIO pins for both input as well as output operations. For demonstration, we used LED as an output component and a push button as an input component.
Now let’s learn how to interface sensor modules with the Raspberry Pi Pico module. So, in this tutorial, we will learn how to interface the DHT11 sensor with the Raspberry Pi Pico module and fetch the observed data (from its surrounding) using the MicroPython programming language.
Before wri ...
Hello readers, I hope your all are doing great. We know that a Raspberry Pi Pico module comes with multiple inbuilt features for example onboard memory, processing units, GPIOs or General Purpose Input Outputs (used to control and receive inputs from various electronic peripherals) etc.
In our previous tutorials, we discussed how to access GPIO pins of the Raspberry Pi Pico module for both input as well as output operations.
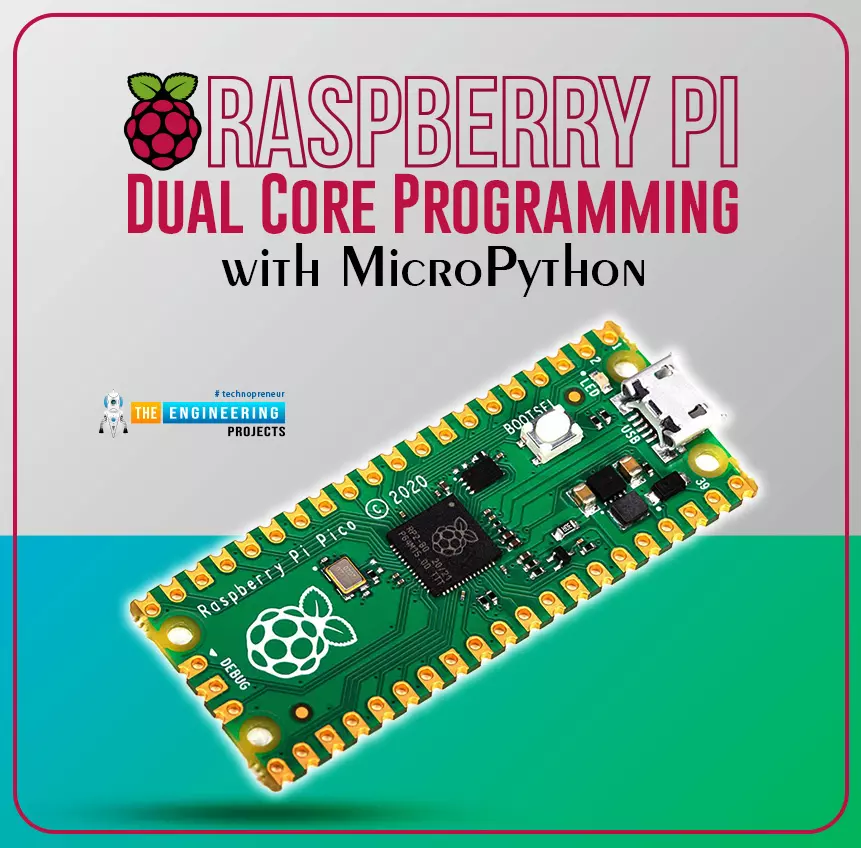
In this tutorial, we are going to discuss another important feature of the Raspberry Pi Pico module (RP2040) which is Dual Core Processor. The Pico board features with 13 ...
Hello readers, I hope you all are doing great. In our previous tutorial, we discussed the implementation of pulse width modulation (PWM) in Raspberry Pi Pico using the MicroPyton programming example. We also implemented the LED brightness control program to demonstrate an application of the pulse width modulation technique.
In this tutorial, we are going to implement another application of pulse width modulation technique which is ‘Direction and position control of a servo motor’ with Raspberry Pi Pico module and MicroPython programming language.
Later in this tutorial, we will also discuss h ...
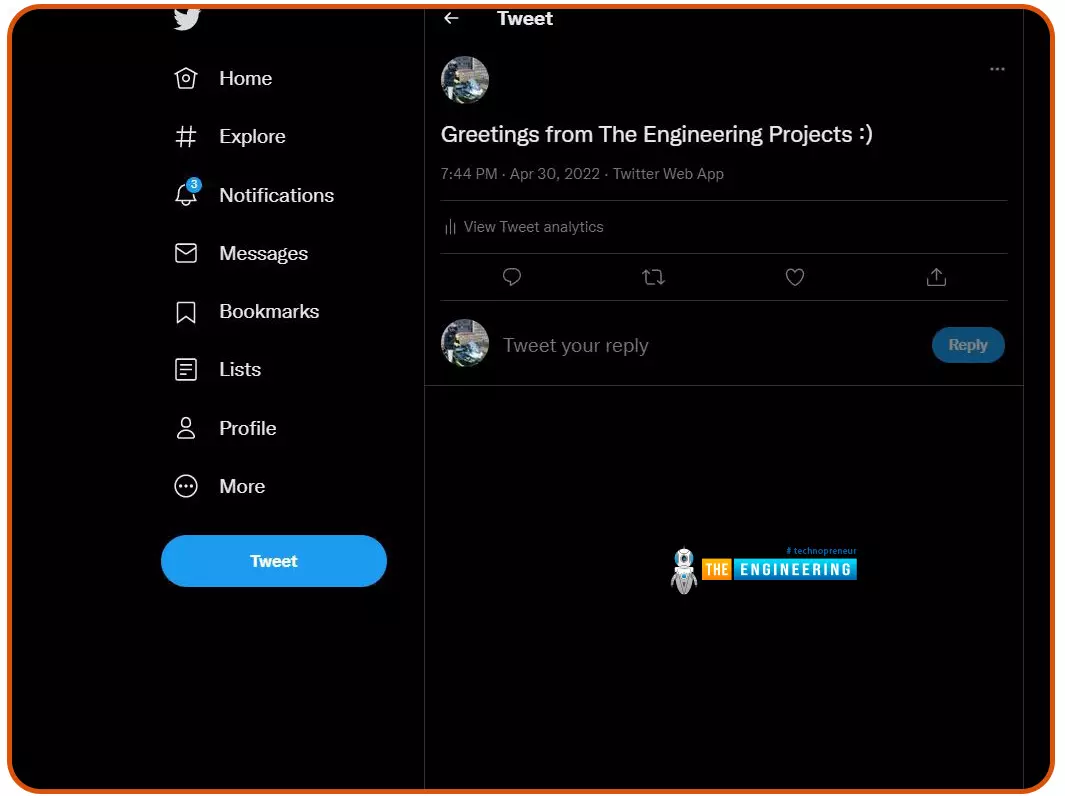
Welcome to the next tutorial of our Raspberry Pi programming course. Our previous tutorial taught us to configure our raspberry pi for voice control. We also discussed some methods of reducing vexing noises so that the voice command program understands you. However, in this lesson, we will learn how to tweet from Raspberry pi.
What will we learn?
Assume you wish to add tweeting into a Raspberry Pi software you're developing. This article will show you how to build a Twitter app, get access privilege tokens, and post a tweet. On our Raspberry Pi, we'll make a simple program that tweets the re ...


 Getting Started Guide
 Help Center
 Contact us
 Doist Blog
 Privacy
 Security
 Terms of Service
 What's new: Channel Descriptions


 1 user


 2
2


 20K
20K 900
900 900
900 20K
20K


