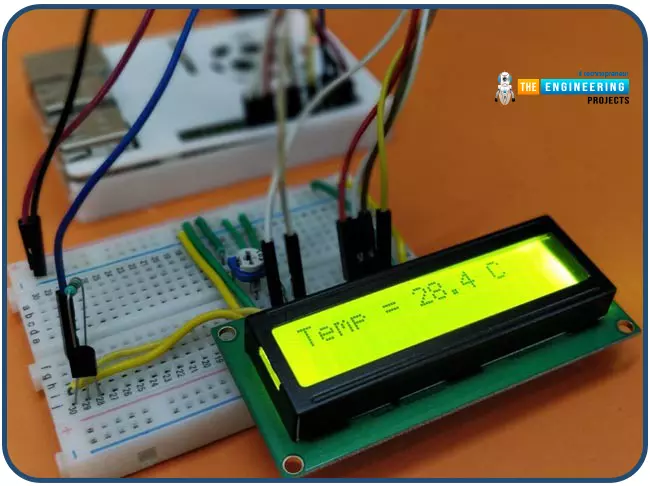
Hello friends, I hope you all are having fun. Today, we are going to share the 7th tutorial of Section-III in our Raspberry Pi Programming Course. In the last tutorial, we interfaced a DHT11 sensor with Raspberry Pi 4 . Today, we are going to interface another temperature sensor i.e. DS18B20 with Raspberry Pi 4. DS18B20 is a popular temperature sensor especially in severe/critical environments i.e. chemical plants, mines, industrial sites etc. because of its 1-wire operational technique and accurate readings up to 4 decimal digits. Project Description Today, we will interface a DS18B20 temperature sensor with Raspberry Pi 4 and will display the values on a 16x2 LCD. Let's have a look at the components required for this project: Components Required Here's the list of components: DS18B20. Ra ...
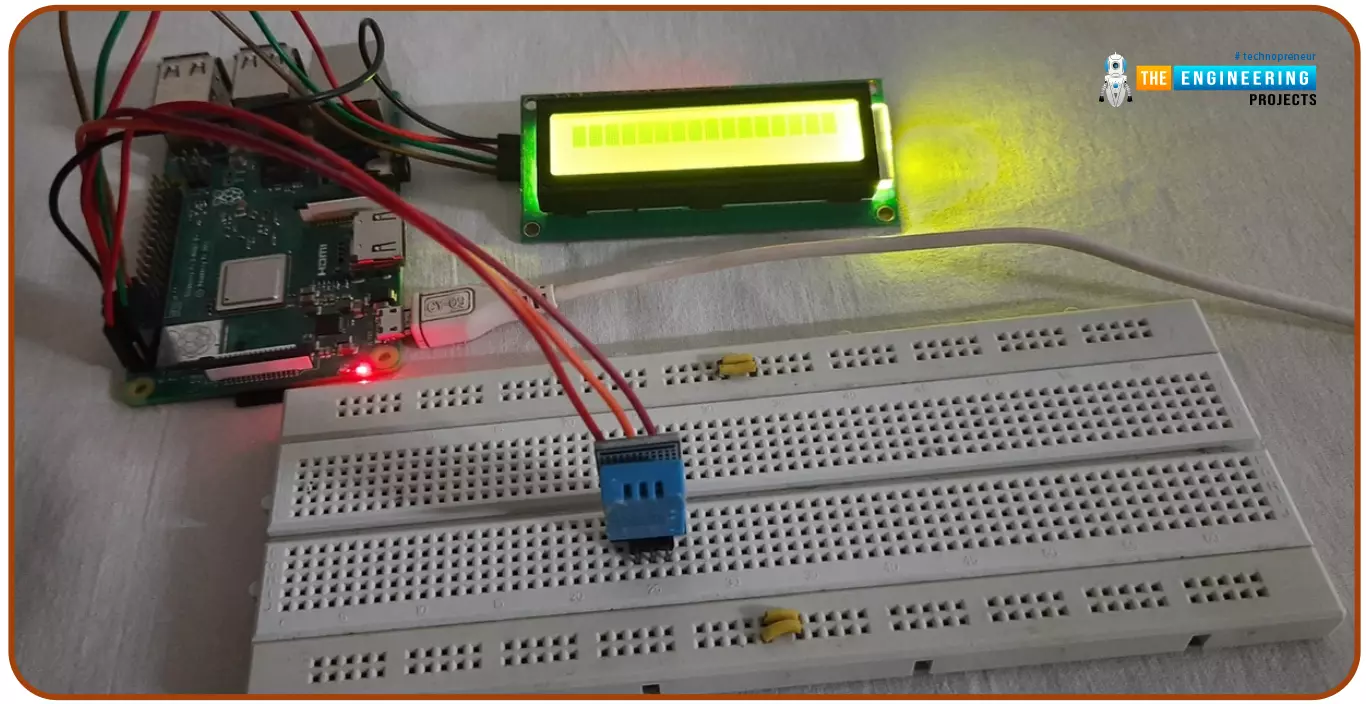
Hello friends, I hope you all are doing great. Today, I am going to share the 6th tutorial of Section-III in the Raspberry Pi Programming Course. In our previous tutorial, we have seen how to interface an Ultrasonic Sensor with Raspberry Pi 4 and used Python to perform its calculations. In today's tutorial, we'll discuss how to interface a DHT11 temperature and humidity sensor to a Raspberry Pi. So, let's get started: Components Here's the list of components, we are going to use in today's circuit: LCD display DHT11 sensor Raspberry pi Breadboard Male-to-female jumper wires What is a DHT11 sensor? DHT11 is a low-cost digital sensor, used to measure temperature and humidity in the surroundings. DHT sensor has three main components i.e. A resistive-type sensor(used to measure humidity) NTC T ...
Hello friends, I hope you all are doing well. Today, I am going to share the 5th tutorial of Section-III in our Raspberry Pi Programming Course. In our previous tutorial, we have seen the interfacing of a PIR Sensor with Raspberry Pi 4 . In today's tutorial, we will interface an Ultrasonic sensor with Raspberry Pi and will use Python to perform its calculations. So, let's get started: Components: Here's the list of components, we are going to use in today's project: Raspberry Pi 4 Ultrasonic sensor Male-to-female jumper wires Breadboard 1k ohm resistor 2k ohm resistor What are Ultrasonic Sensors? An Ultrasonic Sensor consists of a transmitter and a receiver, the transmitter emits the ultrasonic wave, which after hitting some object bounces back and receives by the ultrasonic receiver. If t ...
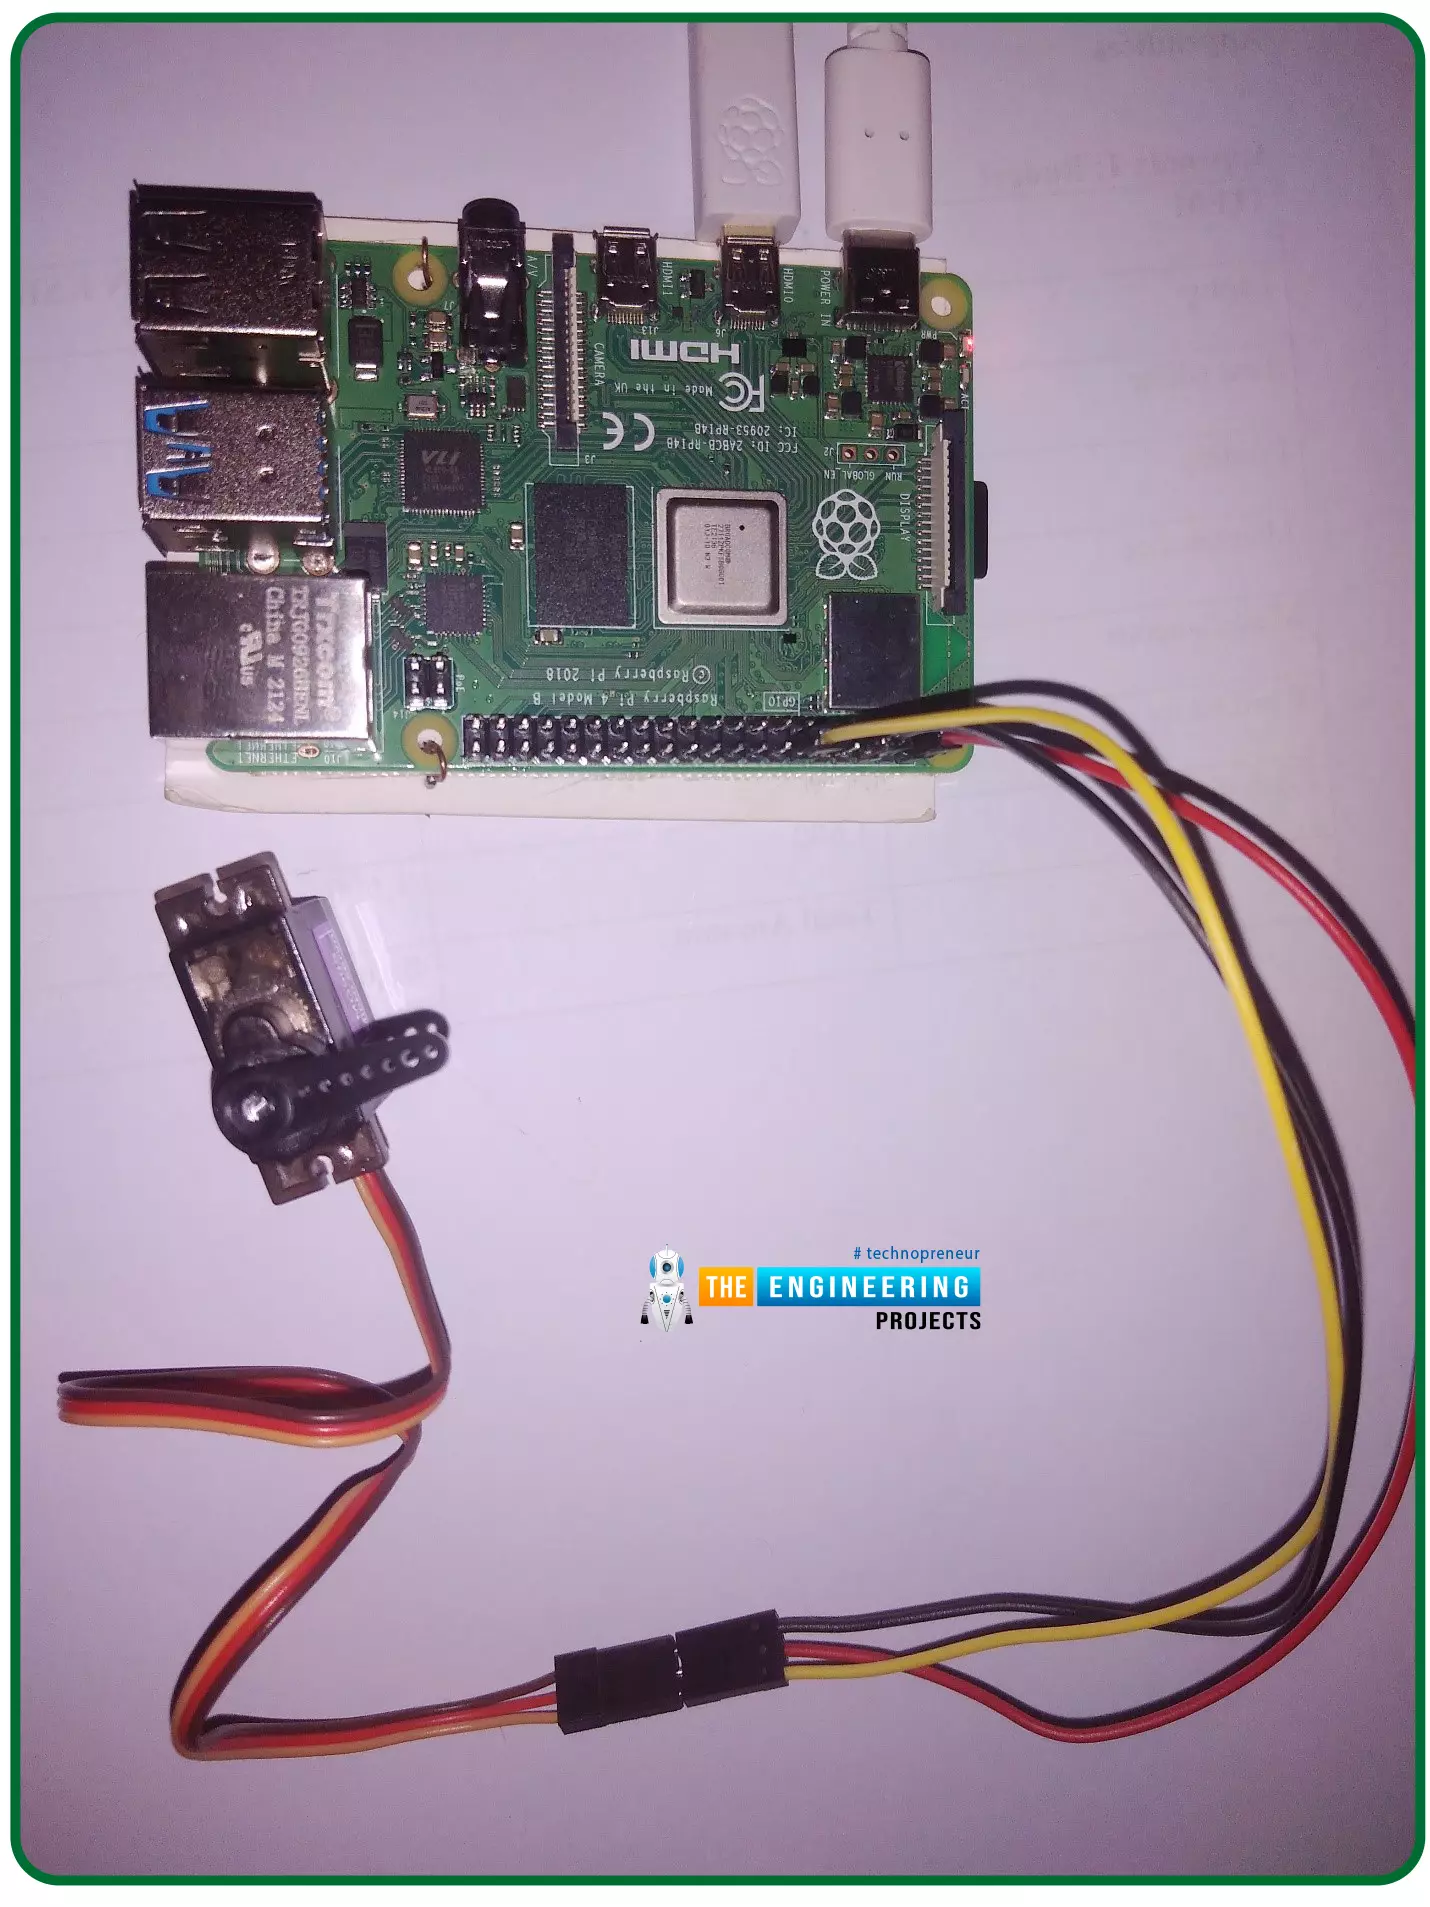
Hello friends, I hope you all are doing well. Welcome to the 11th tutorial of our Raspberry Pi programming course. In the previous chapter, we have seen how to regulate the speed of a Stepper motor with Raspberry Pi 4 . Today, we'll work on the servo motor and will control it with RPi4. So, let's get started: Components Required: We will need the following components to control Servo Motor with Raspberry Pi 4: Raspberry Pi 4. Servo Motor. Male-to-female jumper wires. What is a servo motor? A Servo Motor is a simple DC motor with a position feedback Control System and a gearbox. A Servo Motor's primary advantage is its ability to maintain its shaft's angular position at any desired angle i.e. if we want to keep our shaft at 67 degrees, we can easily achieve that with a servo motor. In most ...
Hello friends, I hope you all are having fun. Welcome to the 10th tutorial of our Raspberry Pi programming course. In the last chapter, PWM was utilized to regulate the DC motor's speed and direction with a motor driver L293D. In this chapter, we'll advance our skills with PWM and use it to control a stepper motor using the same motor driver L293D. Here's the video demonstration of this project: Let's get started: Components Required Here's the list of components, which we will use to control the speed and direction of Raspberry Pi 4: Raspberry Pi 4. Stepper Motor. Motor Driver IC(L293D). Jumper wires. 9V Battery. Breadboard. The Raspberry Pi with desktop is required for this project. An SSH connection can be made, or the RPi can be shown on an LCD screen with a keyboard, and mouse. (We di ...
Hello friends, I hope you all are doing well. Welcome to the 9th tutorial of our Raspberry Pi programming course. In the last chapter, we generated a PWM signal from our Raspberry Pi to control the brightness of an LED. We also studied different functions used in Python to perform PWM. In this chapter, we'll get a bit advanced with PWM and use it to control the speed and direction of a DC motor with the help of a motor driver IC. To control the speed & direction of the DC Motor, we will: Design a Circuit Diagram. Write Python code. Components Required We will use the following components to control the DC motor speed: Raspberry Pi 4. DC Motor. Motor driver IC(L293D). Breadboard. Jumper wires. Controlling DC Motor speed with Raspberry Pi 4 In order to control the DC motor with any microcont ...
Hello friends, I hope you all are doing great. It's the 8th tutorial in our Raspberry Pi programming course. In the previous lectures, we interfaced LCD 16x2 and Keypad 4x4 with Raspberry Pi 4 . In this chapter, we are not going to interface any external module with Pi, instead, we'll create a PWM signal in the raspberry pi using Python. Let's get started: Components Required We are going to use the below components in today's PWM project: Raspberry Pi 4. LED. A resistor of 330 ohms. Breadboard. Jumper wires. Before going forward, let's first understand what is PWM: What is PWM? In PWM(Pulse Width Modulation) , we simply turn on and off our power supply at regular intervals and thus reduce the average power of the signal. We have shared a detailed tutorial on Introduction to PWM(Pulse Widt ...
Hi Friends! Hope you’re well today. I welcome you on board. In this post today, I’ll walk you through Cloud Computing Services. The requirement to process and store data varies from business to business. Some organizations can handle data in on-site data centers. They have a team of experts who handle IT infrastructure and install, maintain and upgrade hardware based on the availability of data. This approach is expensive, no doubt. Some companies, however, don’t accept this model. They prefer cloud computing which is the availability of on-demand IT infrastructure over the internet. This model sets them free from handling and managing on-site data centers, instead, everything is managed and controlled by the cloud service providers. End users only pay for the computing services they use. ...
Hello readers, I hope you all are doing great. In our previous tutorial, we discussed the installation procedure of Visual Studio Code for programming Raspberry Pi Pico. We have already mentioned in our previous tutorials that RP2040 or Raspberry Pi Pico supports multiple programming languages like C/C++, Circuit python, MicroPython cross-platform development environments. Raspberry Pi Pico module consists of a built-in UF2 bootloader enabling programs to be loaded by drag and drop and floating-point routines are baked into the chip to achieve ultra-fast performance. There are multiple development environments to program a Raspberry Pi Pico board like Visual Studio Code, Thonny Python IDE, Arduino IDE etc. So, in this tutorial, we will learn how to install Thonny Python IDE to program the ...
Hi Guys! Glad to have you on board. Thank you for clicking this read. In this post today, I’ll walk you through the Types of Internet of Things (IoT). IoT has been around for a while and has started making the headlines over the past couple of years. Some people experience IoT in their everyday life but are not aware of what it actually is. When physical objects “things” interact with the digital world, IoT is born. In simple words, it’s the network of connected devices integrated with sensors that work to exchange and share data over the internet. It is a rapidly growing technology with more than 18 billion connected IoT devices today and with the inception and boost of 5G technology this figure is expected to touch 125 billion by 2030. Experts say we may witness the stage when everything ...