Hey, everyone, hope you are doing great. In today's article, we are going to explore C# Checked ListBox Control. In the previous article, we discussed in details about C# TextBox, C# Label, C# ListBox, C# ComboxBox and C# Button. C# Checked ListBox plays very important role in Point Of Sale applications. In some words, we can say this is a combination of check boxes and list. C# Checked ListBox is used to gain specific information from end-user. It's mostly used in survey-based application to gain the voting for a specific purpose.
We will work with Checked ListBox same as we have worked with ListBox & ComboBox. You can use C# Checked ListBox for multiple purposes. You can use this as the attendance taker to mark the attendance of students.
C# ...
Hello, everyone, I hope you are doing great. In this tutorial, I am going to explain you about C# checkbox control, in my previous tutorials I have already explain you, C# RadioButton Control, C# ListBox Control, C# Button Control and C# Checked ListBox Control. C Sharp checkboxes have their own values in point of sale mission and desktop application development. Checkboxes are basically used to retrieve the specific data from the user.
C# CheckBox allows the user to give specific input. It's mostly used where we have to retrieve the specific data from the user such as the gender selection, terms and condition agreement, and age-restricted data. You can simply use a single object C# CheckBox or multiple objects it totally depends on your requireme ...
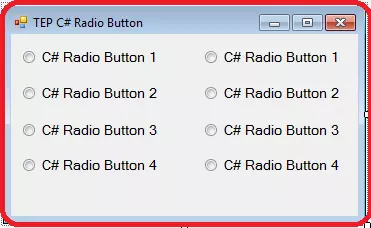
Hello folks, hope you are doing good. Today in this article I'm going to explain you all about C# RadioButton Control. In my previous articles, we discussed C# Checked ListBox & C# ListBox Control. C# RadioButton is also known as the OptionButton. The radio button allows the user to select the specific values as the input. When user will click on the radio button, it will get activated, a user can select only one radio button at the same time.
Radio buttons have mostly used in the point of same applications and signup forms. You have mostly seen the radio button for the gender selection in the forms. Radio button makes easier for a user to give input. You can make specific input values. You can create any kind of application with the help of R ...
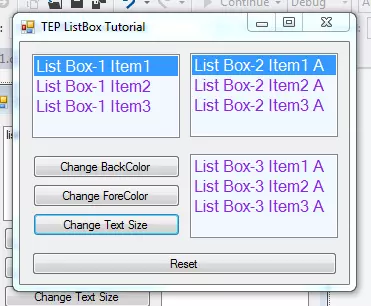
Hey, everyone, I hope you all are doing great. In this article, I am going to explain C# ListBox Control. In the previous article, we have discussed the C# ComboBox Control. C# ListBox is quite similar to ComboBox. C# ListBox is just a simple list, which is showing the data. The user can easily select an option from the list by clicking on any of its items. Some features are common in ComboBox and ListBox. Such as the data is inserted like items. Insertion, deletion, and selection are also same. We will insert the values, then after performing the selection, we will delete them. We will also focus on the text styling, colors and events handling etc. So, let's get started with C# ListBox Control:
C# ListBox Control
There are multiple functional ...
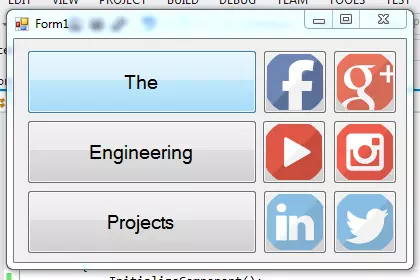
Hey, everyone, I hope you are doing great. In this article, I will guide you about the C# Button Control. In my previous article, I have show you How to use C# Label Control. C# Button Control is quite familiar to Label Control. If you have a strong grip on the Label than its quite easy to understand the button control. Basically, the button is very important part of every software. Because we deal every action and event with buttons in any software. You have noticed that in mega software 40% of the projects is based on the button events.
Button are reusable components such as the exit and quit buttons which will perform the same functionality in each form and able to reuse again and again. The button will give end-user quite a clear navigation of ...
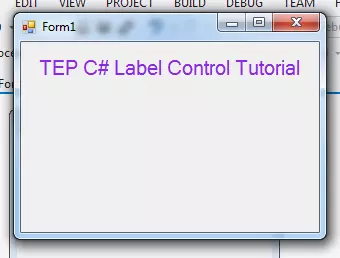
Hello everyone, I hope you all are doing great. In today's article, I will guide you about the C# Label Control. I will show you how to deal with label in C Sharp Programming Language. Labels have their own importance in the software development to nominate the input and output fields. You have observed that every software which you have used and with you are familiar have some labels. Such as in the website login forms there are labels too. It's recommended to use the labels in the software to make the user interface rich with the helping material. If you will just use the C# Button, C# TextBox, and C# ComboBox and don't use the C# Labels then your developed software will not be easy to use. In simple words, it won't be user-friendly. So, in orde ...
Hello everyone, I hope you are doing great. In this article, we will talk about C# TextBox Control. In the previous articles, you have already get familiar with C# Button Control & C# Label Control, this is the sequence of those. In short C# TextBox Control is just same as the other expect some few changing. Before getting started with C# TextBox you must have knowledge of previous concepts. It's not essential but it will give you the edge to understand the advanced elements of C#.
C# TextBox is used to get input from users or it can also be used to display some values to the user. The textbox is a container for text blocks, you can take inputs or show the text as you required in the form of paragraphs. If you used TextBox as the input field t ...
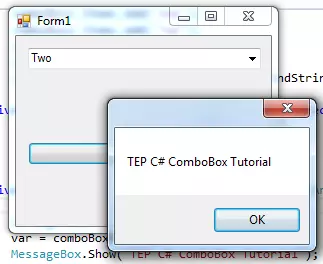
Hey everyone how are you, hope you are doing great. In this article I will guide you about the C# comboBox. In my previous article, I have explained about C# button control and their features. C# ComboBox is quite similar to button control but its major properties are different. The combo box can hold multiple values at the same time, it's like drop-down box in appearance and you can select any value inside it. Most of the time, combo box is used to give the user multiple selection options. But in signup forms, it's used for country selection where you have to select your country from drop down. You can use combo box according to your requirements.
You can add the combo box from the toolbar and drag it on the form. When you drag that you can set t ...
Hello friends, I hope you all are fine and having fun with your lives. Today, I am going to show you How to use C# if else statement. Previously we have seen the Introduction of C# Windows Forms an then we have also discussed different data types and variables used for programming in C#, you can read these tutorials on C# Tutorial page.
So, before starting this C# if else tutorial, I would suggest you to first read all of those basic C# tutorials so that you know how to use different data types. Before starting this tutorial, you should also read How to add C# Control in Windows Form because we are gonna use three C# controls in this tutorial.So, let's get started with How to use C# if else statement:
How to use C# if else Statement ???
First ...
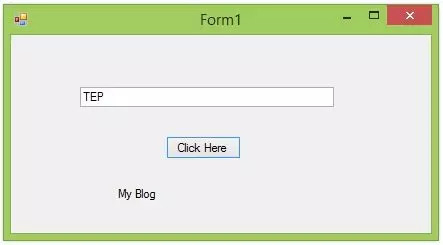
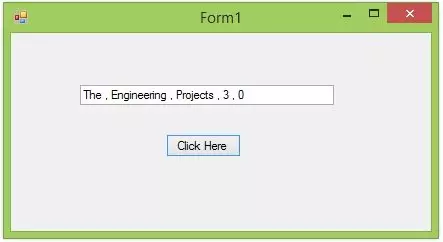
Hello friends, I hope you all are fine and having fun with your lives. In today's post, we are gonna have a look at How to use C# ArrayList. I am gonna explain it in detail what is C# ArrayList and how to use C# ArrayList. But before going into the details of today's tutorial, you must first have a look at my previous tutorial which is How to use C# Array??? because C# ArrayList is quite similar to C# Array.
I am gonna use the same project which we have designed in our first lecture on C# named as Introduction to C# Windows Forms. So, you should also use the same project and as we know this project has one Button and one Text box. Just a recall that I have changed the Text of the button to Click Here and the name of the button to ClickHere. Simila ...