Hello, students here in our previous tutorial we study molecules and now I am with a new topic “Ion” which might be possible for some of my readers this article seems to be new, and some of my readers may be familiar with this term. But no matter whether we know or not, in my article I try to cover all aspects of this term. Many questions arise in your mind such as you may think;
What is an ion?
How ions are formed?
What are the different types of an ion?
What methodology is utilized for assigning charge to an ion?
What are examples of an ion?
Which methods are used for the creation of an ion?
If my readers want to know the answers to these questions, hold copies and pencils in your hand and stick to my article till the end.
Brief description of an Ion
What is an ion?
Definition
...
Hello, friends today we will discuss the basic concept of chemistry it is our first tutorial series in which we will discuss:
Atom
Molecule
Ion
Molecular ion
Now in this article, we will discuss atoms. Its definitions, examples, properties, its evolutionary history, and also some important facts in the form of questions.
Atom
Definitions
A tiny particle that cannot be seen with a naked eye so-called atom.
Or
Atom is the lowest unit of matter and is often divided without the discharge of electrically charged particles.
Or
Atom is the introductory structure block of chemistry.
Examples
From molecule;
Hydrogen (H2)
It has two atoms.
Nitrogen (N3)
It has three atoms
From elements;
Helium(He)
It has two electron
Properties
We discuss different properties of atoms ...
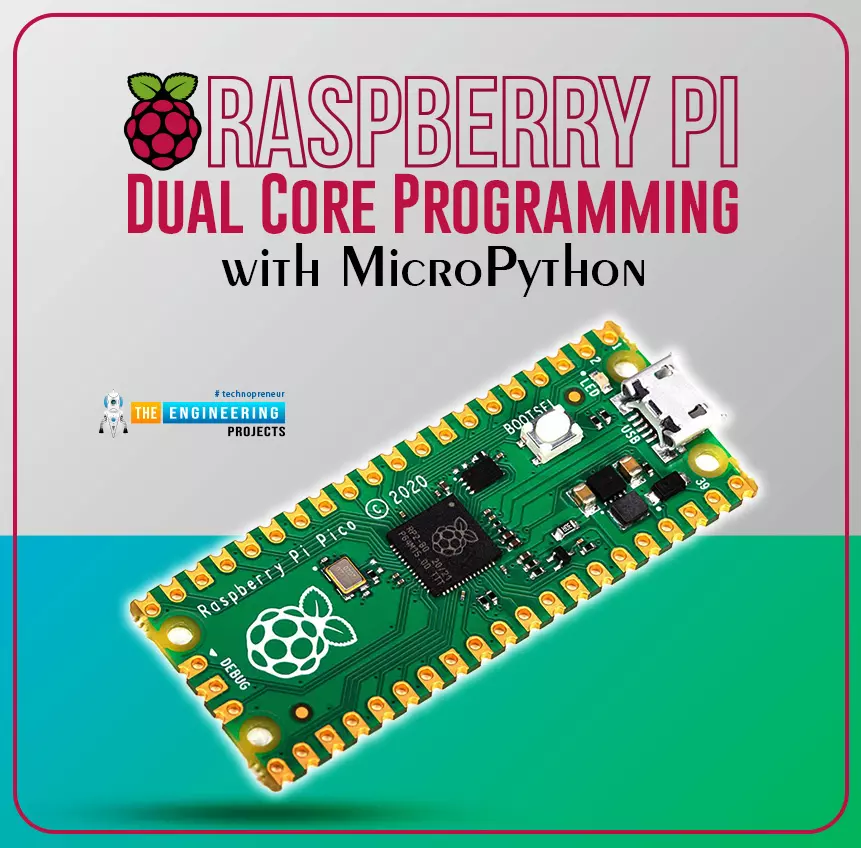
Hello readers, I hope your all are doing great. We know that a Raspberry Pi Pico module comes with multiple inbuilt features for example onboard memory, processing units, GPIOs or General Purpose Input Outputs (used to control and receive inputs from various electronic peripherals) etc.
In our previous tutorials, we discussed how to access GPIO pins of the Raspberry Pi Pico module for both input as well as output operations.
In this tutorial, we are going to discuss another important feature of the Raspberry Pi Pico module (RP2040) which is Dual Core Processor. The Pico board features with 133MHz ARM Cortex-M0+, Dual Core Processor. This dual-core feature makes the Pico module capable of multiple thread execution or multithreading.
Now before writing the MicroPython program let’s first un ...
The Industry 4.0 market size will reach $267.01 billion by 2026. Industry 4.0 depends on the secure, fast, and cost-effective data transfer between IoT devices. IoTA is designed to ensure secure communication between two devices within the IoT(internet of things) framework. Let's have a detailed look at the role of IoTA in industrial IoT.
Understanding IoTA- how it's different from blockchain
The terms MIOTA and IoTA together make up the term IoTA. While MIOTA is a cryptocurrency, IoTA is a non-profit foundation. Since its inception in 2015, IoTA has formed joint ventures with firms like
Fujitsu
Samsung
Telekom
Volkswagen
IoTA is technically different from blockchain in terms of the underlying technology. IoTA works on a technology ca ...
Welcome to the next tutorial of our Raspberry Pi programming course. Our previous tutorial taught us how to use a raspberry pi as a DNS server. We also looked at the benefit of this DNS server. This tutorial will teach us to set up Raspberry pi as a VPN server.
This is an excellent method for increasing your network security and getting access to your local area network from the world wide web, but setting up your VPN server might be a challenge. Pi VPN uses a guided install to turn your Raspberry into a low-cost, high-performance VPN server.
What is Pi VPN?
It is an OpenVPN server optimized for all Raspberry platforms above pi 2. It allows you to access your home network over the internet safely and securely. Smart devices and your network can ...
Hello, Students here I am present to cover an article on a series of Electronic devices and circuit theory. The foremost article of this series is Ideal diode vs practical diode. I try to elaborate on basic to modern theory related to the diode. This component act as fundamental to many important circuit devices such as rectifiers, transformers, etc. The question which we cover in this article are;
What is a diode?
How a diode is formed? Which methodology manufacturer utilized while the formation of the diode?
What is the concept of doping and PN junction in diode theory?
How does a Diode work?
What type of biasing allows a diode to conduct? Under which situation of biasing diode offers a restriction while conducting?
Upon which cha ...
Welcome to the next tutorial of our Raspberry Pi programming course. Our previous tutorial taught us to set up a free media server on Raspberry Pi. We also learned how to connect with different devices and stream media files. This tutorial will teach us how to use a Raspberry pi as a DNS server.
Prerequisites
You must have access to the following resources to follow this tutorial:
Raspbian Pi OS on Raspberry Pi (2-4).
Internet access is required.
There must be a unique identifier for every machine on the Internet to speak with each other Using IP addresses; clients can identify the servers they need to contact. However, no one is expected to remember the digits of an address; thus, DNS names are used instead. This DNS can be built on a Raspberry. It's a number-to-domai ...
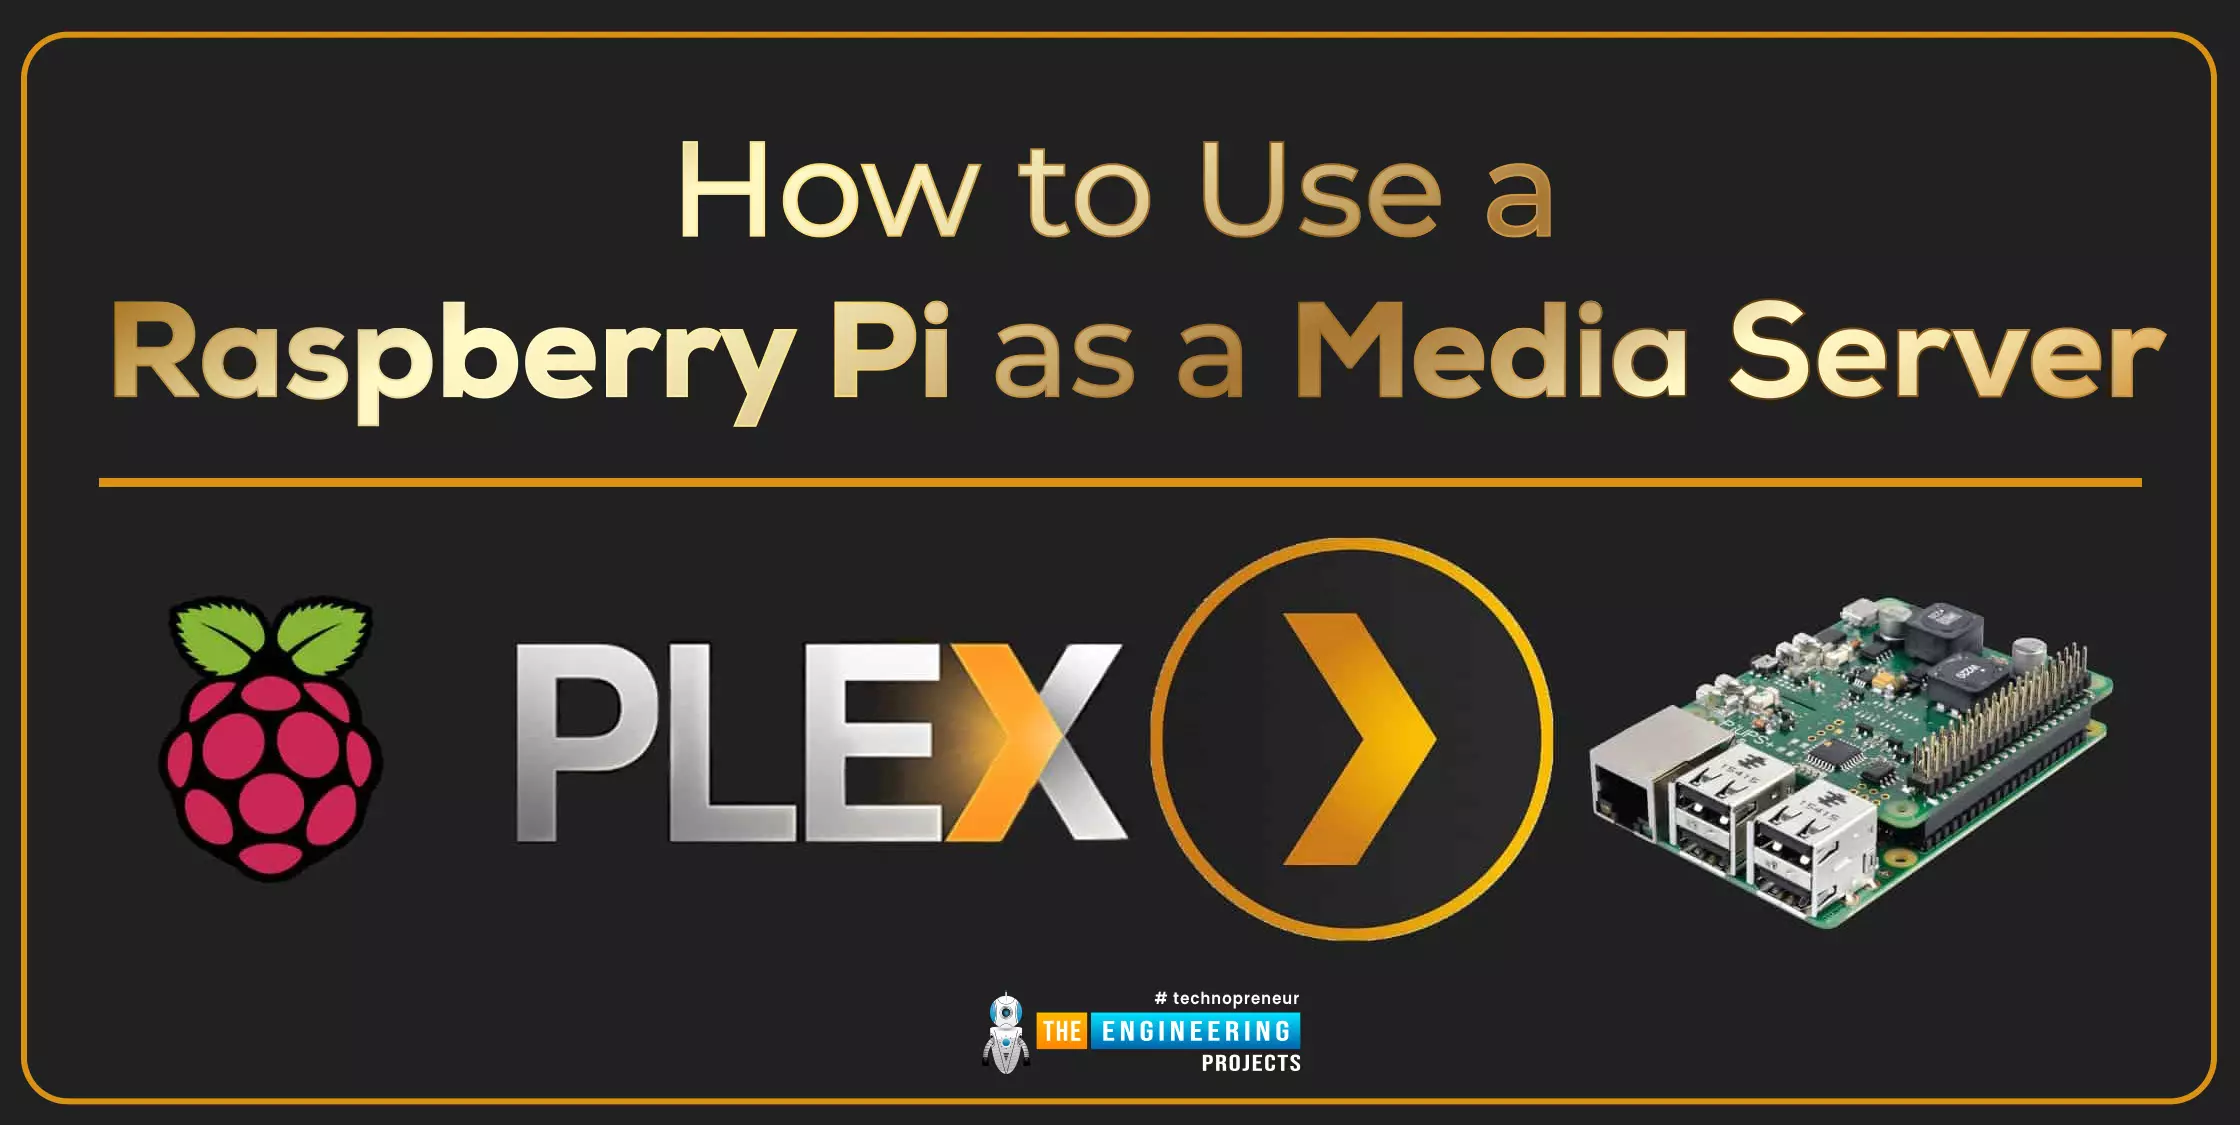
Welcome to the next tutorial of our Raspberry Pi programming course. Our previous tutorial taught us to set up a webserver in raspberry pi. We also looked at configuring addclient and deploying apps to our repositories. This tutorial will teach us to set up a free media server on Raspberry Pi.
Using a Raspberry Pi as a multimedia server requires:
An operating system and miniDLNA program installed on your Raspberry Pi,
You can attach various cleanly formatted and fragmented hard disks to your Raspberry Pi for storing and streaming media files.
A basic understanding of how to use a computer, Client-server architecture skills, familiarity with Unix terminal and Secure shell, and a passion for computing and the media are a must!
Even if you ...
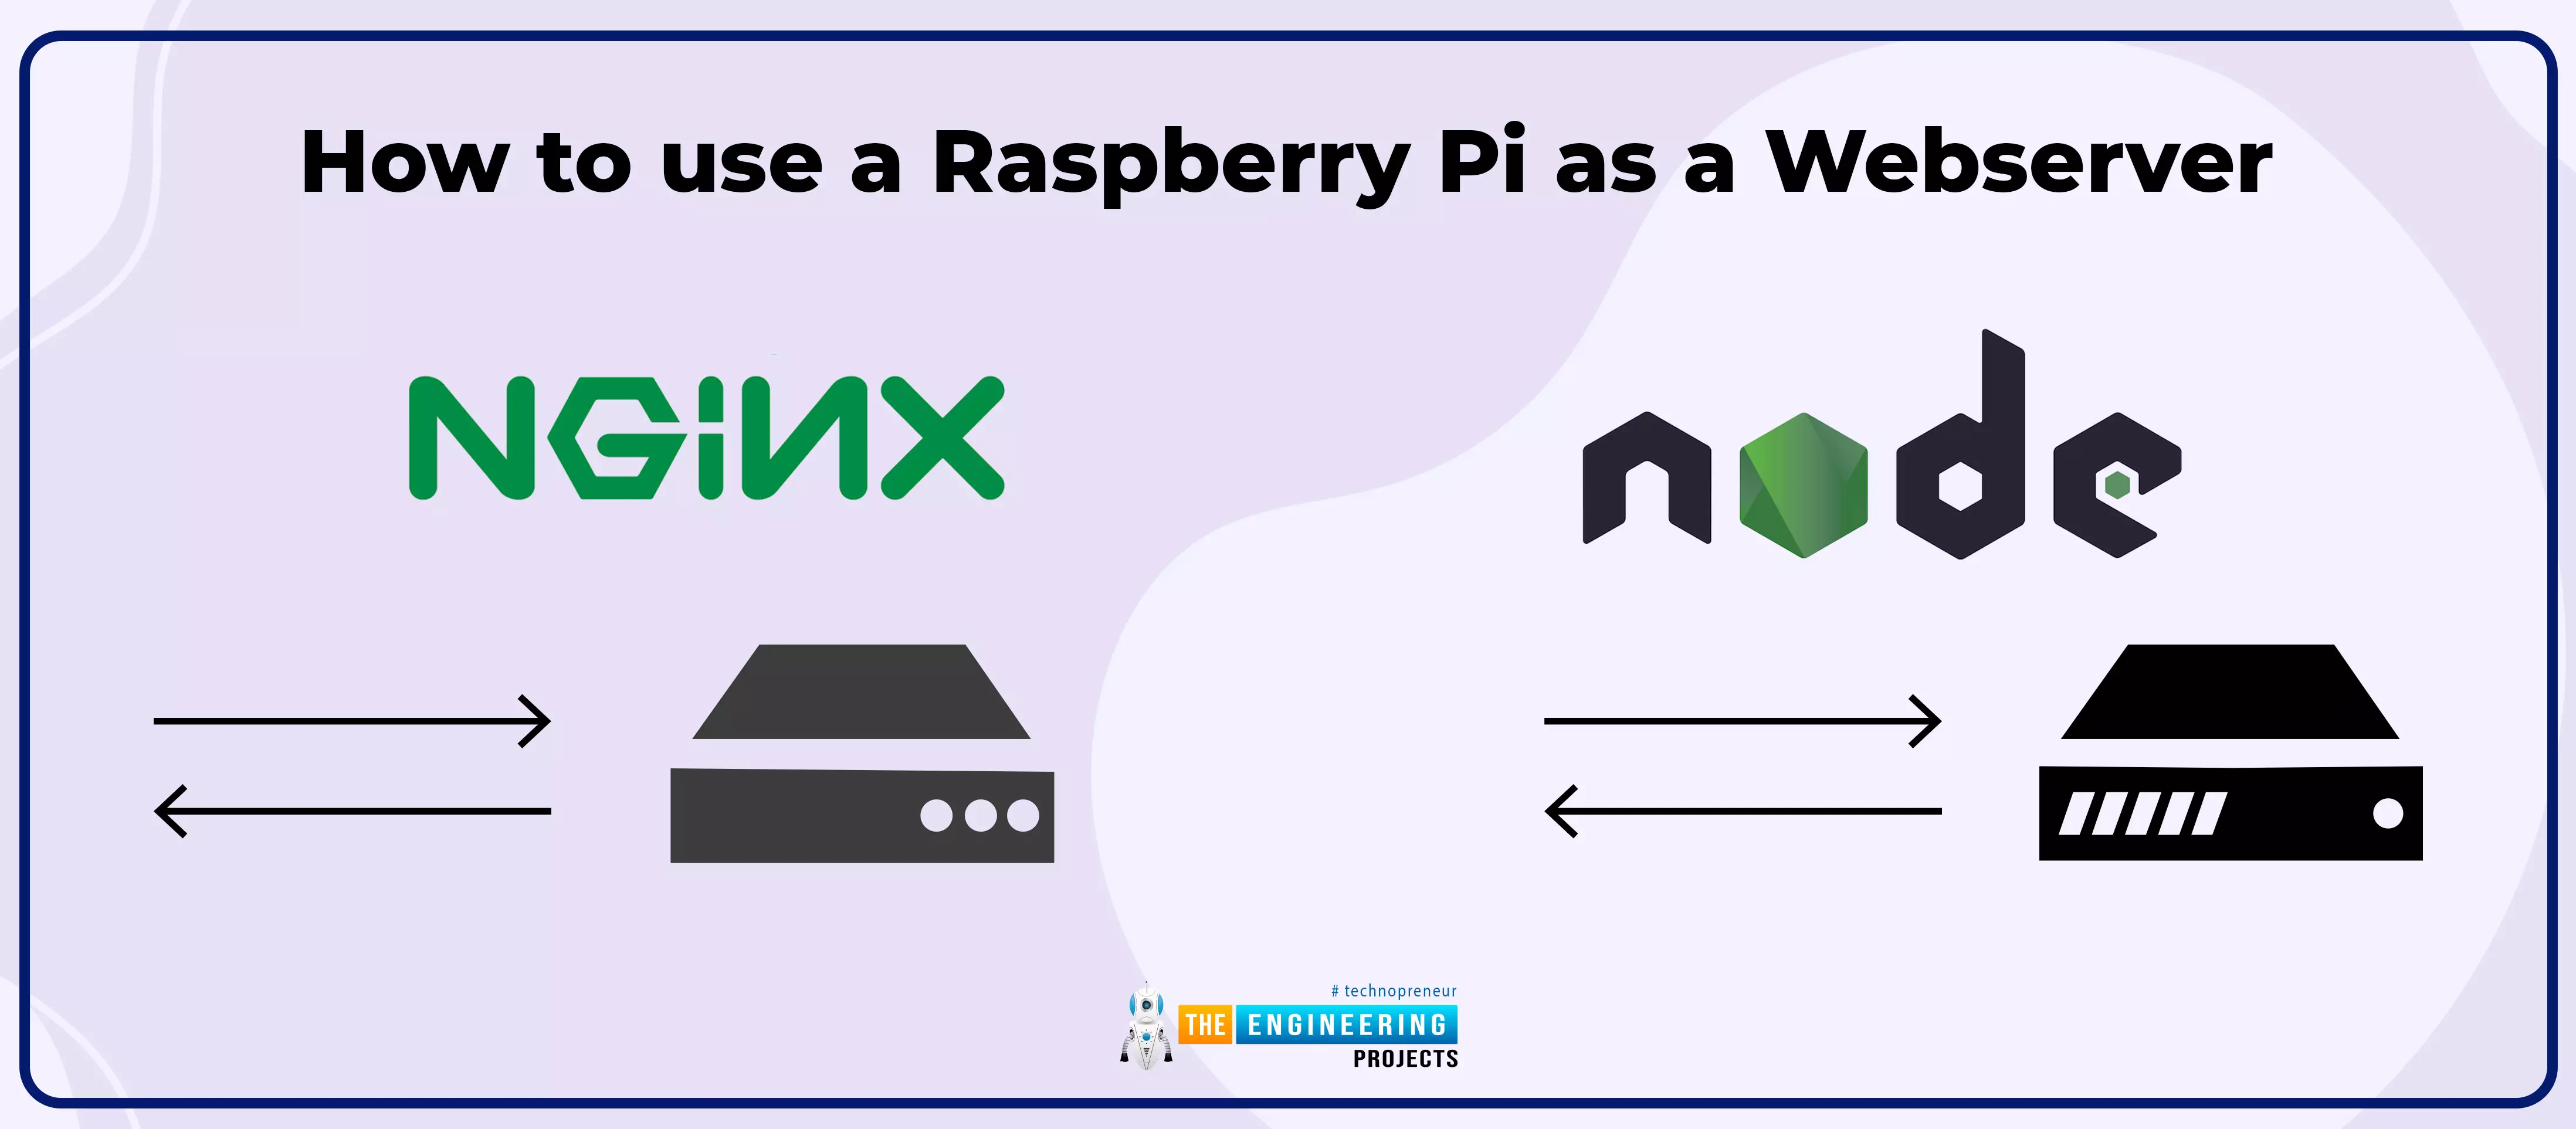
Hello friends, I hope you all are doing great. Today, we are going to share the 2nd tutorial of Section-VIII in the Raspberry Pi Programming Course. In the previous tutorial, we interfaced a Barcode Scanner with Raspberry Pi 4. In today's tutorial, we will discuss how to set up a web server in raspberry pi. So, let's get started:
Components Required
We are going to use the following components, in today's project:
Ethernet cable
MicroSD card
Keyboard
Mouse
HDMI cable
Monitor
Expand FileSystem
When configuring a Raspberry Pi, select the expand FileSystem option to ensure that all of the Micro SD storage is allocated for the operating system and modify the default Pi passwords to protect your server from attacker ...
Hello readers, I hope you all are doing great. In our previous tutorial, we discussed the implementation of pulse width modulation (PWM) in Raspberry Pi Pico using the MicroPyton programming example. We also implemented the LED brightness control program to demonstrate an application of the pulse width modulation technique.
In this tutorial, we are going to implement another application of pulse width modulation technique which is ‘Direction and position control of a servo motor’ with Raspberry Pi Pico module and MicroPython programming language.
Later in this tutorial, we will also discuss how to control the position of a servo motor with push buttons (to be used as control inputs) and also to use LEDs for indication purposes.
What is Servo Motor?
Before interfacing the servo motor with ...