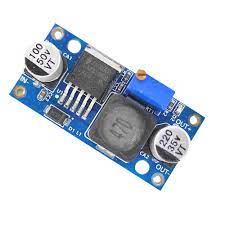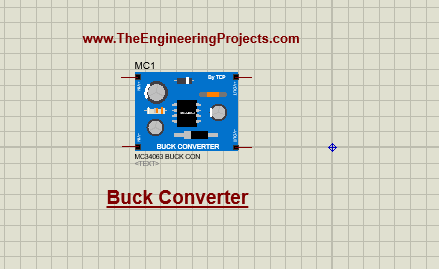
Hello readers! I hope you are doing well. Today, we are going to explore the MC34063 buck converter library for Proteus. An MC34063 buck converter is a type of DC-DC power converter that steps down the high voltage to the low voltage. It’s a popular device to get lower DC volts because it provides a stable output. By default, Proteus software does not have the buck converter; therefore, I designed the library for the simulation of the projects with this converter. In this tutorial, I’ll discuss the basic introduction to Buck Converter and Proteus library installation, and will also share the most basic simulation to see how it works.
Introduction to the MC34063 Buck Converter
- The Buck converter is a step-down DC-DC converter that decreases the voltages while increasing the current and providing a stable output.
- It has a high efficiency of almost 80%–90%, and the switching transistor (MOSFET) is the main component. Other components include the resistor, capacitor, and diode.
- It takes the input directly from the DC source and provides a stable and smooth output that is mostly utilized in battery-operated devices, power supply units, embedded systems, smartphones, electric vehicles, etc. and acts as the core component for lowering the DC voltages.
MC34063 Buck Converter for Proteus
The library installation process in Proteus is straightforward. To install the Buck converter follow the steps given next:
- Download the Buck Converter library from the below button:
MC34063 Buck Converter for Proteus
- Once the downloading process is complete, you’ll see the zip file is present in your download folder. Open the folder to see the content.
- The zip file contains the folder where you’ll see two files:
- MC34063LibraryTEP.IDX
- MC34063LibraryTEP.LIB
- Copy these files and paste them into the Proteus library folder.
Note:
- If you are new to library installation and don’t know the procedure, you must see How to add new Library in Proteus 8 Professional .
Now, when the Proteus library folder has MC34063 Buck Converter, you have to start or restart the Proteus software to load all the libraries.
- In the project, go to the Pick library folder and search for the Buck Converter TEP.
- Choose the Buck Converter along with the required component and enjoy working with it.
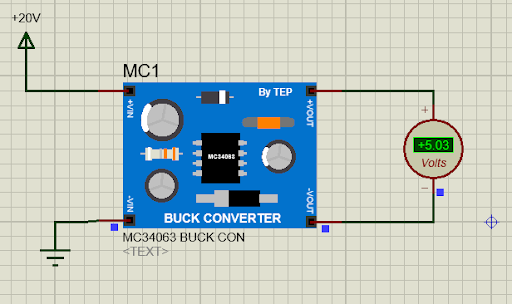
As discussed before, it takes the higher voltage DC as input and provides lower DC input as output, so the input pins +VIN and -VIN should be connected with the positive and negative input terminals. On the other hand, get the output from +VOUT and -VOUT terminals.
Proteus Simulation for the MC34063 Buck Converter
Let’s test the buck converter in a simple circuit. Follow the steps to see the output:
Go to terminal mode from the left side of the screen and add the power terminal to +VIN and the ground terminal to -VIN.
Double-click the power terminal and change its value to 20V.
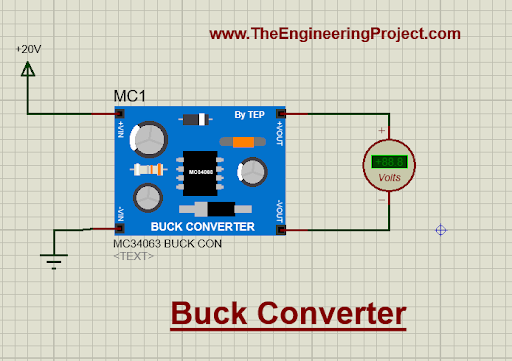
Now, go to instrument mode to choose the AC voltmeter and connect it with the +VOUT and -VOUT.
The project must look like the following:
Push the play button to see the result.
As you can see, the input voltage is 20V at the +VIN pin, but the output pins have 5.03 volts. That proves the Buck Converter library is useful for the simulation of projects.
The same project is given in the zip file that you have downloaded for the Buck Converter library. I hope you liked the library and tutorial. If you need more help, you can ask in the comment section.


