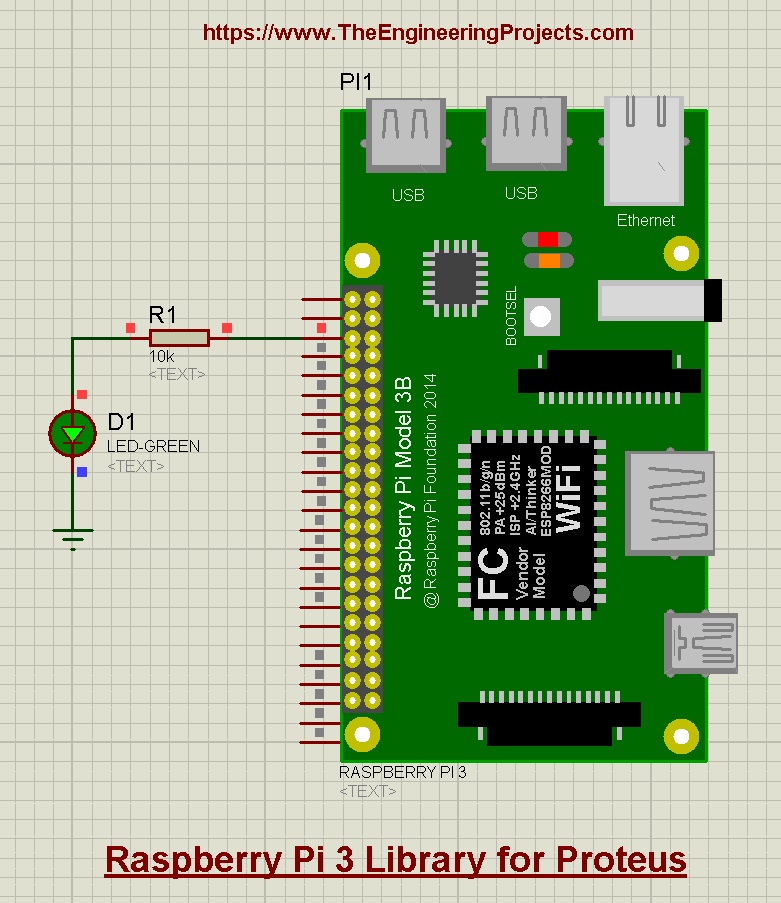
Hello friends, I hope you all are doing great. In today's tutorial, I am going to share a new Proteus Library for Raspberry Pi 3 module. In my previous tutorial, I shared the Raspberry Pi Pico Library for Proteus. Similar to Pico Library, this RPi3 LIbrary won't operate on the Python code. We have just designed the front look to use in the circuit design. Although, we can upload Arduino code to these simulated Raspberry Pi boards.
This Raspberry Pi Proteus Library will have only the Raspberry Pi 3 board in it. We will design the other Pi boards soon. So, let's have a look at How to simulate Raspberry Pi in Proteus:
| Where To Buy? | ||||
|---|---|---|---|---|
| No. | Components | Distributor | Link To Buy | |
| 1 | Battery 12V | Amazon | Buy Now | |
| 2 | LEDs | Amazon | Buy Now | |
| 3 | Resistor | Amazon | Buy Now | |
| 4 | Raspberry Pi 3 | Amazon | Buy Now | |
Raspberry Pi 3 Library for Proteus
First of all, we need to download the Raspberry Pi library files, by clicking the below button:
Raspberry Pi 3 Library for Proteus
Adding Proteus Library Files
- This Proteus Library zip file will have a folder in it, named "Proteus Library Files".
- Open this folder and you will find these two files in it:
- RaspberryPi3TEP.IDX
- RaspberryPi3TEP.LIB
- Next, we need to add these library files to the library folder of the Proteus software. So open C > PRogramin Files > Labcenter Electronics > Proteus 8 > Library folder and copy-paste these files into it.
- This zip file also has a Proteus simulation of the Raspberry Pi 3 board.
Note: Look at How to add a new Library in Proteus 8, if you are having any issues.
Raspberry Pi 3 in Proteus
- After adding the library files, open your Proteus software or restart it, if it's already open.
- In the components search box, make a search for Raspberry Pi 3 and you will get the below results:
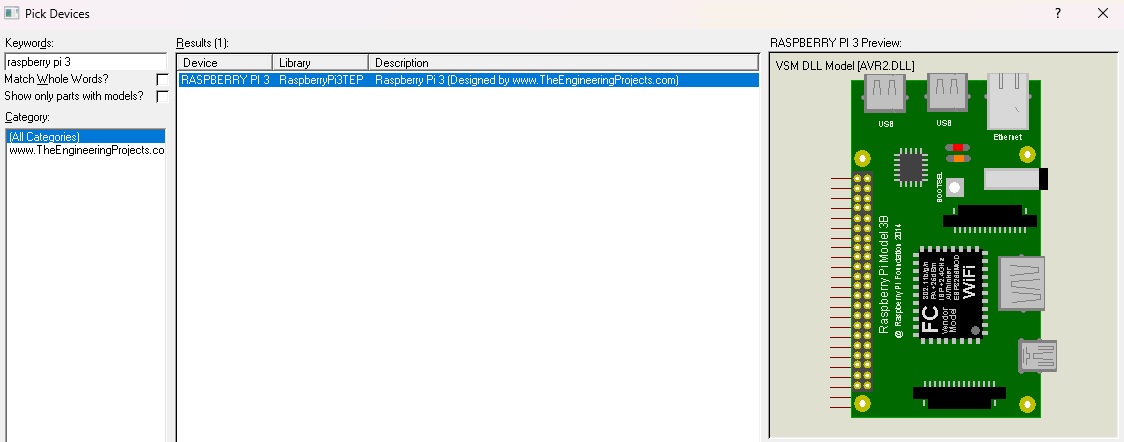
- So double-click on this Raspberry Pi board to add it to your project.
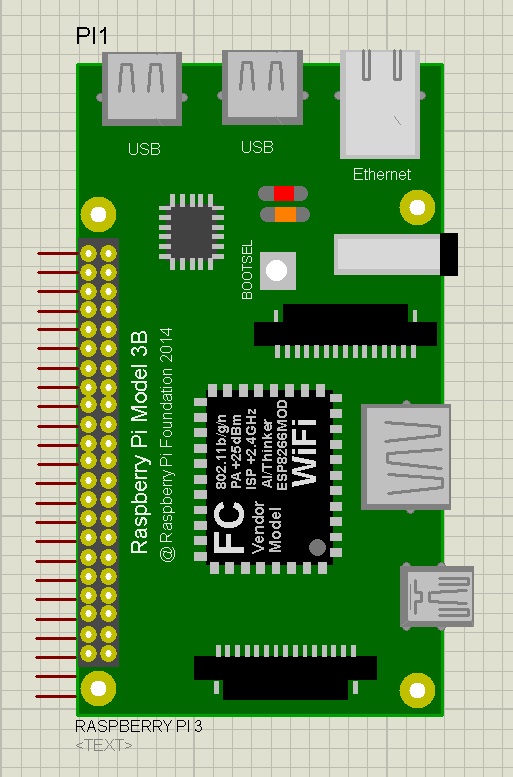
- Place the Pi board in your Proteus workspace, as shown in the below figure:
Simulate Raspberry Pi 3 in Proteus
Now we are going to simulate this Raspberry Pi 3 board in Proteus. We will attach a simple LED to one of its pins. As I told earlier, we have just designed the exterior of this board. It won't read the Python code. We can use it to design circuit diagrams for our project. But just for fun, we have added the Arduino firmware to it. So, we can upload the Arduino hex file in this Pi board.
LED with Raspberry Pi 3
- I have connected a simple LED with resistance on Pin # 13 of the Pi board, as shown in the below figure:
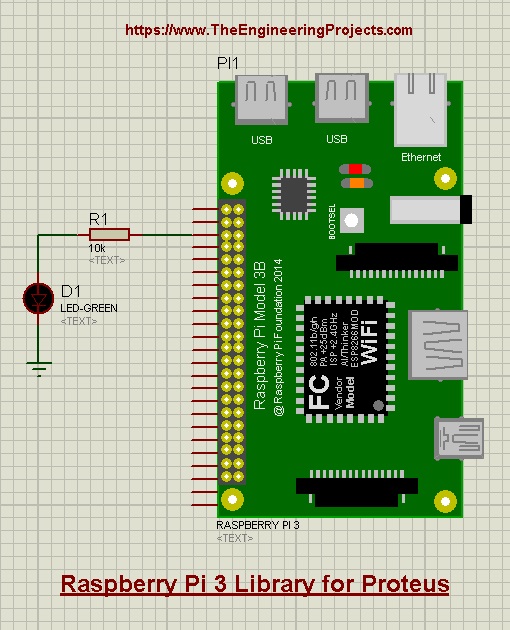
- In the Properties panel of LED, change the Model Type from analog to digital, otherwise, it won't work.
Code for Raspberry Pi 3
- As I mentioned earlier, this Rpi3 board in Proteus won't read the Python code. We can only upload Arduino code in it.
- So, I am going to use the LED Blinking code and will select Arduino UNO in the boards' section, as shown in the below figure:
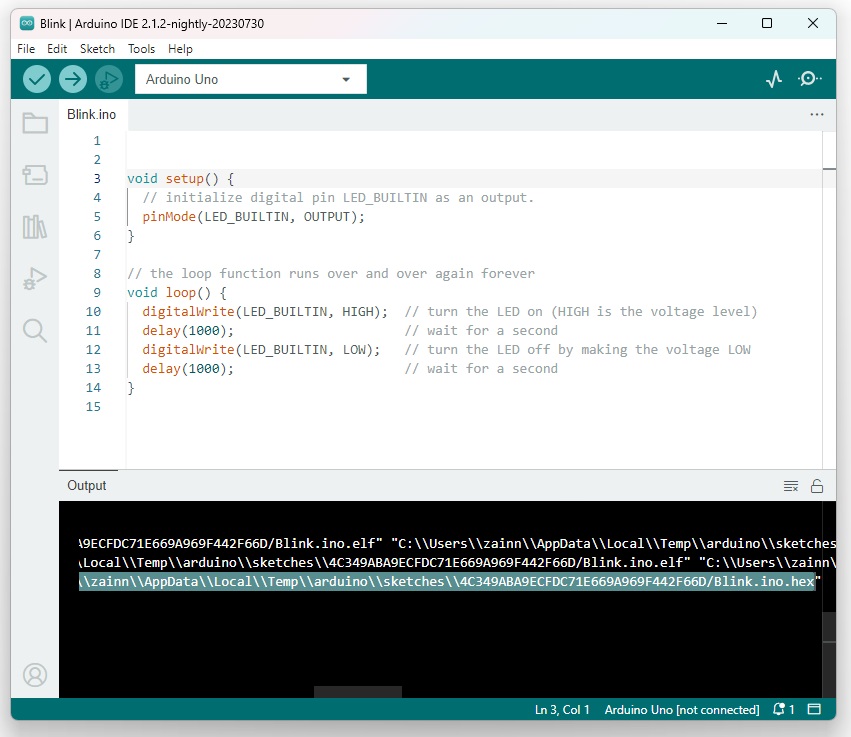
- Now compile the Arduino Code and get its hex file. Read this resource: How to Get the Hex File from Arduino IDE.
Add Hex File in Proteus
- In order to add this hex file, double-click on the Raspberry Pi 3 board to open its Properties Panel.
- In the Properties Panel, you will find a section named Program Files.
- Paste the hex file location in the Program Files section and click OK to close the panel.
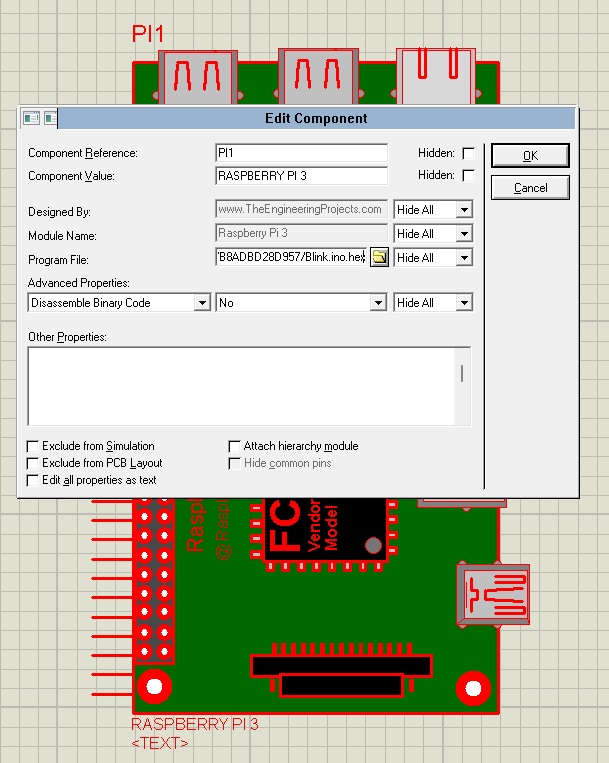
Now, let's run our simulation to get the results:
Raspberry Pi 3 Simulation Results
- So, now let's run the simulation and you will see that the LED on the board will start blinking, as shown in the below figure:

So, that was all for today. I hope you will use this Raspberry Pi Library to design your projects. In the next tutorial, I will share the Raspberry Pi 4 Proteus Library. Till then, take care. Have fun!!!


