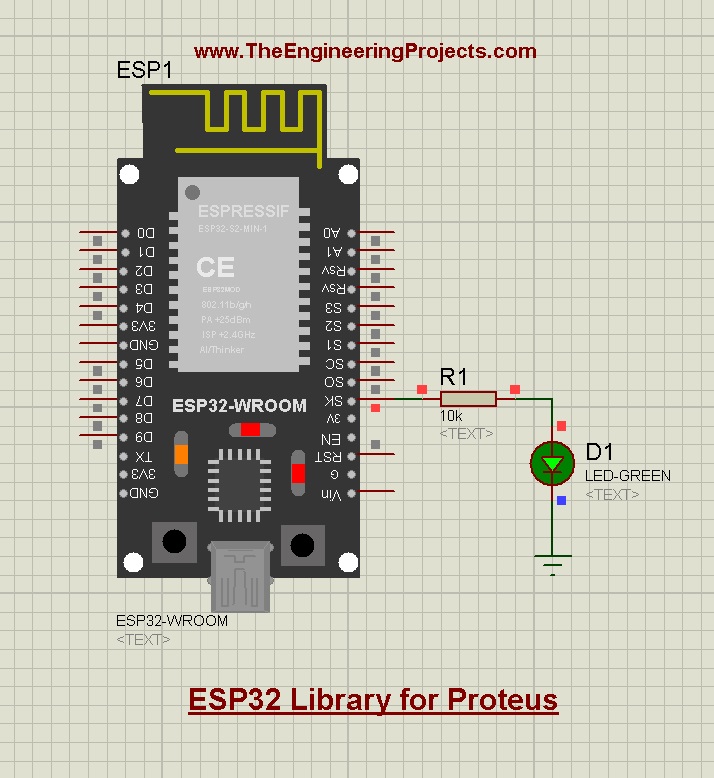
Hello friends, I hope you all are doing well. In today's tutorial, I am going to share a new Proteus Library of ESP32 embedded module. ESP32 is a microcontroller board used mostly in IoT projects. It's a successor of ESP8266 or NodeMCU. We have already shared the NodeMCU Library for Proteus and I hope you guys have enjoyed it.
Proteus software is not capable of handling WiFi or BLE technology, thus we can't implement these technologies in the ESP32 board. Though, you can use its input/output pins to interface embedded sensors and modules. You can also use it to design the Circuit Diagram of your Project.
So, let's have a look at How to simulate ESP32 board in Proteus:
| Where To Buy? | ||||
|---|---|---|---|---|
| No. | Components | Distributor | Link To Buy | |
| 1 | Battery 12V | Amazon | Buy Now | |
| 2 | LEDs | Amazon | Buy Now | |
| 3 | Resistor | Amazon | Buy Now | |
| 4 | ESP32 | Amazon | Buy Now | |
ESP32 Library for Proteus
- First of all, download the zip file of Proteus Library for ESP32 board, by clicking the below button:
Add Proteus Library Files
- In this Proteus Library zip file, open the folder named "Proteus Library File".
- In this folder, you will find two library files, named:
- ESP32TEP.IDX
- ESP32TEP.LIB
- We need to add these library files in the Library folder of the Proteus software.
Note: Look at How to add new Library in Proteus 8, if you don't know already.
ESP32 in Proteus
- Now open your Proteus software and if it's already open, then restart it. (it's necessary for Proteus to read the library files)
- Open the components Library of Proteus and search for "ESP32".
- If everything's fine, you will get the ESP32 board in the results section, as shown in the below figure:
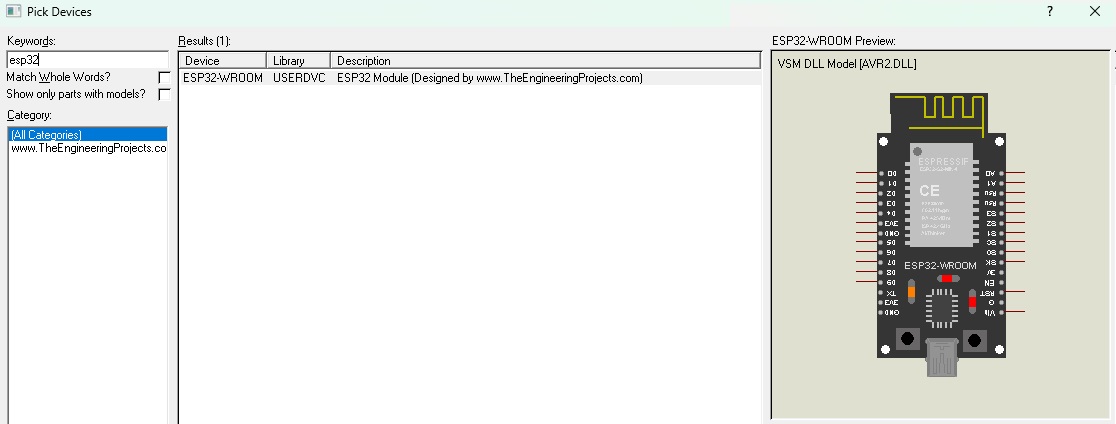
- We need to double-click on this module to add it in our project.
- Now drag and drop the ESP32 board in the Proteus workspace, as shown in the below figure:
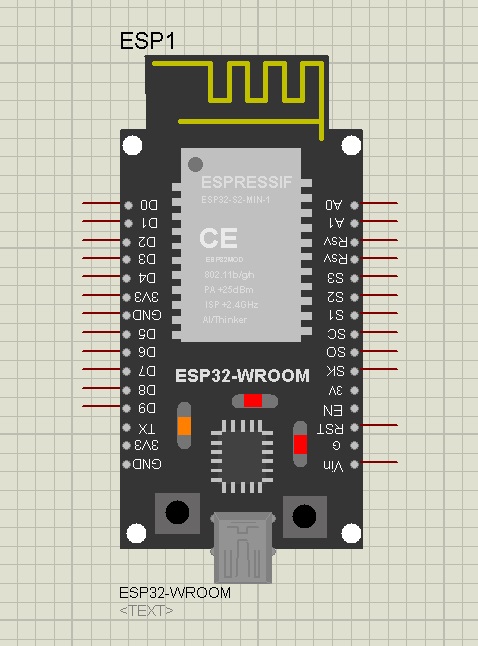
- We have tried our best to keep it as small as we can, so that you get more space for other components.
So, using this ESP32 Library, we have added the board in Proteus software. Now, let's simulate ESP32 in Proteus:
Simulate ESP32 in Proteus
We are going to simulate the ESP32 board by running Blink LED Example. As I told earlier, we can't add WiFi and BLE capabilities in this simulated ESP32 board. So, we are going to select Arduino UNO in the board section of Arduino IDE to get the hex file.
LED with ESP32
- First of all, design this simple circuit, where we have placed an LED at Pin # 13 of ESP32, as shown in the below figure:
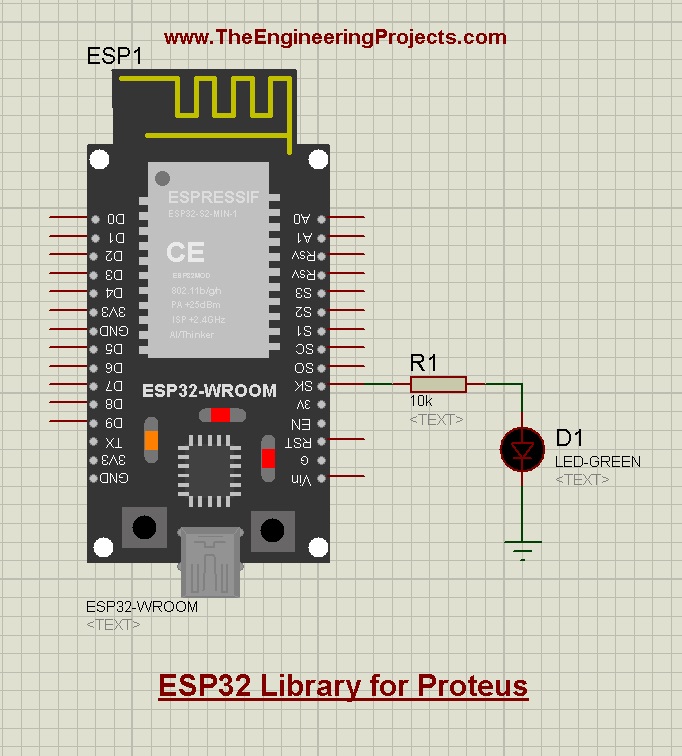
- In the Properties Panel of this LED, change the Model Type from Analog to Digital.
Code For ESP32
- Open Arduino IDE and in the File>Examples, open the Blink LED example code, given below:
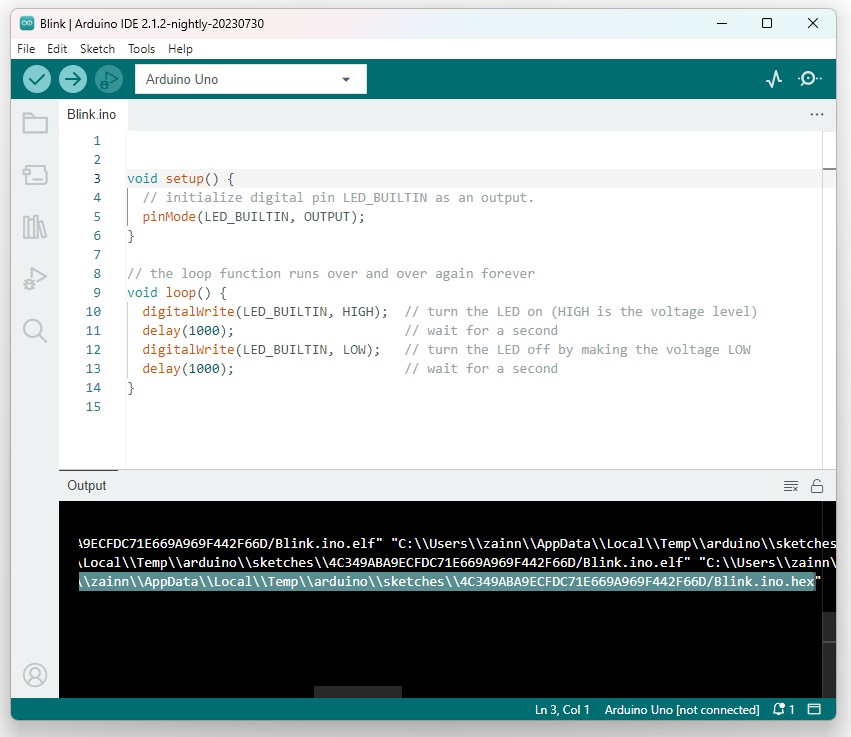
- As you can see in the above figure, I have selected Arduino UNO in the Tools>Boards section of Arduino IDE.
- Now compile the Arduino Code and get its hex file. Read this resource: How to Get the Hex File from Arduino IDE.
Add Hex File in Proteus
- Open the Properties Panel of the ESP32 board by double-clicking on it in the Proteus software.
- In the Program File section of the Properties Panel, add the hex file location, as shown in the below figure:
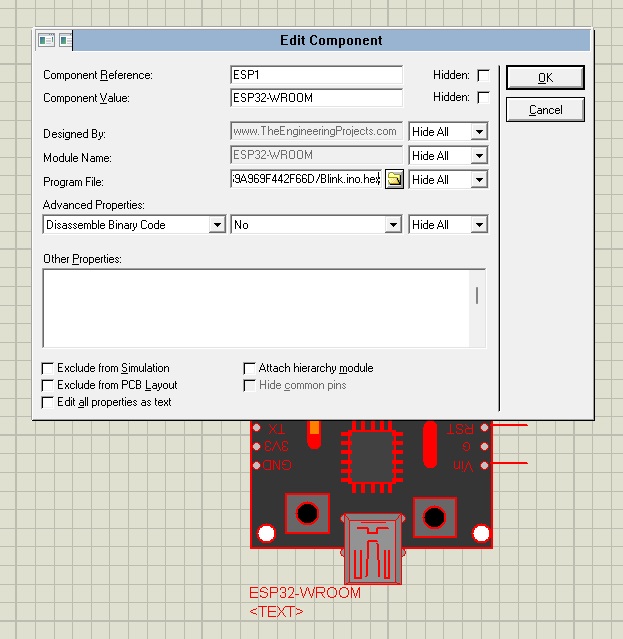
- Now, close the Properties Panel by clicking the OK Button.
ESP32 Simulation Results
- If you did no mistake, you will get results as shown in the below figure:

So, that was all for today. I hope you have enjoyed simulating ESP32 board in Proteus software. If you have any questions, ask in the comments. Till the next tutorial, take care. Have fun !!!


