Hey, peps! Welcome to the new tutorial on the Jupyter notebook. As we are moving towards a higher level of Python, therefore, it is important to understand other ways of doing the same task. As we read in the previous lecture about 2D arrays, this time it is going to be done with the help of a famous library in Python. This time, you are going to learn different, engaging, and advanced-level concepts that not only help you deal with the 2D array but also the installation and working of the unique library of Python, which is NumPy. This lecture is going to be very useful and interesting, and therefore, we suggest you have a glance at all the goals of this lecture.
Getting the introduction to NumPy
Successfully installation of NumPy and knowing different methods for it
Using the arrays with the help of NumPy
Creation, indexing, flattening, and appending of the arrays using NumPy
Knowing the different ways in detail to use these methods.
All of these concepts will be clear to you, and we will move on to more details in the next lecture but for this lecture, it is important to learn the basics.

What is NumPy?
NumPy is a fantastic library for dealing with numeric data. You must know that a library in Python is a collection of modules that add functionality to a Python program. Libraries are typically distributed in the form of packages, which can be installed with package managers such as pip. If you remember, at the very first lecture of this course, we installed the packages by using pip. The same is the case with NumPy, and this will be clear in just a bit, but for now, you must know that they said that they could include modules that define functions, classes, and variables, as well as algorithms and other services.
NumPy, Pandas, matplotlib, and sci-kit-learn are some of the most commonly used Python libraries. They can be used for a variety of tasks, including data analysis and visualization, machine learning, and web development. Python programmers can take advantage of pre-existing code by using libraries, which can save time and effort when compared to writing everything from scratch.
"NumPy (Numerical Python) is a Python library that adds support for large, multi-dimensional arrays and matrices, as well as a large collection of high-level mathematical functions for operating on these arrays."
It is a fundamental Python package for scientific computing. The good thing here is, Python provides programmers with several ways to perform the same task so that every person may use the best way according to the requirements and expertise of the programmers. In the previous lecture, a simple method was used to perform the two-dimensional arrays, but you must know that NumPy is the second way to do so, which is the reason why we arranged this lecture.
Installation of NumPy in Python
Here comes the action. We are going to work with NumPy, and therefore, the installation process is necessary. The good news is, the programmers do not have to follow the prerequisites when you need to install the NumPy but only Python is enough. So if you are following our previous course, you are good to go with the Numpy. There are two ways to install NumPy:
Installation with the Conda (Advanced level)
Installation with the pip (Beginner’s level)
Difference between Conda and Pip
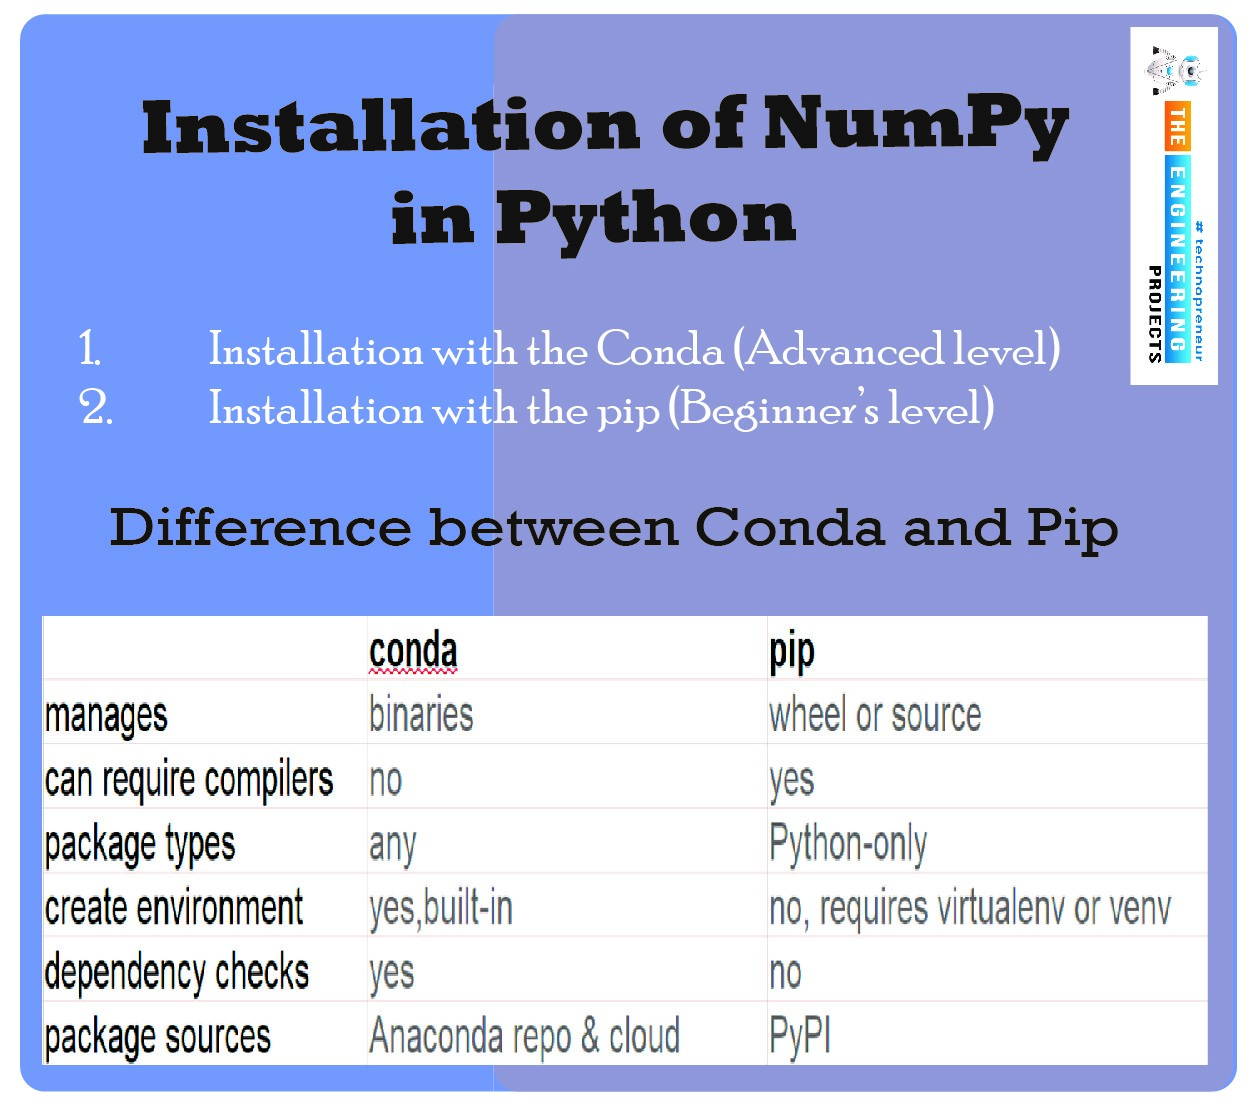
conda |
pip |
It is preferred by professional programmers. |
It is best for the students and learners. |
It is a cross-language therefore, it can install non-python tools and libraries such as compilers and CUDA. |
It only installs the particular Python on the system. It can not install other libraries rather than Python. |
The source through which the conda installs libraries is its own channel so the resources are owned by the conda itself for the installation. Examples of the channels are defaults and conda-forge. |
The installation is done from the Python Packaging Index (PyPI). Here it is important to understand that PyPI is the largest collection of packages and therefore, it has many features that create ease for Python programmers. |
Conda is considered an integrated solution that is used to manage different types of dependencies and environments. It does not need other tools to manage the packages. |
pip method has to get help from different types of tools to manage and arrange the dependencies and packages. |
Installation of NumPy Using Conda
Installation with the help of Conda also has different types of methods and for the convenience of all types of users, we are discussing all the basic instructions here.
The best practice for such installations is to use an environment. It means, instead of using the “install” method, the programmers will create the new environment.
conda create -n my-env
Once the environment is created, it's time to activate that particular environment.
conda activate my-env
Another option to perform the same option is to use conda-forge. Many professional programmers prefer this method because conda-forge provides a wide range of software packages, and in our case, NumPy is one of them. If you want to install from conda-forge then the following command is needed:
conda config --env --add channels conda-forge
The methods given above were a little bit tricky, and if the programmer prefers the simplest way, then they must only write the command given next:
conda install numpy
Pip Method for the NumPy
Now, for the installation process at the beginner level, you have to follow the steps listed next. You have to understand that it is recommended to be at this level because all the requirements of this course are designed according to easy and effective ways to code. Hence, the steps given next are enough for all of you:
In the window’s search panel, write the Anaconda prompt.
Here, write the following command:
pip install numpy
Wait for the installation and loading of the library on your personal computer.
Now, to check if your NumPy is working well, go to your Jupyter Notebook.
For this, fire up your Jupyter Notebook by searching for it in your window applications.
Go to the new Python project and wait for the new tab to be opened in your browser.
Note: It is essential to notice that every time the programmers want to use Numpy, they have to import it into the code, and that is the first step of every program where the programmer needs to get help from NumPy.
Using the Arrays with NumPy
The typical easy-to-deal-with arrays are similar when we talk about the Jupyter notebook and MATLAB etc. Yet, with the advancement of techniques, better and updated methods have been introduced. The NumPy is a numeric library and to learn its usage, the best way is to deal with the arrays. We hope you know the basics of arrays and their fundamental information; therefore, we are directly starting the practice of arrays. In this way, the students will learn the details of 2D arrays and NumPy side by side.
Creating 2D Array Using NumPy
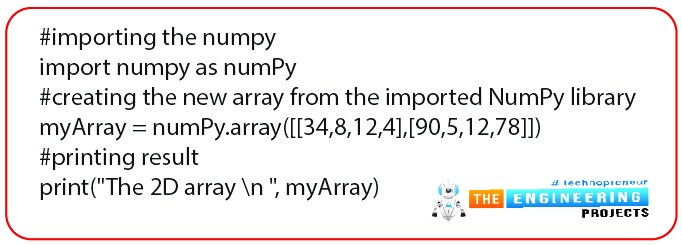
Creating the array is as simple as what the students have seen in the previous lecture. All the steps are easy, and the comments explain the function of each line.
#importing the numpy
import numpy as numPy
#creating the new array from the imported NumPy library
myArray = numPy.array([[34,8,12,4],[90,5,12,78]])
#printing result
print("The 2D array \n ", myArray)
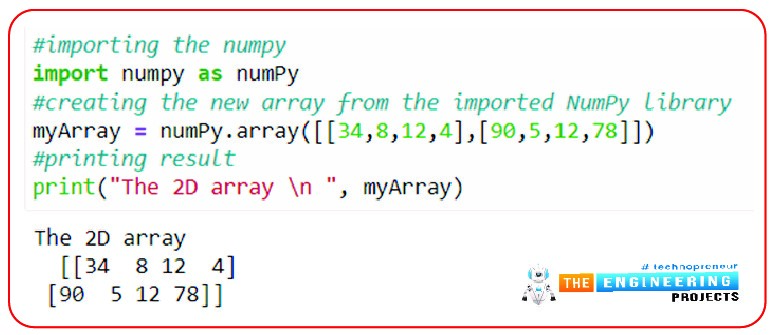
The output of this code is as expected:
Getting Basic Information of Array with NumPy
If you want to make an array automatically with the minimal information provided by you, then it can be done with the help of NumPy (such as declaring the shape and size of the array). There are other ways to do so, but using NmuPy gives the programmers relief. It is because NumPy has built-in functions; they just have to associate their array with that particular function and get the desired output.
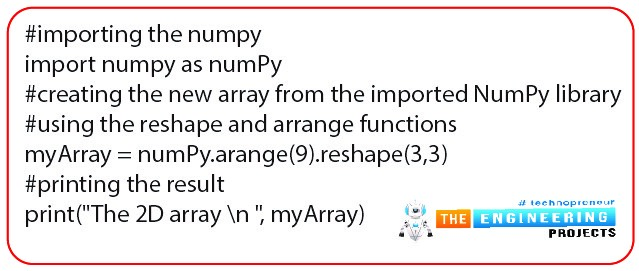
#importing the numpy
import numpy as numPy
#creating the new array from the imported NumPy library
#using the reshape and arrange functions
myArray = numPy.arange(9).reshape(3,3)
#printing the result
print("The 2D array \n ", myArray)
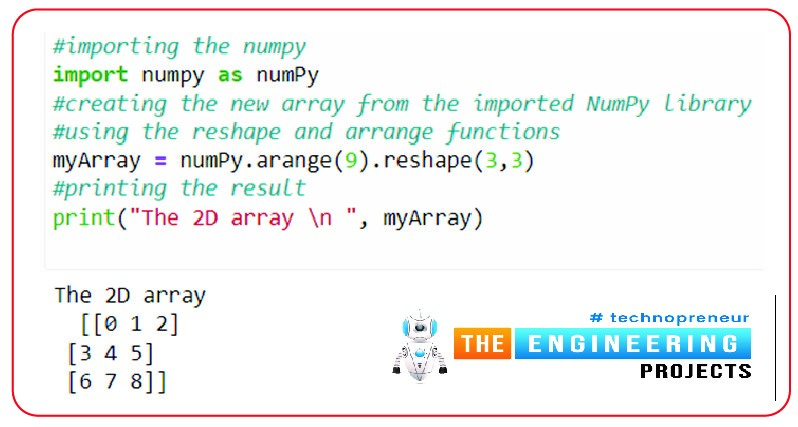
Output:
Here, the important points to be noticed are
The arrange function is used to provide information about the total number of elements in the array. But this must be declared by keeping the shape of the array in mind.
The reshape method has the following syntax:
reshape(numbers of rows, number of columns)
The total number of elements must match the shape so that the compiler may arrange the numbers easily; otherwise, the programmer observes the error.
All of the information is connected with the dot operator in the code.
The values in both these functions are enclosed in parentheses.
The arrangement of both functions is important because if the reshape method comes before the arrange method, there will be a long list of errors and the program will not run.
Indexing and Flattening Using NumPy
The indeed method is not new to us. We all know that the index always starts at zero. But in the case, we are discussing, one must know that when an array is declared, the index is not for only the elements but for the whole set of the row.
Moreover, flatting is a special method in NumPy in which the output of the resultant elements in an array is not shown in the form of brackets and single rows, but the programmer gets the real form of the array that we have used in our mathematics and other cases of the array. If these two are not clear to you now, do not worry because after looking at the code given next, all things will be clear.
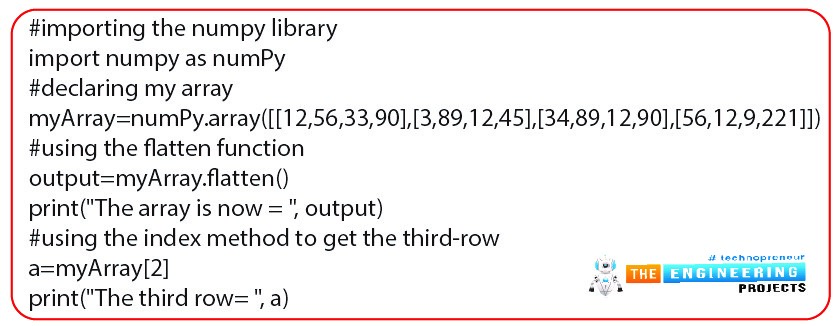
#importing the numpy library
import numpy as numPy
#declaring my array
myArray=numPy.array([[12,56,33,90],[3,89,12,45],[34,89,12,90],[56,12,9,221]])
#using the flatten function
output=myArray.flatten()
print("The array is now = ", output)
#using the index method to get the third-row
a=myArray[2]
print("The third row= ", a)
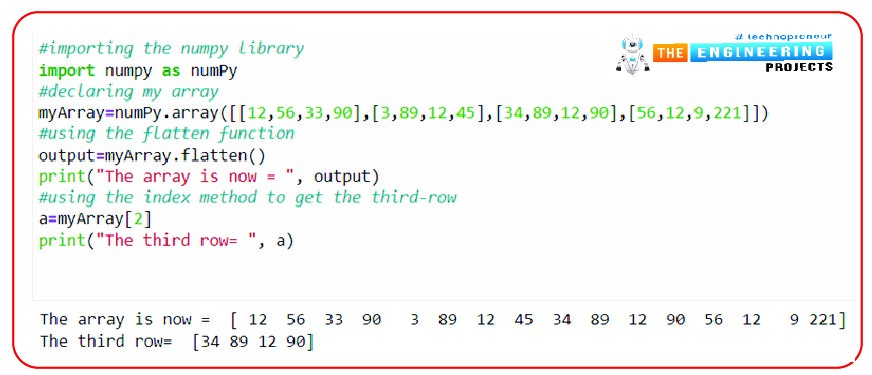
The output of this program is given next:
Hence, in this way, we have learned two functions in one code. Here you must know that there are many simple and important concepts about arrays. If we start discussing them in separate codes, then it will become boring and lengthy to learn the small functions and methods.
Appending the Elements in Array
Once the array is declared, the elements can then be modified. This concept is not applicable to other programming languages, such as C++. Yet, Python gives us this convenience, which is useful for programmers. The appending method is simple and easy, and this code will justify this:
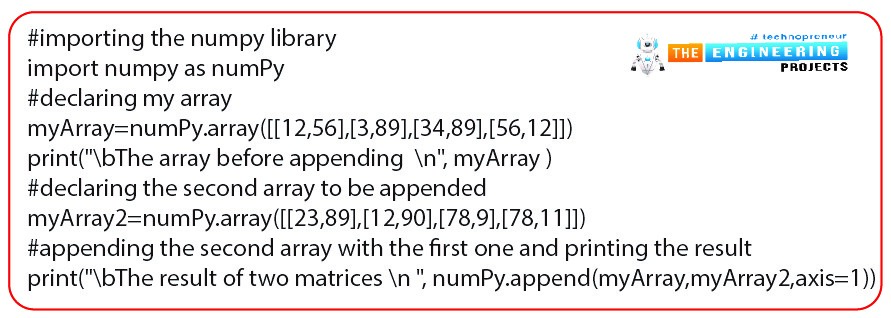
#importing the numpy library
import numpy as numPy
#declaring my array
myArray=numPy.array([[12,56],[3,89],[34,89],[56,12]])
print("\bThe array before appending \n", myArray )
#declaring the second array to be appended
myArray2=numPy.array([[23,89],[12,90],[78,9],[78,11]])
#appending the second array with the first one and printing the result
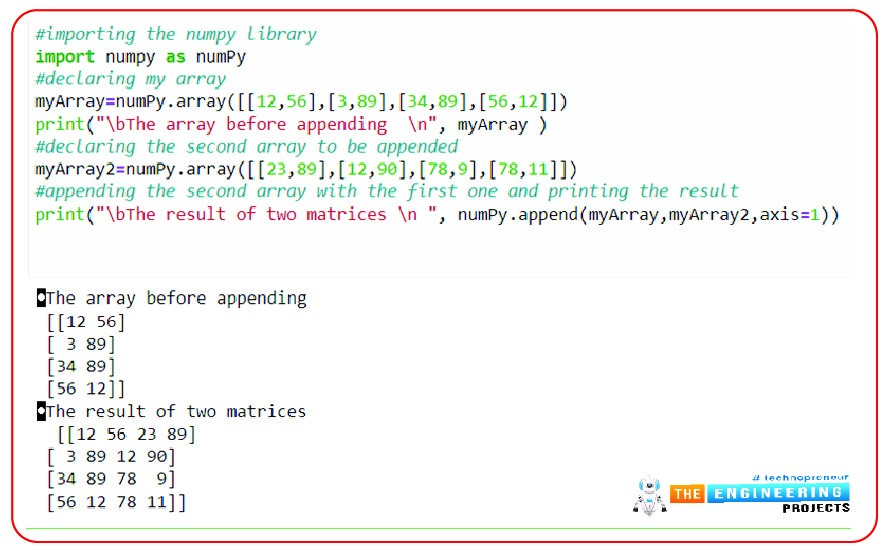
print("\bThe result of two matrices \n ", numPy.append(myArray,myArray2,axis=1))
Hence, both of these arrays are merged by simply appending them to each other. Moreover, the “axis=1” instruction tells the compiler that the rows of both of these arrays are to be joined in the respective manner; otherwise, the whole array is fixed after the second one. You should check it on yourself.
Consequently, we have learned a lot today. From the introduction of NumPy to the installation of this library, all the steps were discussed here in detail. Moreover, this library was tested by using the array in different ways, such as creating, changing the dimensions, indexing, flattening, and appending the elements. All of these concepts were discussed thoroughly, and there are many more operations on the arrays. Hence, stay with us for more details in the next lecture.


