Hi Guys! Hope you’re well today. I welcome you on board. In this post, I’ll walk you through How a Hobbyist Can Work on Electronic Projects in America.
Working on electronic projects is a bit inundating.
From selecting the topic to research work and development to execution, you need to hustle, grind and drill to keep your final product up and running.
When you are new to the electronic field, you must not be afraid to get your hands dirty in diving deep into the nitty-gritty of the project. This means that no matter what kind of technical project you pick, you need to spend a significant amount of your time and money to reach your final goal. It's not just about making sure that whatever it is you're looking for is done well—it's also about making sure that your project is done right from the start.
I suggest you read this post all the way through as I’ll be covering everything you need to know to make electronic projects as a hobbyist.
How a Hobbyist Can Work On Electronic Projects in America?
Development of electronic projects is tricky especially when you lack direction or you’re overwhelmed by the options available online. You can pick from a range of projects but the main goal is execution. If you fail to produce something that you proposed initially, it’s not worth it. NOPE. It’s not a good idea to pick the most difficult project to impress your instructors. Choose what resonates well with your expertise and helps you grow and excel in your field.
Newcomers have so many questions when they are about to get hands-on experience on the project. They don’t know how to start without lacking enthusiasm throughout the entire process. Don’t panic! We’ve streamlined a few steps in this post that will help you to complete your electronic project from start to finish with a proper strategy in place.
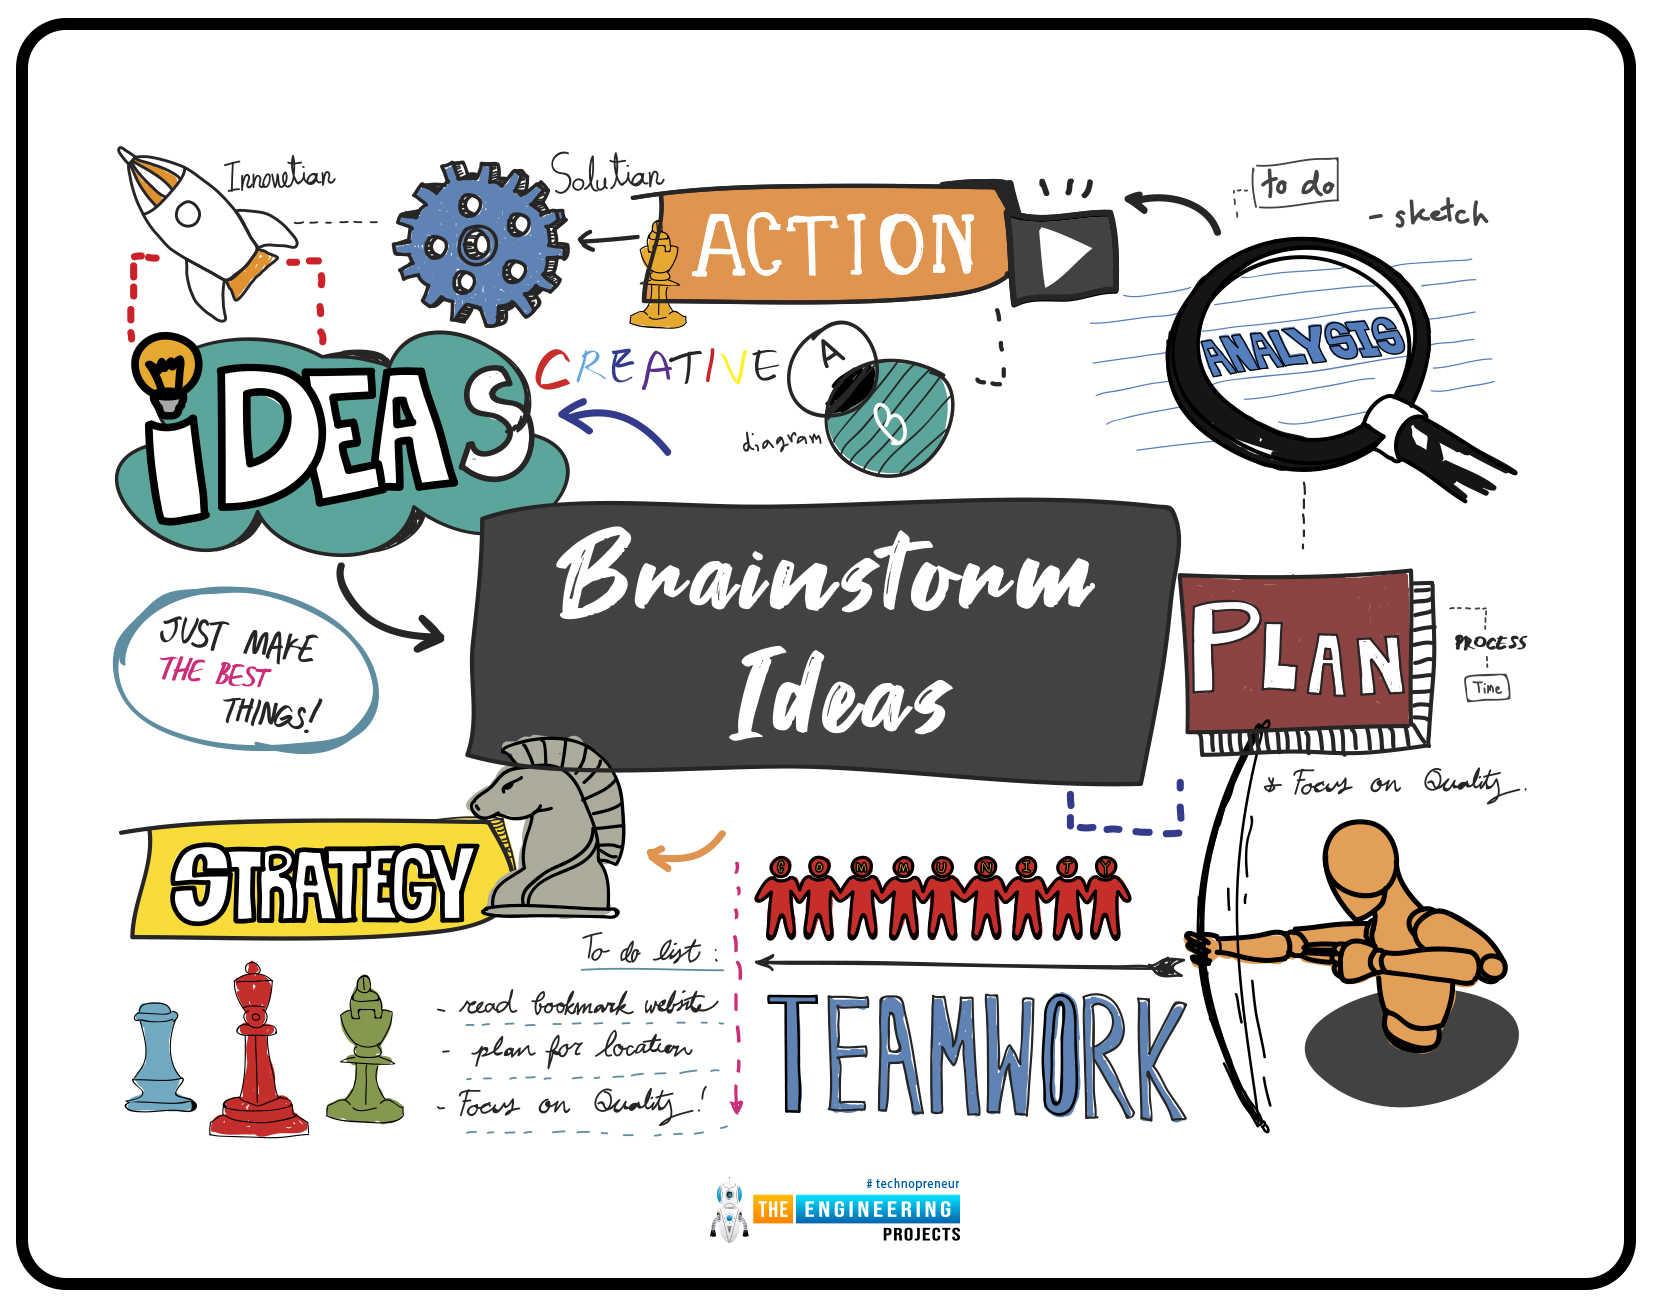
Brainstorm Ideas
Whether you’re working alone or in a group, it all starts with brainstorming a few ideas. If you’re working in a group, make sure you work on concepts with shared interests and common grounds. Having a fruitful conversation before picking up the topic will help you figure out everyone’s weaknesses and strengths. What you lack in one area may well be covered up by someone good in that field. And if you’re aiming to develop something amazing for your final year project, this is a great opportunity to leave some sort of legacy for your juniors.
The following are the key considerations while brainstorming ideas for your electronic project.
Must be doable. You must have abilities to turn your thoughts into reality.
Start with something new. With the recent advent of technologies, there is a scope for covering something that has not been discussed before. Try incorporating microcontrollers and Arduino boards into your projects with new peripherals.
The best idea could be where you address the problem and provide a solution.
Cover both hardware and software. This is important. Covering both aspects of the project will not only polish your skills but also leave room for improvement for your juniors to work on.
Within price range. Yep, it should be well within your budget. Though you can ask for sponsorships if you want to produce something from a commercial aspect, still it’s wise to pick something that you can easily afford.
Should be completed in due time. That’s true. Deadline is important. Of course, you wouldn’t want to spend your money, time, blood and sweat that you can’t submit within time.
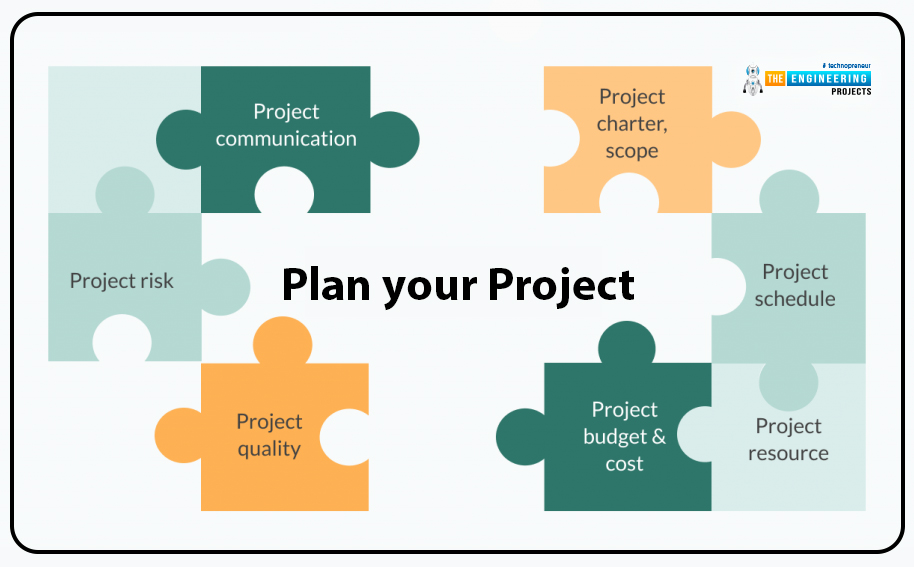
Plan your project
Once you’ve finalized the project idea, it’s time to play… Yeahhhhhh! Yep, it’s time to plan your project.
Say, if you have six months to complete your project, then divide the whole duration into dedicating each aspect of the project to a specific time limit. For instance, spare two months for research purposes, the next two months for purchasing the components and development of the project, and the final two months for the testing and execution of the project.
It is observed most engineering don’t plan their project according to the time limit and in the last month, they will be scratching their heads and doing everything to run the project. Even I did this mistake in our final year project. And we had to ask for extra days from our instructor to complete our project. So, I suggest you… please don’t do this mistake and plan your project accordingly.
Start Research
Until now, you’ve selected the topic and planned the project. Now comes the research part. This is the backbone of the entire project. Start your research with what’s required to be included in both hardware and software.
Your time and energy are wasted when you rely on an inaccurate source of information. To research a subject with confidence and to cite websites as support for your writing, you should streamline your research to gain a clear understanding of the subject.
Make sure the hardware components you select are available in the market. And even if you have to buy them from outside the country, you spare enough time to incorporate them into your project.
Thoroughly go through the datasheets and pin diagrams of the components and look for possible substitutes. Why use an expensive part when a cheap substitute would suffice?
Apart from finding the components from the local market, there are scores of places online where you can get the right products. Some are better than others. But how do you differentiate them when all claim to be the best? Don’t fret! You can use Utmel Electronic Online Store which gives you quality electronic parts and components at reasonable prices to support your electronic project. From batteries, audio products, and connectors to capacitors, transistors, and evaluation boards, this place is a haven for tech nerds.
Hardware Development
Hardware development is not a linear process. Sometimes you’ll witness going two steps backward for every step ahead. Don’t fear when this occurs since it’s what is required to turn your imagination into reality. Making hardware includes both: creation of mechanical structures and electrical circuit development.
The first step in developing the mechanical structure is making the 3D model on the computer. You can use “SolidWorks” to create the overall exterior of the project. Once you design the 3D model, turn it into a physical prototype. You can only create the model in the software but most probably, you will require someone in the market adept in understating the complexities of injection molding. Since this process is a bit tricky with many rules and regulations to follow.
If you’re a beginner and are not familiar with the nuts and bolts of developing PCBs, it’s wise to first create your hardware on the breadboard. This will help you identify all the possible mistakes before installing all these components on the printed circuit boards. Moreover, breadboards are user-friendly and you don’t require advanced technical skills to run your project.
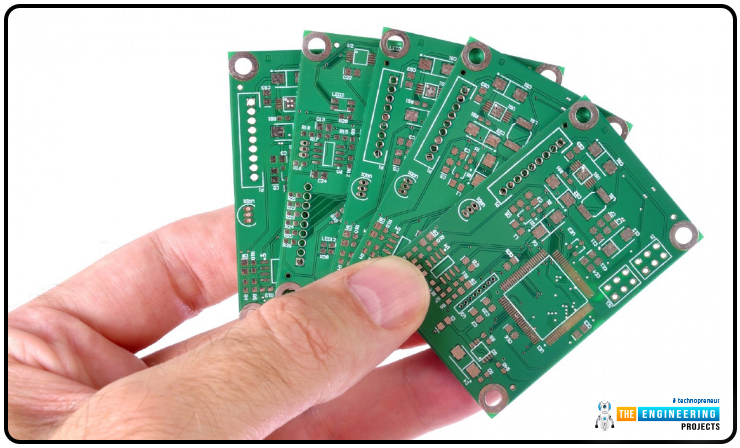
PCBs are the cornerstone of many electronic and electrical units that provide a pathway to reduce their technological size. A PCB is often made of laminated materials like epoxy, fiberglass, or a variety of other materials that provide an essential framework for organizing electronic circuits.
You need to design your PCB to create PCB layouts. Print out your PCB layout on the glossy paper and transfer that print onto the required size copper plate.
Make sure you place the main IC into the center of the board to allow even connections with all the electronic components.
Software Development
You have developed the required hardware for your project. Now is the time to use your programming skills to run your hardware.
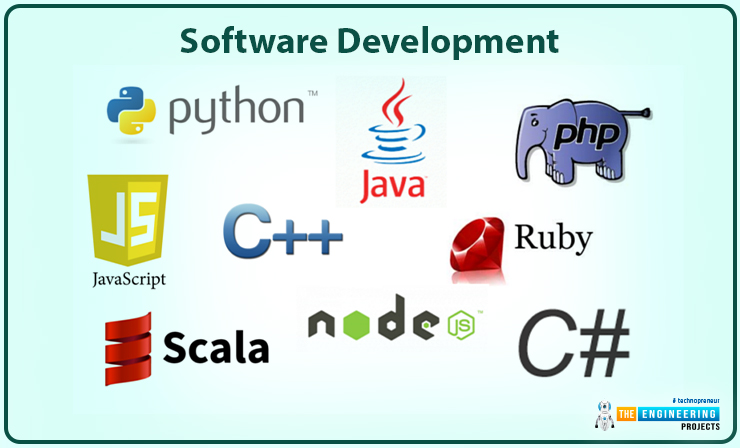
If you’re using a microcontroller or Arduino, you might need to learn C++ since Arduino code is written in C++ with the inclusion of special functions. The code you build on the software is called a ‘sketch’ that is compiled and processed to machine language to run your hardware by the instructions given by the human input.
Similarly, if you aim to create development boards, MATLAB software is used which is quite handy for Data analytics.
A PCB and electronic design automation software suite for printed circuit boards is Altium Designer.
All circuit design activities can be completed using the tools in Altium Designer, including schematic and HDL design capture, circuit simulation, signal integrity analysis, PCB design, and the design and development of embedded systems based on FPGAs. The Altium Designer environment can also be modified to suit the needs of a wide range of users.
I don’t highly recommend this trick but if you find yourself stuck in some part of the hardware or software development, you can outsource that part to freelancers. But this is highly risky since if your instructor finds out that you were not the one who did that part, you may get into hot waters. Make sure you get your instructors on board before outsourcing the most complex part of the project.
Test Your Project
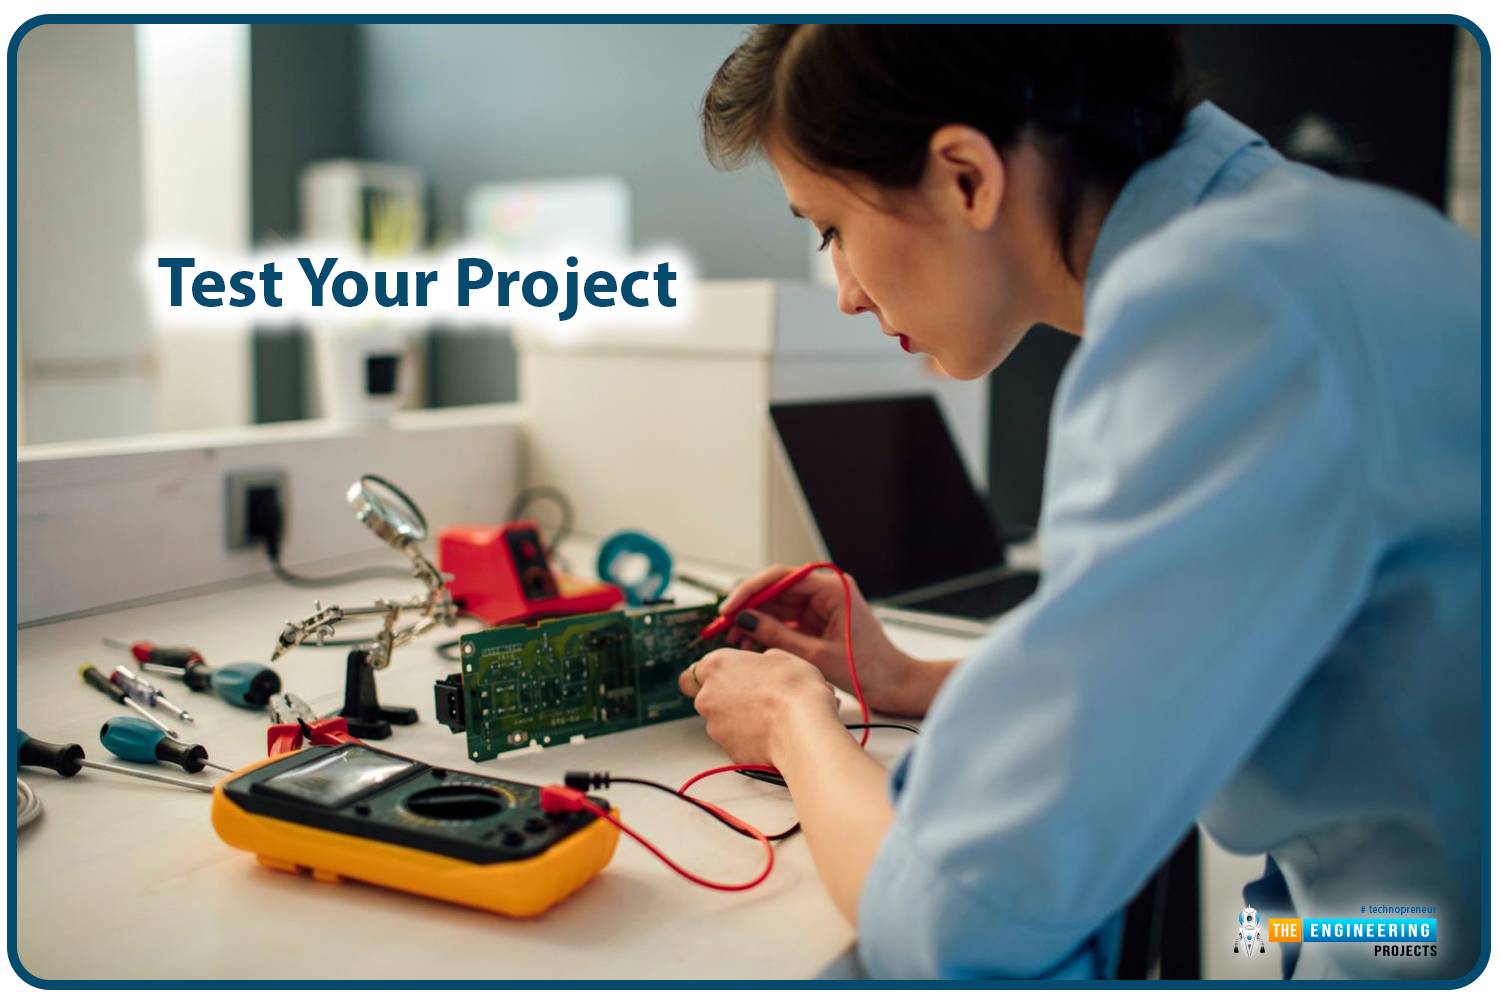
You might have done everything right from the start, but it’s unlikely that your project starts in one go. You might need to run your project through a series of test and trial methods to identify errors and glitches in both hardware and software.
Always create a backup plan. Make your hardware in such a way that if you require some modification in the process, you can do so.
For instance, you can make a plastic casing for your mechanical structure before going for the hard metal enclosure. Ensure that the end product resonates with what you initially proposed in your proposal.
Articulation and Presentation
Once your project is completed and carefully tested, next comes the writing process.
Anyone can write but good writing needs practice. Make sure you dedicate this part to someone good at jotting down ideas in a clear and meaningful way.
Since the audience will get to see the end product. They don’t care how many struggles you withstood and how many sleepless nights you went through, they care about how your project can be beneficial for them and how it can solve their problems.
Additionally, it’s all about presentation. If you don’t know how to skillfully present your project, you fail to convince the audience that your project is worth spending time and money on.
It will be helpful to use data visualization in your presentation to present your project clearly and concisely. Throughout your presentation, be ready to respond to the panel's queries with care and attention.
And finally, don’t forget to make a video of your running project. Sometimes, even though the project runs smoothly, it doesn’t execute well in front of the instructors. So it’s wise to be on the safe side and record the video of your project.
Some Electronic Project Ideas
You can make a home automation IoT project to remotely control the appliances of your home.
You can build an automatic security system that informs you whenever someone trespasses your home boundaries.
Develop an advanced light system that can be used to turn on the light loads whenever they detect human presence within range.
You may also create a robotic metal detector system that can find metals in the ground, and inside food products with the help of radiofrequency technology.
Build automatic solar tracker. To make sure your panel receives the most radiation possible throughout the day, you can construct trackers that follow the sun's path from sunrise to sunset.
Make Wireless Lock System Through OTP that provides a smart security solution.
Conclusion
Still reading? Perfect.
It means you’ve learned some valuable insights into how to develop your electronic project from start to execution.
Just follow these steps and you’ll be well ahead in turning your idea from ideation to execution.
Start with a simple doable idea. Some ideas may look best initially, but when you start working on them they become unrealistic.
Don’t forget to ask for help if you get stuck in the process. Since when you never ask for it, the answer is always NO.
That’s all for today. Hope you’ve enjoyed reading about how a hobbyist can work on electronic projects in America. If you are unsure or have any questions, you can ask me in the section below. I’d love to help you the best way I can. Thank you for reading the article.


