TEP , The Engineering Projects , Author Welcome! Syed Zain Nasir Mechatronics Engineer TEP , The ENgineering Projects , TEP Badge TEP , The Engineering Projects , Ratting Background 7.5 7.5/10
TEP , The Engineering Projects , Rating Percentage Background Reputation Score 55 / 100
What is interrupt, Polling, ESP32 interrupt, Software interrupts, Hardware Interrupts, IRS (Interrupt Service routine), Steps to execute an interrupt or how is an interrupt us handled in microcontroller, ESP32 code, Code description for ESP32 interrupts with Arduino IDE, Code description for hardware interrupts, Why is it preferred to use timer to add delay instead of using delay() function
TEP , The Engineering Projects , Boxes

ESP32 Interrupts

TEP , THe Engineering Projects , Shares 2.5K Views
TEP , The ENgineering Projects , Reaction 40
TEP , The ENgineering Projects , Reaction 700
TEP , The ENgineering Projects , Reaction 60
TEP , The ENgineering Projects , Reaction 25
TEP , The ENgineering Projects , Reaction 60
TEP , The Engineering Projects , Pintrest TEP , The Engineering Projects , Pintrest TEP , The Engineering Projects , Pintrest TEP , The Engineering Projects , Pintrest TEP , The Engineering Projects , Pintrest
Shares: 691
TEP , The Engineering Projects , PCBWAY

What is interrupt, Polling, ESP32 interrupt, Software interrupts, Hardware Interrupts, IRS (Interrupt Service routine), Steps to execute an interrupt or how is an interrupt us handled in microcontroller, ESP32 code, Code description for ESP32 interrupts with Arduino IDE, Code description for hardware interrupts, Why is it preferred to use timer to add delay instead of using delay() function
Hello readers, hope you all are doing great. Today, we will discuss interrupts and timers in ESP32 and how to handle internal as well as external interrupts. So, we will discuss What is interrupt, Polling, ESP32 interrupt, Software interrupts, Hardware Interrupts, IRS (Interrupt Service routine), Steps to execute an interrupt or how is an interrupt handled in the microcontroller, Code description for ESP32 interrupts with Arduino IDE, Code description for hardware interrupts, Why is it preferred to use timer to add delay instead of using delay() function. So, let's get started:

What is Interrupt?

  • Interrupts are used when a micro-controller needs to continuously monitor for an event while the same micro-controller is executing a particular task.
What is interrupt, Polling, ESP32 interrupt, Software interrupts, Hardware Interrupts, IRS (Interrupt Service routine), Steps to execute an interrupt or how is an interrupt us handled in microcontroller, ESP32 code, Code description for ESP32 interrupts with Arduino IDE, Code description for hardware interrupts, Why is it preferred to use timer to add delay instead of using delay() function

Fig 1 Interrupt

  • Each interrupts has a priority level and each interrupt is executed as per their priority level.
  • You can mask or unmask a particular interrupt depending upon their properties and your requirements.

Polling

Polling is a process that performs continuous monitoring. Basically, the processor continuously monitors the state of a specific device or a peripheral, and when the status of the device satisfies the condition, the device executes the task that was required. Then it moves on to the next device to monitor until each one has been served. The processor performs no other operations and devotes all of its processing time to monitoring, and all other tasks are suspended until the current one is completed.

What is interrupt, Polling, ESP32 interrupt, Software interrupts, Hardware Interrupts, IRS (Interrupt Service routine), Steps to execute an interrupt or how is an interrupt us handled in microcontroller, ESP32 code, Code description for ESP32 interrupts with Arduino IDE, Code description for hardware interrupts, Why is it preferred to use timer to add delay instead of using delay() function

Fig 2 polling vs Interrupt

So, to overcome the disadvantage of the polling method, we chose the Interrupt method.

ESP32 Interrupt

ESP32 module has a dual-core processor and each core consists of 32 interrupts. Basically interrupts are of two types:

Software Interrupts:

What is interrupt, Polling, ESP32 interrupt, Software interrupts, Hardware Interrupts, IRS (Interrupt Service routine), Steps to execute an interrupt or how is an interrupt us handled in microcontroller, ESP32 code, Code description for ESP32 interrupts with Arduino IDE, Code description for hardware interrupts, Why is it preferred to use timer to add delay instead of using delay() function

Fig 3 ESP32 software interrupt

Software interrupts are internal which occur in response to the execution of a software instruction. For example, a timer can be used to generate a software interrupt.

Hardware Interrupts:

What is interrupt, Polling, ESP32 interrupt, Software interrupts, Hardware Interrupts, IRS (Interrupt Service routine), Steps to execute an interrupt or how is an interrupt us handled in microcontroller, ESP32 code, Code description for ESP32 interrupts with Arduino IDE, Code description for hardware interrupts, Why is it preferred to use timer to add delay instead of using delay() function

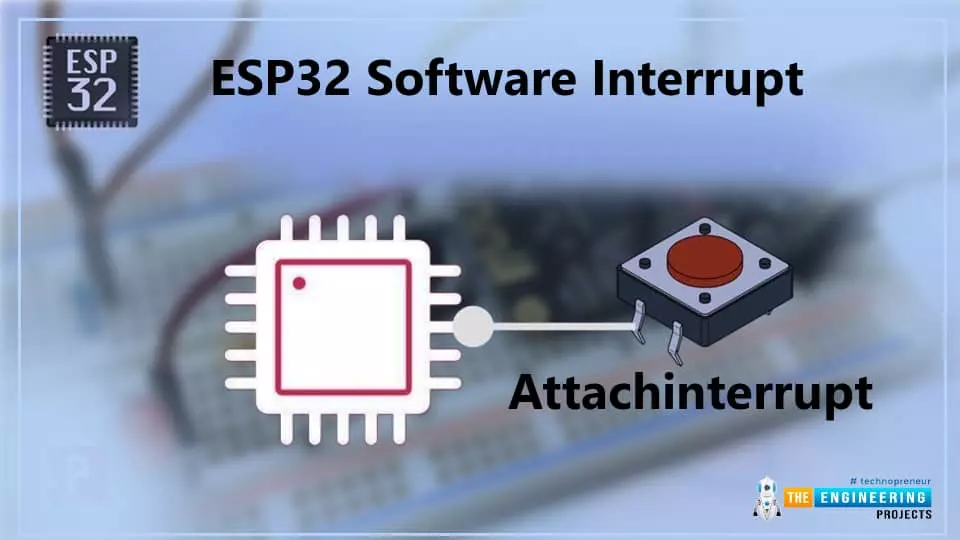
Fig 4 ESP32 software interrupt

Hardware interrupts are the external interrupts that are caused by an external event. For example, an external push button connected to ESP32’s GPIO or a motion sensor will generate an interrupt (event) if a motion is detected.

ISR (Interrupt Service routine)

When an interrupt occurs during normal program execution, an ISR (interrupt service routine) or an interrupt handler is called into action. The normal program execution will be halted, and the interrupt will be executed based on the priority level of the interrupt.

What is interrupt, Polling, ESP32 interrupt, Software interrupts, Hardware Interrupts, IRS (Interrupt Service routine), Steps to execute an interrupt or how is an interrupt us handled in microcontroller, ESP32 code, Code description for ESP32 interrupts with Arduino IDE, Code description for hardware interrupts, Why is it preferred to use timer to add delay instead of using delay() function

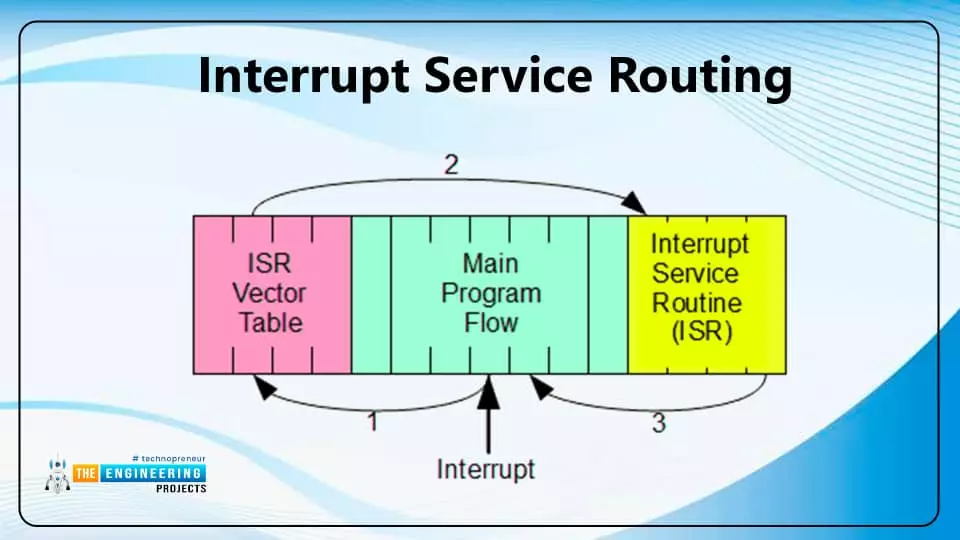
Fig. 5 Interrupt service routing

Every interrupt has a fixed memory location where the address of the ISR is stored.

Interrupt Vector Table refers to a memory table or memory table that is used to store the location of an interrupt service routine.

Note: IRAM_ATTR attribute should be defined for interrupt handling. As per the ESP32 datasheet interrupt service routine should run inside the RAM. Because inside the RAM it is fast to execute a code than in flash memory and when an interrupt occurs all the other tasks will be blocked or halted till the time interrupt request is served.

Steps to execute an interrupt in ESP32

When an interrupt occurs, the microcontroller will go through the following steps:

  • The microcontroller will halt the current task and will store the address of the next instruction (Program Counter or PC) on the stack (lower byte first).
  • The microcontroller will execute the higher priority interrupt first and will block the lower priority interrupts.
  • It jumps to the interrupt vector table memory location that contains the address of the interrupt service routine (ISR).
  • The microcontroller reads the interrupt vector table and jumps to the address of the ISR. It begins executing the interrupt service subroutine.
  • The microcontroller returns to the location where it was interrupted after executing the RETI instruction. First, it obtains the program counter (PC) address from the stack by inserting the stack's top bytes into the PC. The execution will then begin at that address.
What is interrupt, Polling, ESP32 interrupt, Software interrupts, Hardware Interrupts, IRS (Interrupt Service routine), Steps to execute an interrupt or how is an interrupt us handled in microcontroller, ESP32 code, Code description for ESP32 interrupts with Arduino IDE, Code description for hardware interrupts, Why is it preferred to use timer to add delay instead of using delay() function

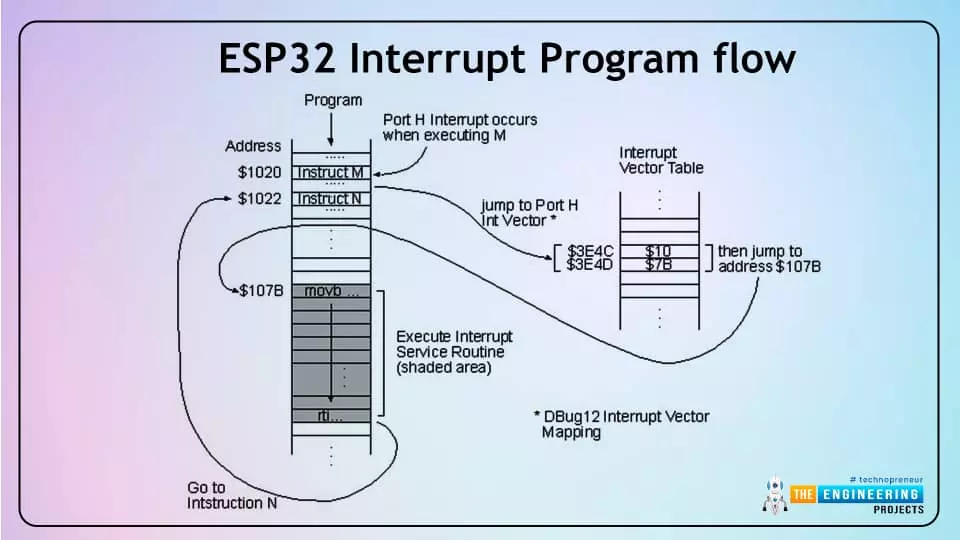
Fig. 6 ESP32 Interrupt Program flow

ESP32 Interrupt Code

We are using Arduino IDE to compile the code and then upload into the ESP32 board.

If you are not familiar with the procedure of getting started with Arduino IDE and hoe to compile a code in Arduino IDE then follow our previous tutorial that is Introduction to ESP32 programming series.

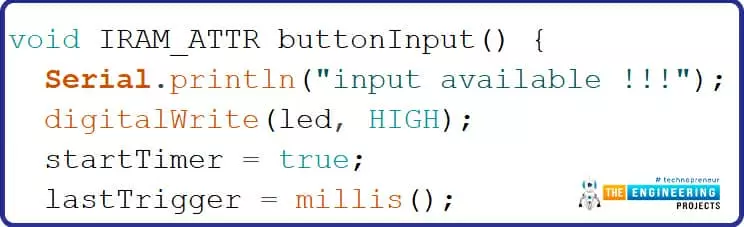
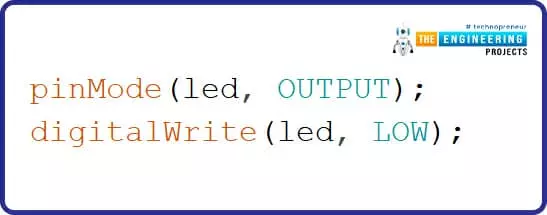
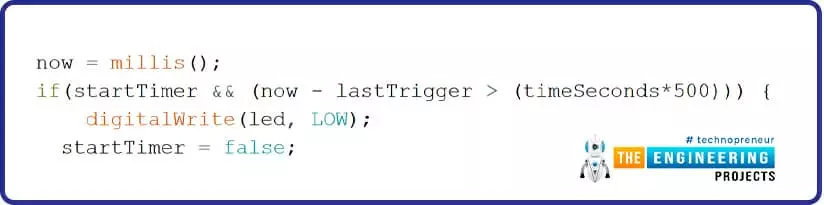
// Set GPIOs for LED and Push button const int led = 2; const int button = 0;   // Timer: Auxiliary variables #define timeSeconds 10   unsigned long now = millis(); unsigned long lastTrigger = 0; boolean startTimer = false;   // Checks if button input was detected, sets LED HIGH and starts a timer void IRAM_ATTR buttonInput() { Serial.println("input is available !!!"); digitalWrite(led, HIGH); startTimer = true; lastTrigger = millis(); }   void setup() { // Serial port for debugging purposes Serial.begin(115200);   pinMode(button, INPUT_PULLUP); attachInterrupt(digitalPinToInterrupt(button), buttonInput, RISING);   // Set LED to LOW pinMode(led, OUTPUT); digitalWrite(led, LOW); }   void loop() { now = millis(); // Turn off the LED after the number of seconds defined in the timeSeconds variable if(startTimer && (now - lastTrigger > (timeSeconds*500))) { digitalWrite(led, LOW); startTimer = false; } }

Code for ESP32 Interrupts with Arduino IDE

As we have already discussed that the interrupt could be software generated (internal interrupt) or due to hardware (external interrupt). This tutorial we are using hardware or external interrupt for demonstration. You can also use software interrupts or both in a single code, as per your requirements.

Code Description for Hardware interrupt

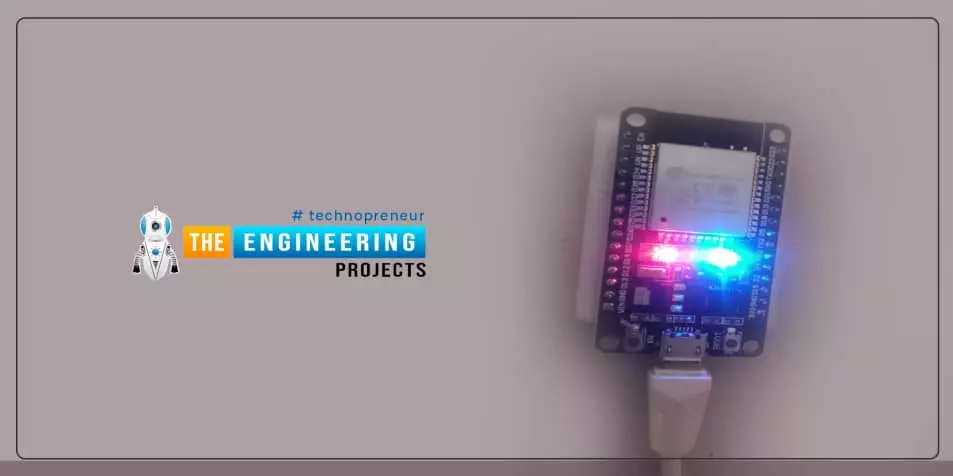
  • For the demonstration of hardware interrupt we are using a push button which is connected to the interrupt pin and a LED for the show output.
  • First of all, let us assign two GPIOs, one is for push button (input) and another is LED. We are using the built-in LED that is GPIO_2 and a built-in push button (named as BOOT on ESP32 board) connected to GPIO_0.
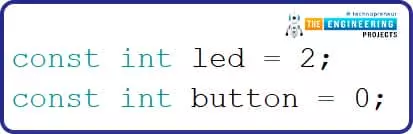
What is interrupt, Polling, ESP32 interrupt, Software interrupts, Hardware Interrupts, IRS (Interrupt Service routine), Steps to execute an interrupt or how is an interrupt us handled in microcontroller, ESP32 code, Code description for ESP32 interrupts with Arduino IDE, Code description for hardware interrupts, Why is it preferred to use timer to add delay instead of using delay() function

Fig. 7

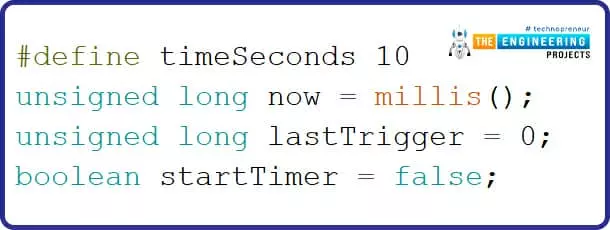
In this code, we are using timer to add delay instead of using delay() function.(I will also explain that why it is preferred to use timer in order to create delay instead of using delay() function after the code demonstration).

  • Next, we are defining variables which are used to set the timer for adding delay after the interrupt is being detected.
  • The variable now is defining the current time
  • The variable lastTrigger is defining the time when the interrupt is detected.
  • The variable startTimer is used to start the time when an interrupt is detected.
What is interrupt, Polling, ESP32 interrupt, Software interrupts, Hardware Interrupts, IRS (Interrupt Service routine), Steps to execute an interrupt or how is an interrupt us handled in microcontroller, ESP32 code, Code description for ESP32 interrupts with Arduino IDE, Code description for hardware interrupts, Why is it preferred to use timer to add delay instead of using delay() function

IRAM_ATTR

  • It is required that the interrupt service routine should have the minimum possible execution time because it halts or blocks the normal program execution.
  • The attribute IRAM_ATTR is used to run the code (interrupt code) inside the internal RAM when an interrupt occurs because RAM (random access memory) is much faster than flash memory.
  • After the execution of the interrupt code or ISR the normal code will be stored or executed inside the flash memory.
What is interrupt, Polling, ESP32 interrupt, Software interrupts, Hardware Interrupts, IRS (Interrupt Service routine), Steps to execute an interrupt or how is an interrupt us handled in microcontroller, ESP32 code, Code description for ESP32 interrupts with Arduino IDE, Code description for hardware interrupts, Why is it preferred to use timer to add delay instead of using delay() function

Arduino Setup() Function

  • Inside the setup() function we are initializing the serial communication with a baud rate of 115200.
  • Set the push button GPIO pin a pulled up input pin.
What is interrupt, Polling, ESP32 interrupt, Software interrupts, Hardware Interrupts, IRS (Interrupt Service routine), Steps to execute an interrupt or how is an interrupt us handled in microcontroller, ESP32 code, Code description for ESP32 interrupts with Arduino IDE, Code description for hardware interrupts, Why is it preferred to use timer to add delay instead of using delay() function
  • attachInterrupt() function is used to set the button pin (GPIO_0) as an interrupt pin and it will button input (interrupt) during the falling edge.
What is interrupt, Polling, ESP32 interrupt, Software interrupts, Hardware Interrupts, IRS (Interrupt Service routine), Steps to execute an interrupt or how is an interrupt us handled in microcontroller, ESP32 code, Code description for ESP32 interrupts with Arduino IDE, Code description for hardware interrupts, Why is it preferred to use timer to add delay instead of using delay() function
  • A function called detachInterrupt() can be used if you no longer want to use a GPIO pin as an interrupt.
  • Change the state of the LED when an interrupt is detected for
What is interrupt, Polling, ESP32 interrupt, Software interrupts, Hardware Interrupts, IRS (Interrupt Service routine), Steps to execute an interrupt or how is an interrupt us handled in microcontroller, ESP32 code, Code description for ESP32 interrupts with Arduino IDE, Code description for hardware interrupts, Why is it preferred to use timer to add delay instead of using delay() function

Arduino Loop() Function

Inside the loop function which is continuously running, the buttonInput function will be called every time when an interrupt occurs , which we have defined previously inside the setup() function.

  • LED will turned off after the delay of 5sec once an interrupt is detected.
  • The variable “now” will be updated every time with the current time.
What is interrupt, Polling, ESP32 interrupt, Software interrupts, Hardware Interrupts, IRS (Interrupt Service routine), Steps to execute an interrupt or how is an interrupt us handled in microcontroller, ESP32 code, Code description for ESP32 interrupts with Arduino IDE, Code description for hardware interrupts, Why is it preferred to use timer to add delay instead of using delay() function
  • We can check the interrupt details on serial monitor as shown in the image below:
What is interrupt, Polling, ESP32 interrupt, Software interrupts, Hardware Interrupts, IRS (Interrupt Service routine), Steps to execute an interrupt or how is an interrupt us handled in microcontroller, ESP32 code, Code description for ESP32 interrupts with Arduino IDE, Code description for hardware interrupts, Why is it preferred to use timer to add delay instead of using delay() function

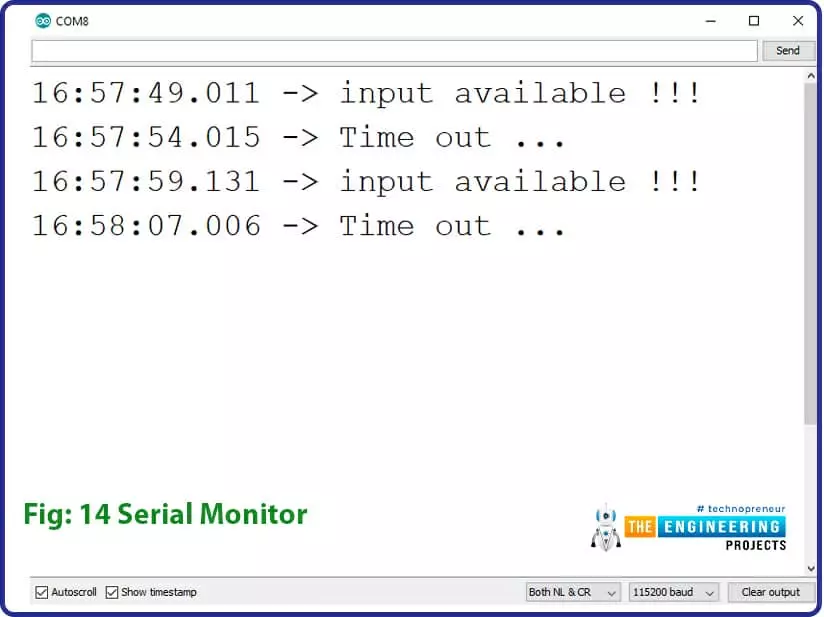
Fig 14 Serial monitor

Why it is preferred to use Timer instead of delay()?

Delay() function is a complete software process and it is mostly used because it is easier to implement delay using only software. On the other hand, when we switch to hardware delay or use a timer to add delay the process is a bit complicated to implement.

But, when we think of a practical perspective we prefer hardware delay over software delay. Because a software delay keeps the processor busy in a continuous loop and the processor need to keep all other tasks on halt.

On the other hand, if we use a timer to add delay the processor can complete some other task while the timer is playing its own part.

This concludes the tutorial. Hope you find it helpful. In our next tutorial, we will discuss the ESP32 Web Socket server.

TEP , The Engineering Projects , Tags
What is interrupt
Polling
ESP32 interrupt
Software interrupts
Hardware Interrupts
IRS (Interrupt Service routine)
Steps to execute an interrupt or how is an interrupt us handled in microcontroller
ESP32 code
Code description for ESP32 interrupts with Arduino IDE
Code description for hardware interrupts
Why is it preferred to use timer to add delay instead of using delay() function
TEP , The Engineering Projects , Calender Tuesday, December 7, 2021
TEP , The Engineering Projects , Comments

Write a Comment

TEP , The Engineering Projects , WordPress TEP , The Engineering Projects , Google TEP , The Engineering Projects , Twitter TEP , The Engineering Projects , Facebook TEP , The Engineering Projects , User
TEP , The Engineering Projects , Robot
TEP , The Engineering Projects , Comments Comments on ‘’ ESP32 Interrupts ‘’ (0)
TEP , The Engineering Projects , About TEP , The Engineering Projects , About Shadow

Top PCB Design Service

PCBA
TEP , The Engineering Projects , JLCPCB
PCB
TEP , The Engineering Projects , JLCPCB
TEP , The Engineering Projects , About TEP , The Engineering Projects , About Shadow

Embedded Tools

ARDINO TEP , The Engineering Projects , JLCPCB
TEP , The Engineering Projects , About TEP , The Engineering Projects , About Shadow

Subscribe Now !!!

Learn Free Pro Tricks

TEP , The Engineering Projects , Mail Receive Quality Tutorials Straight in your Inbox by Submitting your Email ID Below
TEP , The Engineering Projects , Mail TEP , The Engineering Projects , Mail Shadow
TEP , The Engineering Projects , Mail Robot TEP , The Engineering Projects , Mail Robot Shadow TEP , The Engineering Projects , Mail Robot Shadow
TEP , The Engineering Projects , About TEP , The Engineering Projects , About Shadow

Engineering Books

TEP , The Engineering Projects , Arduino Programming Book
SALE $20
Text Book for arduino $20
TEP , The Engineering Projects , Rating Stars (5.0)
TEP , The Engineering Projects , Arduino Programming Book
SALE $20
Text Book for Raspberry Pi $20
TEP , The Engineering Projects , Rating Stars (3.0)
TEP , The Engineering Projects , Arduino Programming Book
SALE $20
Text Book for arduino $20
TEP , The Engineering Projects , Rating Stars (4.7)
TEP , The Engineering Projects , Arduino Programming Book
SALE $20
Text Book for Raspberry Pi $20
TEP , The Engineering Projects , Rating Stars (5.0)
TEP , The Engineering Projects , TEP Robot TEP , The Engineering Projects , TEP Robot Shadow TEP , The Engineering Projects , TEP Robot Shadow
TEP , The Engineering Projects , About TEP , The Engineering Projects , About Shadow

Categories

TEP , The Engineering Projects , Arduino
TEP , The Engineering Projects , Notification 20K
TEP , The Engineering Projects , Tick 900
TEP , The Engineering Projects , Views 900
TEP , The Engineering Projects , Comments 20K
TEP , The Engineering Projects , Arduino
TEP , The Engineering Projects , Notification 20K
TEP , The Engineering Projects , Tick 900
TEP , The Engineering Projects , Views 900
TEP , The Engineering Projects , Comments 20K
TEP , The Engineering Projects , Arduino
TEP , The Engineering Projects , Notification 20K
TEP , The Engineering Projects , Tick 900
TEP , The Engineering Projects , Views 900
TEP , The Engineering Projects , Comments 20K
TEP , The Engineering Projects , Arduino
TEP , The Engineering Projects , Notification 20K
TEP , The Engineering Projects , Tick 900
TEP , The Engineering Projects , Views 900
TEP , The Engineering Projects , Comments 20K
TEP , The Engineering Projects , Arduino
TEP , The Engineering Projects , Notification 20K
TEP , The Engineering Projects , Tick 900
TEP , The Engineering Projects , Views 900
TEP , The Engineering Projects , Comments 20K