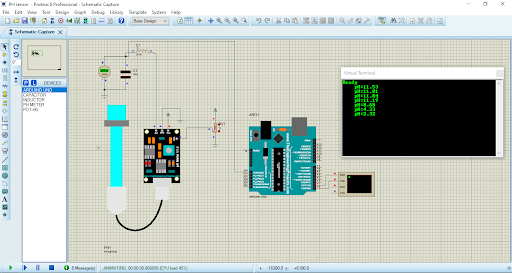
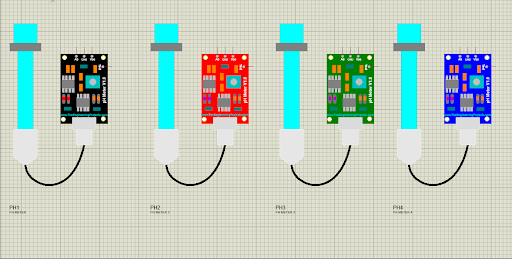
In this pH Sensor Library, I have added four different pH Sensors, which are used for the detection of the pH of any fluid. Since we can’t place real liquid and measure pH in this software, I have attached a test pin in the pH meter where you have to connect a potentiometer. The potentiometer will produce a reading from 0 to 1023, which will be mapped from 0 to 14 in the program code. We can predict the nature of the liquid. We will have a look at how to use these sensors below. So, here’s the list of all four pH sensors, I have added to this pH sensor library:
- PH METER
- PH METER 2
- PH METER 3
- PH METER 4
So, let’s start with downloading and installing the pH Sensor Library for Proteus.
| Where To Buy? | ||||
|---|---|---|---|---|
| No. | Components | Distributor | Link To Buy | |
| 1 | LEDs | Amazon | Buy Now | |
| 2 | Resistor | Amazon | Buy Now | |
| 3 | Arduino Uno | Amazon | Buy Now | |
What is a pH Sensor?
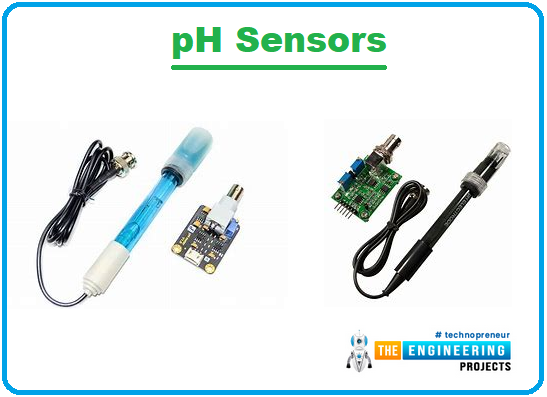
- A pH sensor is a device that is used to measure the pH value of a liquid. pH can be defined as the concentration of H+ ions in a liquid. We can find whether the fluid is acidic, basic or neutral by knowing the pH of the liquid.
- Real pH sensors are shown below:
pH sensor Library for Proteus
- First, download the zip file of Proteus Library for pH Sensor.
- Click the link below to download the library zip file of pH Meter:
- After downloading the zip file, extract its files and open the folder named “Proteus Library Files“.
- In this folder, you will find three files, named:
- pHMeterLibraryTEP.IDX
- pHMeterLibraryTEP.LIB
- pHMeterLibraryTEP.HEX
- We have to place these files in the ‘LIBRARY’ folder of Proteus software.
- Now, open Proteus. if you are already working on it you have to restart it.
- In the components search box, search for “PH METER” and you will get four results, as shown in the below figure:
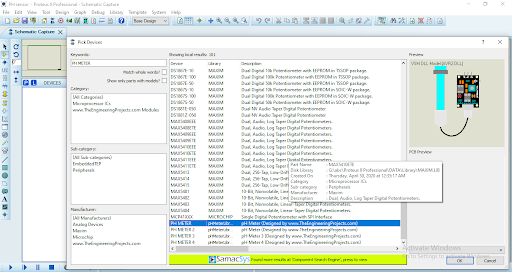
- Let’s place these four pH Meter models in our Proteus workspace:
Adding Hex File to the Sensor
- Now we need to paste the hex file of the pH METER in the properties section of the sensor. Double click on the sensor to open the properties window.
- Go to the program file section, browse to the hex file, which we have downloaded above and placed it in the ‘LIBRARY’ folder of Proteus software:
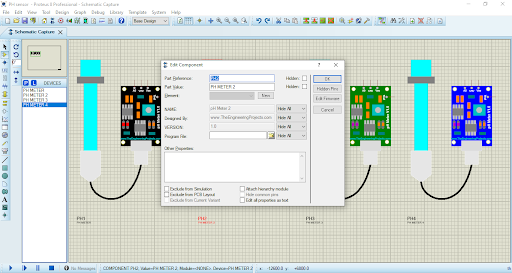
- After adding the hex file, click the Ok button.
- Now all is ready, let’s create a circuit to check it's working.
pH Sensor Proteus Simulation
- The pH sensor is now ready to simulate in Proteus, so let’s design a simple circuit to understand its working:
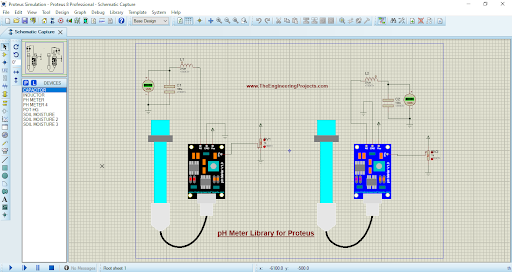
- As you can see, I have placed an LC filter on the analog output of the pH sensor, it's because proteus gives us a peak to peak voltage value and we need to convert it to Vrms.
- While performing the real experiment, you don’t need to do the above stuff.
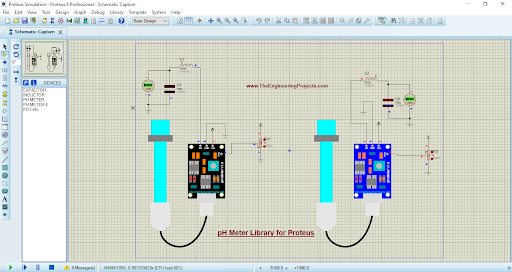
- Now, let’s run the Proteus simulation. You will see such a screen if everything will work fine.
Interfacing of pH sensor with Arduino UNO
- Add Arduino UNO and pH sensor to the components list and place them in the workspace.
- Placed an LC filter on the analog output of the pH sensor, as mentioned above.
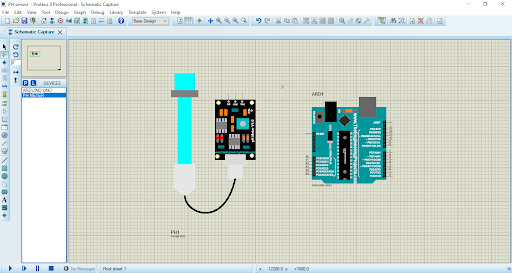
- Connect it to the A0 pin of Arduino. Add a virtual terminal also to see the readings generated.
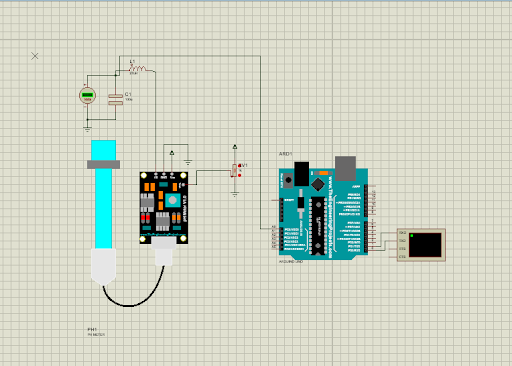
- Paste the hex file of the program at the program file section of the Arduino.
- Now run the simulation, if everything's fine you will get results as shown in the below figure:

- You can watch the complete working simulation in the below video:
So, that was all for today. I hope you have enjoyed today's lecture. Thanks for reading !!!


