
How to Setup 7 inch HDMI LCD with Raspberry Pi 3


How to Setup 7 inch HDMI LCD with Raspberry Pi3 ???
- In our previous tutorial, we have Installed Raspbian on our SD card, so I hope you have done the same.
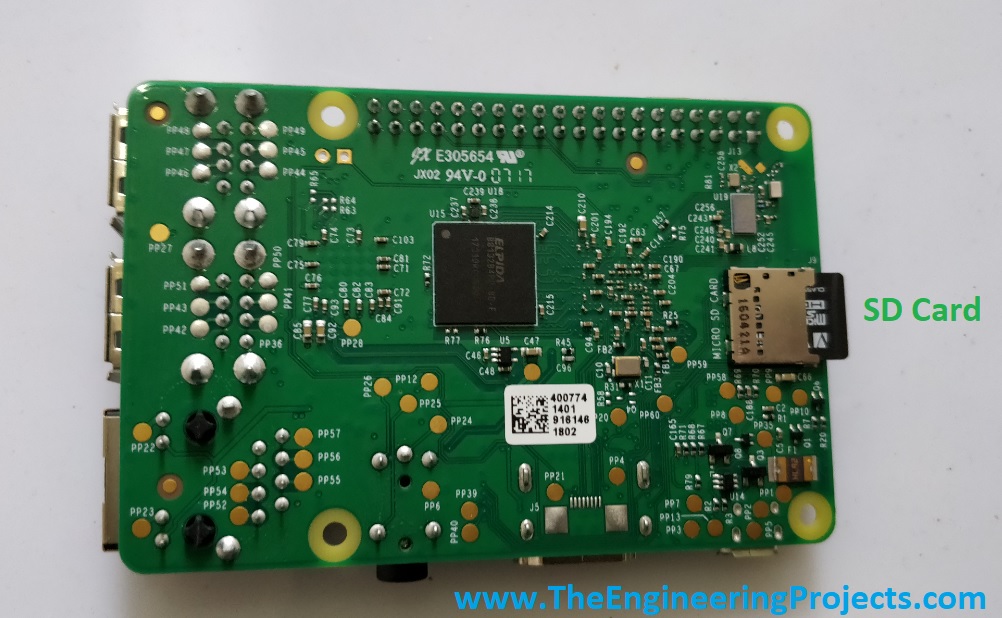
- So, now its time to plug your 16 GB SD Card in your Raspberry Pi 3, as shown in below figure:
- You will also need to buy this 7 inch TFT LCD which I have already bought.
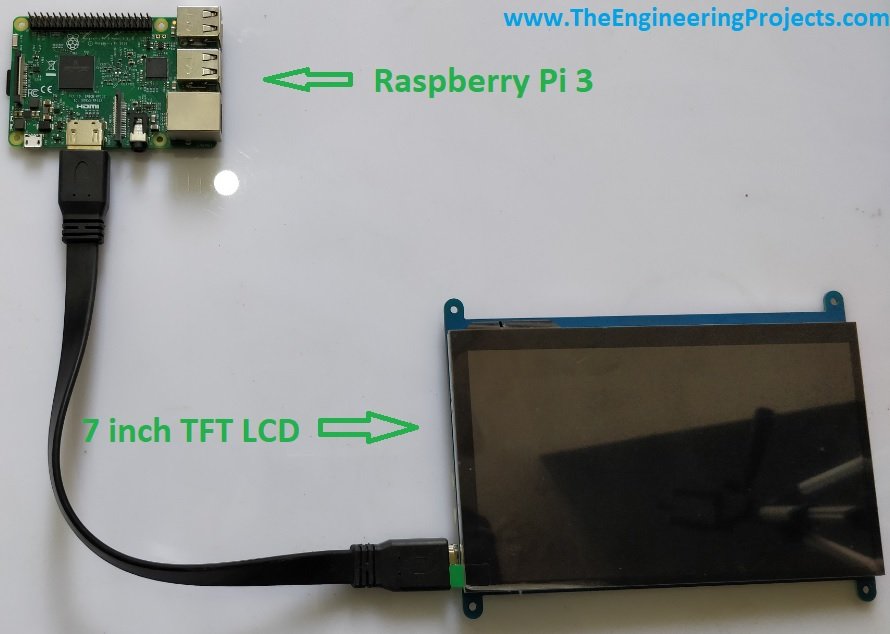
- You will also get HDMI cable along with this TFT LCD, so we have to connect our TFT LCD with our Raspberry Pi 3 via HDMI cable, as shown in below figure:
- Now we also need Keyboard and mouse, I would recommend you to buy any usb mouse and keyboard.
- You have to plug them in the USB Ports of raspberry Pi 3.
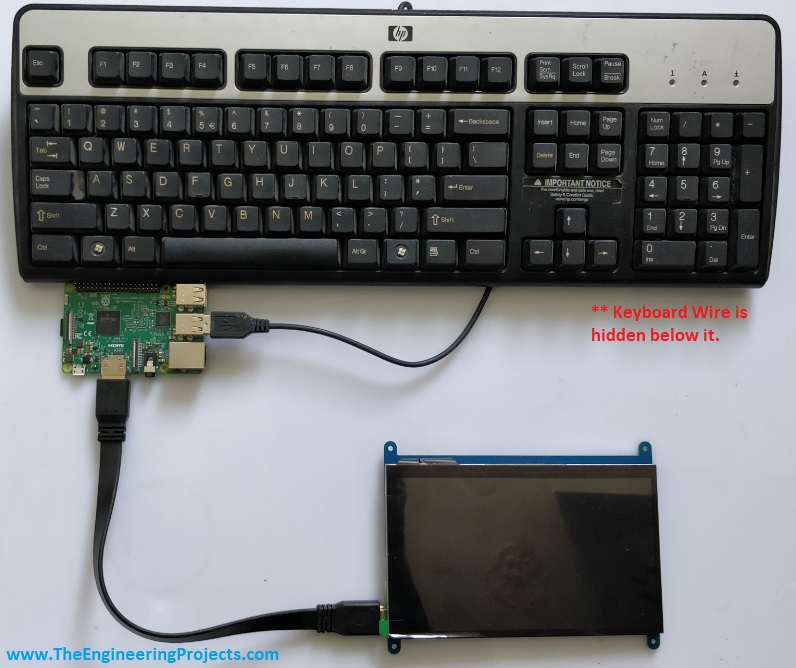
- Let's first plug keyboard's USB in our raspberry Pi 3, as shown in below figure:
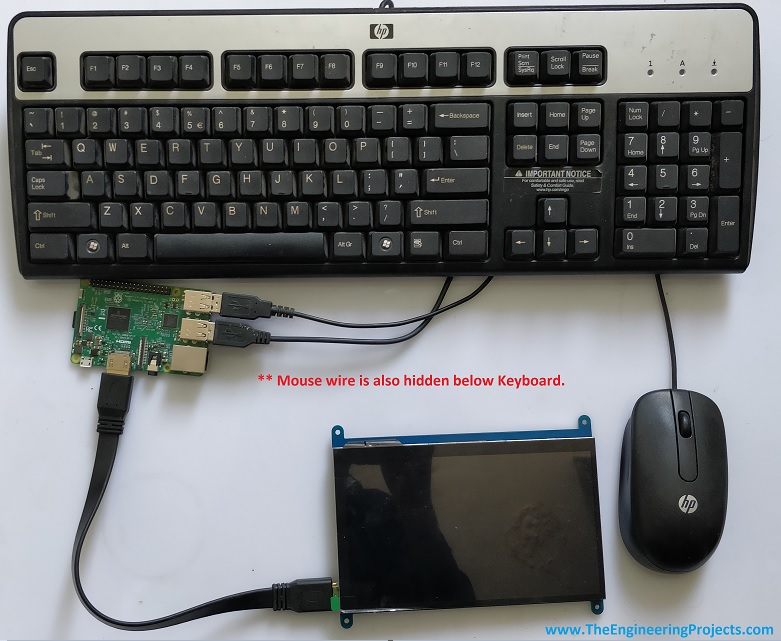
- The last thing, I need to plug is our USB Mouse. Here's the screenshot:
- Let me summarize it, till now we have connected following four things with our raspberry Pi 3:
- 16GB SD Card.
- 7 inch TFT LCD.
- USB Keyboard.
- USB Mouse.
- Now we have to power up our raspberry Pi 3 and TFT LCD, so you will need two USB type B cables which are simple Android power cables.
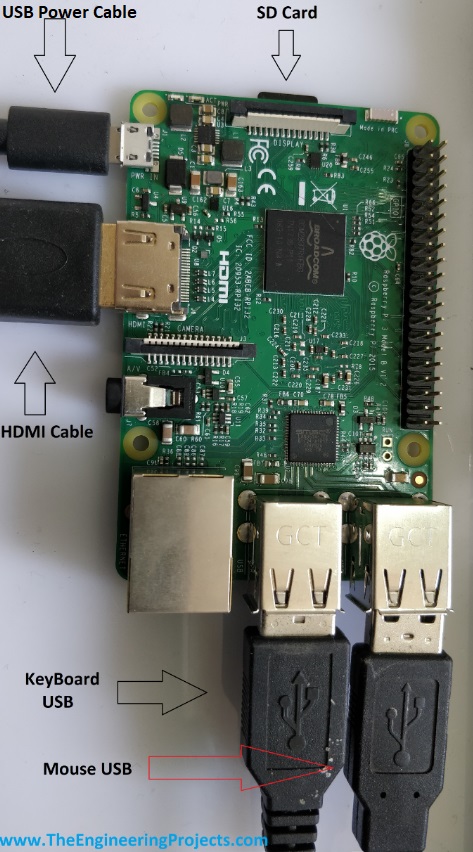
- Plug one usb cable in your raspberry Pi 3 as shown in below figure:
- Plug the 2nd USB cable in your TFT LCD as shown in below figure:
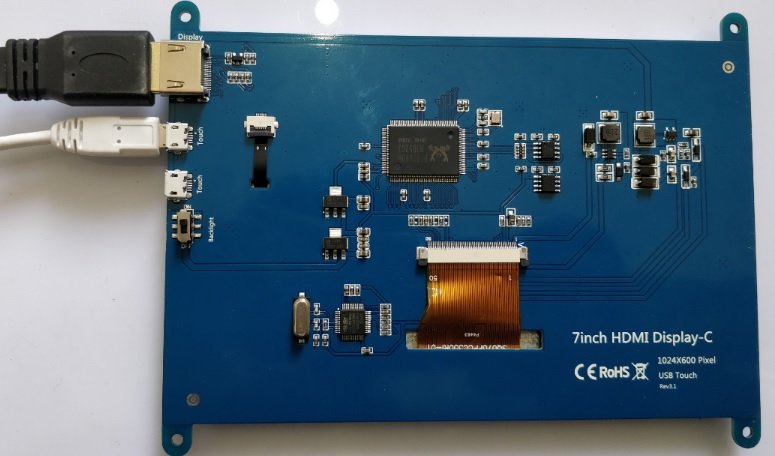
- First I am plugging USB Power cable of TFT LCD in my Laptop. Here's the screenshot:
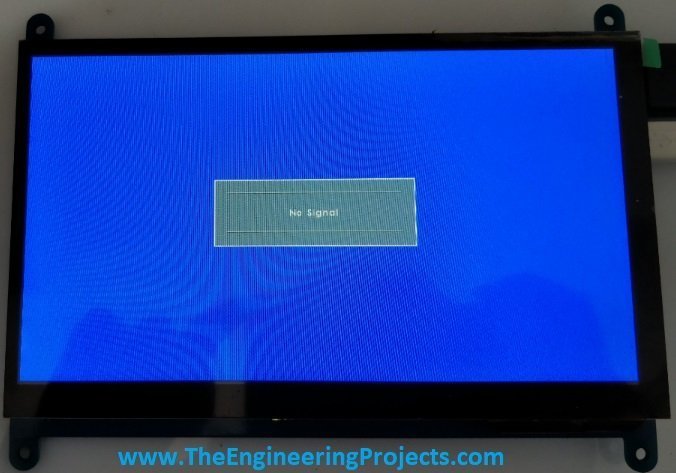
- As we haven't yet powered up our raspberry Pi 3, that's why our LCD is showing No Signal.
- Now, let's power up our Raspberry Pi 3, here's the first look of Raspbian on Raspberry Pi 3, the OS is starting up:
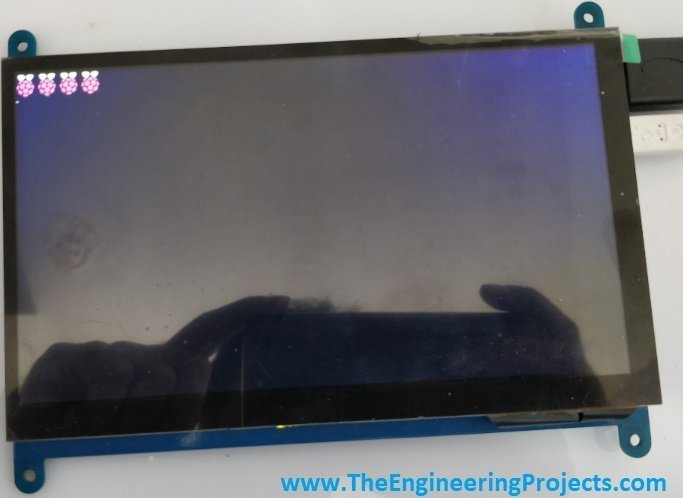
- After this screen, a new screen will open up and you will see some configurations as you are running it for the first time. Here's the screenshot:
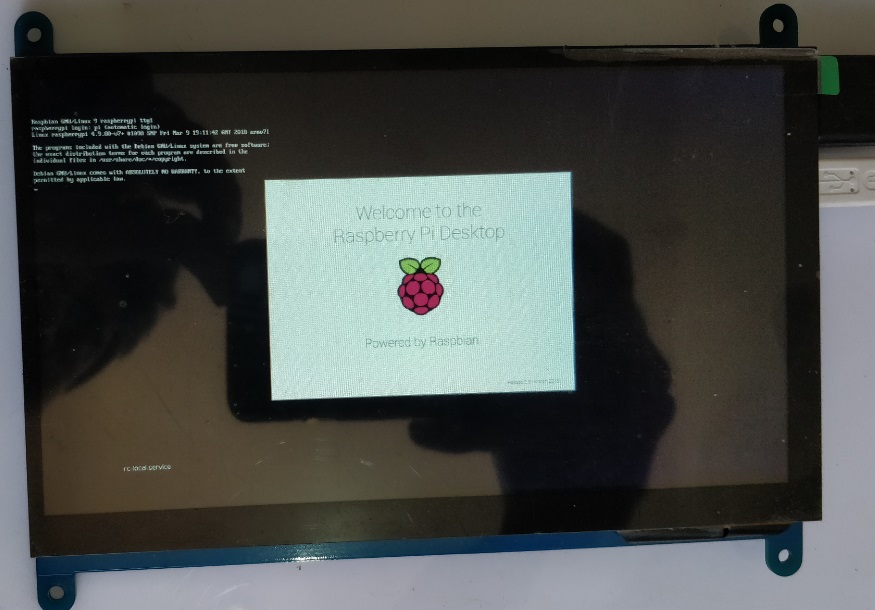
- It will take some time and then you will have something as shown in below figure:
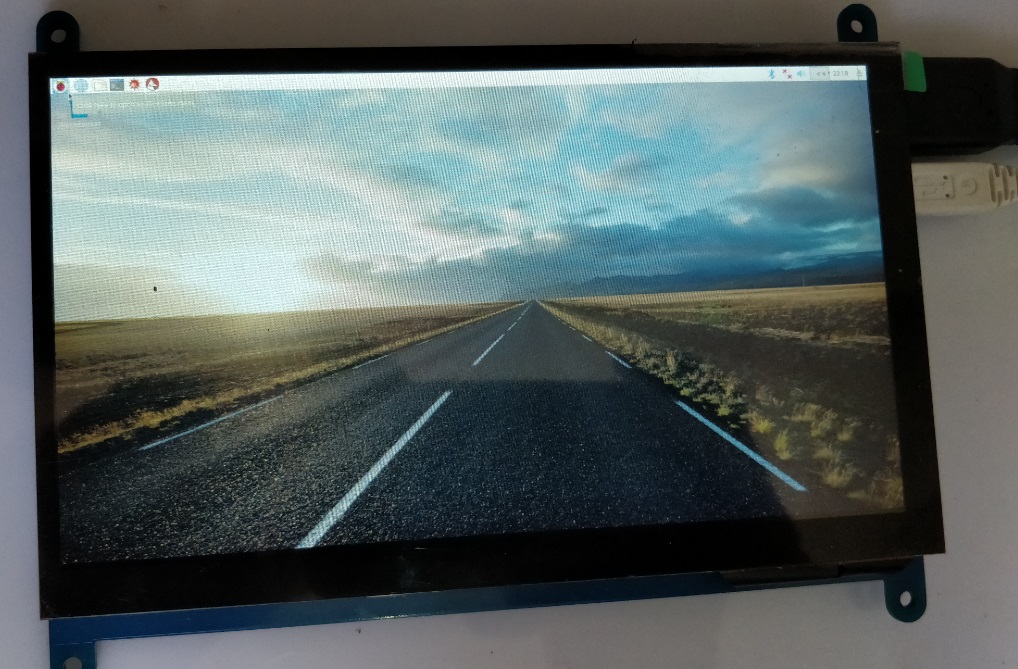
- Finally it has started, now you can use this mini computer quite easily with your mouse and keyboard. :)
- Now we have to set some settings so that we could use it easily.
- As you can see the icons etc are too small, we have to increase the size a little so that we could read/click everything.
- For that, you have to Right Click on your desktop and then select Desktop Preferences.
- When you click it, a new window will open up, in this window you have to select System tab and then change the Photon Light value from 12 to 18.
- Click Ok and you will feel the differences. :P
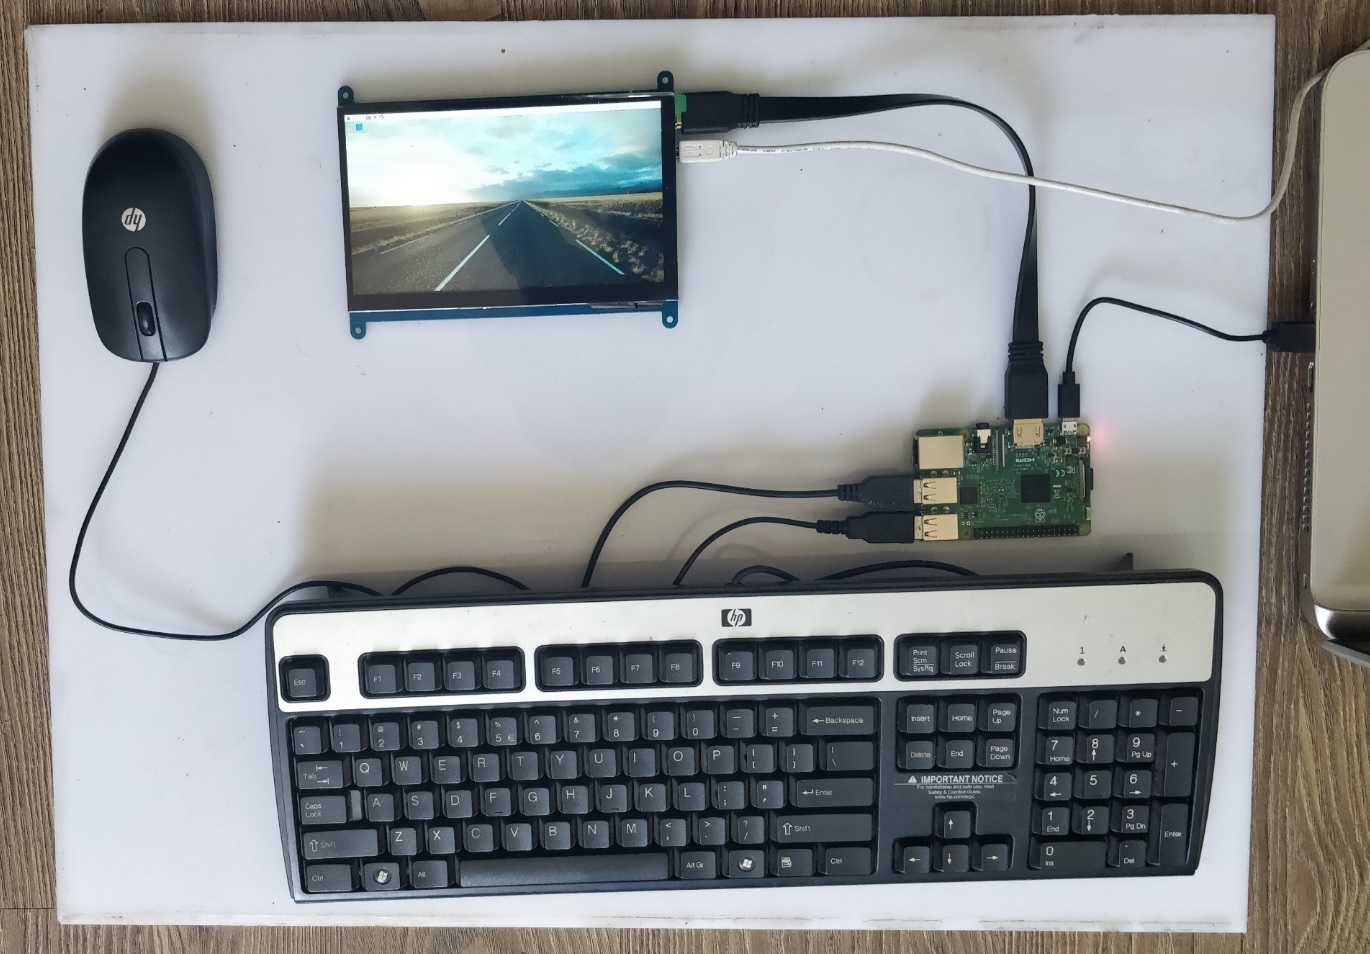
- Here's a complete screenshot of our Mini computer designed using Raspberry Pi 3 and has Raspbian OS on it.

- So, that was all about How to Setup 7 inch HDMI LCD with Raspberry Pi 3. I hope now you can quite easily do it.
×
![]()


 1 user


 Continue Wishlist


 Getting Started Guide
 Help Center
 Contact us
 Doist Blog
 Privacy
 Security
 Terms of Service
 What's new: Channel Descriptions


 Raspberry Pi
 syedzainnasir
 0 Comments


 2.3k
2.3k
 953
953
 921
921
 2.1K
2.1K
 How to Setup 7 inch HDMI LCD with Raspberry Pi 3
7 inch HDMI LCD with Raspberry Pi 3
7inch led with pi 3
led with raspberry pi 3
led with pi
tft lcd with pi 3
tft lcd with raspberry pi 3

 Tuesday, April 24, 2018