Update: Here are the latest versions of this library: Arduino Library for Proteus(V3.0) and Arduino UNO Library for Proteus(V2.0).
]Hello friends, hope you all are fine. In today's post, I am going to share the Arduino UNO Library for Proteus. I designed this library by myself in Proteus, it was quite difficult and literally, it took me weeks to figure out How to add functionality of a new component in Proteus. First, I used Proteus VSM but it was quite difficult so I left it and finally, I used Microsoft Visual Studio C++ Language to design this Arduino library for Proteus.
I am not going to discuss How I designed this library because it's quite a lengthy process and I will discuss it some other time. Today, I will provide the Arduino UNO library for Proteus to download, so that you can use it easily in Proteus and can simulate your circuits easily. I am really excited about it as it's my first Proteus library and I am going to design more in the near future. Till now I have just designed an Arduino UNO board in Proteus. Soon, I will share libraries for other Arduino boards as well.
In today's post, I will first share the Arduino UNO library for Proteus and will explain how to use it. After that, we will also have a look at a simple blinking example so that you get a complete overview of this Arduino UNO library for Proteus. So, let's get started with it.
I have added all the Arduino boards in a single library. This library contains six Arduino boards which are Arduino UNO, Arduino Mega 2560, Arduino Mega 1280, Arduino Nano, Arduino Mini and Arduino Pro Mini. You can download this complete Arduino Library by checking Arduino Library for Proteus.
Arduino UNO Library for Proteus
- First of all, download the Arduino UNO library for Proteus by clicking the below button.
- In this downloaded zip file you will find two files, named as:
- ArduinoUnoTEP.dll
- ArduinoUnoTEP.idx.
- Now extract these two files and place it in the libraries folder of your Proteus Software.
- If you are having problems in adding library in Proteus 7 or 8 Professional, then you should read How to add new Library in Proteus 8 Professional.
- If you haven’t bought your Arduino UNO yet, then you can buy it from this reliable source:
- If you want to read its technical specifications, features and pinout then you should have a look at Introduction to Arduino UNO.
- Now, open your Proteus software and search for Arduino as shown in below figure:
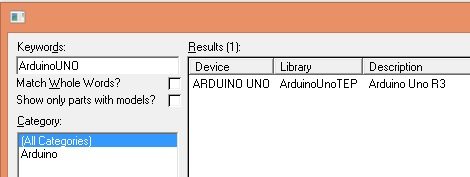
- Now select this Arduino board and click OK.
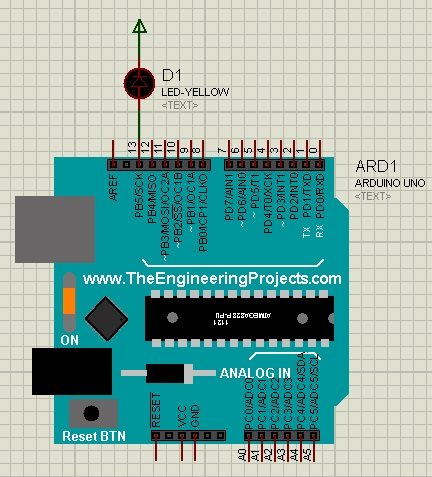
- Now place this Arduino UNO board in your Proteus workspace and it will look as shown in below figure:
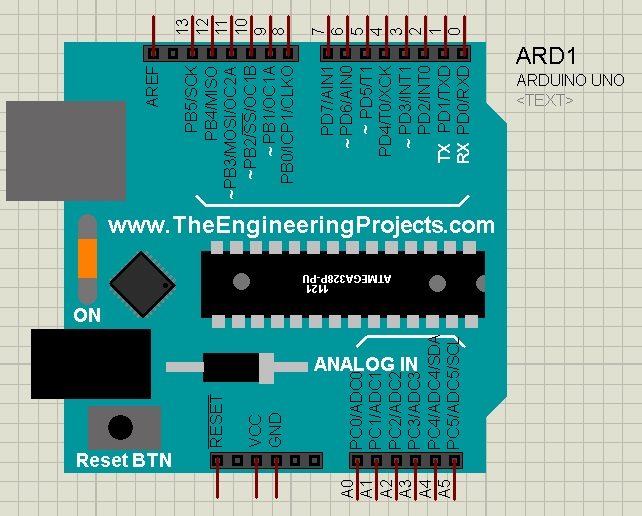
- This is our new Arduino UNO board designed in Proteus. I could have used the typical blue color of Arduino UNO but I thought to use this color instead of dark blue to give it a new touch :) Btw its the color of Arduino Software.
- So, now we have our Arduino UNO board in Proteus. Now double click this board in order to open its Properties.
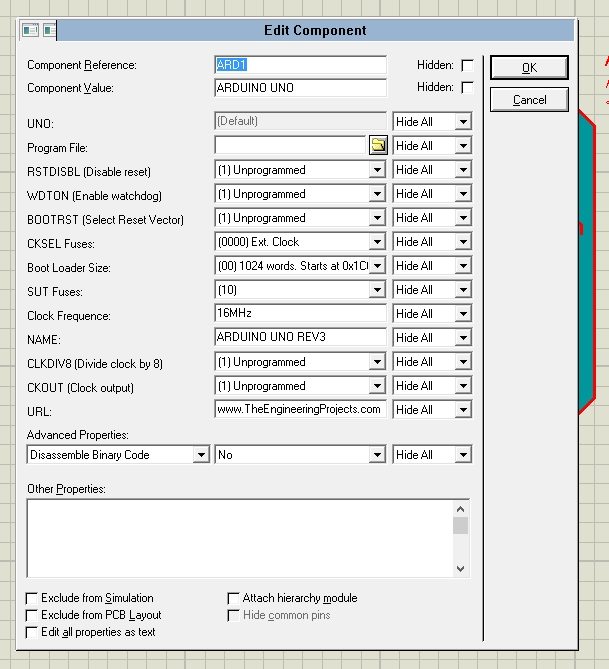
- When you double-click it, the below window will pop up.
- Now here you can set different properties of Arduino UNO board.
- The main property is the Program File. You need to upload the hex file of your Arduino code in this location.
- If you don't know how to get the hex file then read How to get hex file from Arduino software in which I have explained in detail.
- So, once you have the hex file of your code then upload it here and click OK.
- You can also set the clock frequency of your Arduino board which by default is 16MHz.
- The URL shows the address of our website so don't change it. :P
- Anyways, that's how you can use Arduino UNO board in Proteus software.
- Now let's design a simple LED blinking project with this new Arduino UNO board in Proteus. You should also have a look at these Arduino Projects for Beginners.
- So, design a circuit as shown in below figure:
- Now open the Blink example from your Arduino software and get its hex file.
- Upload this hex file in your Arduino board and hit the RUN button.
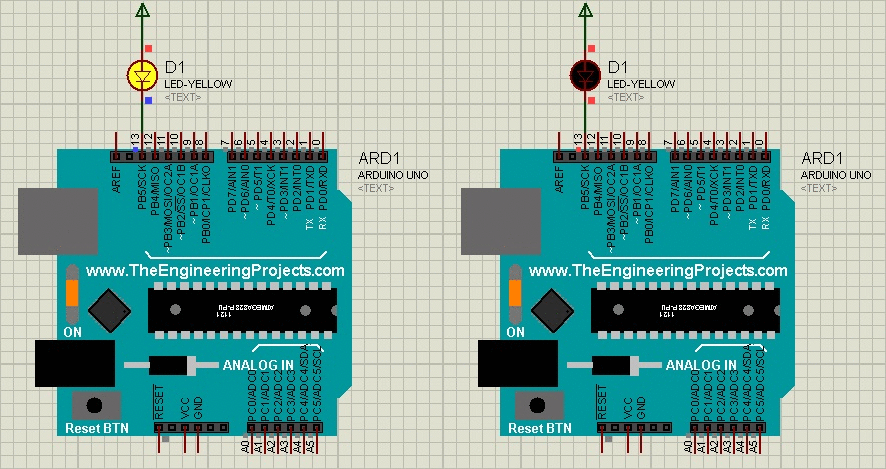
- If everything goes fine then you will get the results as shown in below figure:

- So, that's all,now when you are doing your project, what you need to do is to first of all create your design in Proteus, after that design your Arduino code and get the hex file, upload that hex file in your Arduino board in Proteus and run your simulation.
- Below is given the video tutorial for this post in which I have explained visually how to download and use Arduino UNO library for proteus.
So, that's all for today, feel free to let us know about your experience with our Arduino UNO library for Proteus. If you have any suggestions and comments then do let us know so that we can enhance its capabilities. I will keep on updating this library for example, I haven't yet added the PCB deign in this board but will add it soon and will update it. So, stay tuned and have fun !!! :)


